The Best Recipe for Gluten Free Hot Dog Buns
If you’ve been dissatisfied with store-bought gluten free hot dog buns, try this recipe for homemade gluten free buns. They’re soft, light, and taste great!
Servings: 8 hot dog buns
Print
Pin
Ingredients
- 2 1/4 teaspoons Active Dry Yeast
- 3/4 teaspoon Granulated Sugar
- 3/4 cup Milk heated to 100-100ºF
- 82 grams White Rice Flour
- 75 grams Brown Rice Flour
- 97 grams Arrowroot
- 45 grams Tapioca Flour
- 24 grams Sorghum Flour
- 2 teaspoons 6 g Xanthan Gum
- 1 1/2 teaspoons 6 g baking powder
- 3/4 teaspoon 4 g fine sea salt
- 3 tablespoons honey
- 1 large egg room temperature
- 1/3 cup avocado oil or neutral oil of choice
- 3 tablespoons melted butter divided
Instructions
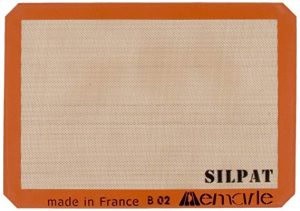
- Line a baking sheet with a silicone mat or parchment paper and set aside.
- Add the yeast and granulated sugar to the bowl of a stand mixer. Slowly pour in the milk, making sure the yeast is moistened. Let sit for at least 15 minutes to "bloom" as you prepare the other ingredients.
- Add the white rice flour, brown rice flour, Arrowroot, tapioca flour, sorghum flour, xanthan gum, baking powder, and salt to a medium bowl. Whisk well to combine.
- When the yeast has bloomed (is super foamy), add the honey, egg, and avocado oil. Use the paddle attachment to mix on medium low speed until combined.
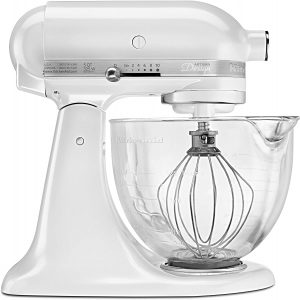
- Add the flour mixture and mix on low until just combined. Stop the mixer and scrape down the bowl. Then mix on medium (6 on my KitchenAid Stand Mixer) for 1 minute.
- Use a spatula to scrape down the sides of the bowl and form into a ball (dough should easily do this) and turn the dough ball out onto a well floured surface (I usually just flour some plastic wrap and then re-use that to cover the rising rolls). Sprinkle the top of the dough with additional gluten free flour and pat it out into a square then use a knife to cut the dough into 8 equal pieces.
- Use well-floured hands to roll each piece of dough into a ball (best results if you squish/flatten the dough in your hands first THEN roll into a small log). Place the roll on the floured surface and gently and evenly roll into a log 5 1/2 inches long and about 1 inch wide (SEE NOTES for shaping).
- Gently place the roll on the prepared baking pan and repeat with the remaining rolls - DUST YOUR HANDS WITH FLOUR EACH TIME and lightly sprinkle with flour as needed to prevent the dough from sticking. Place the rolls 1/4 inch apart in a line so when they rise, they will be touching.
- Place the dough to rise in a warm spot (I like mine to rise on top of my preheated oven) and cover loosely with plastic wrap or a clean kitchen towel. Let rolls rise for 1 hour. When the rolls are halfway done rising, preheat the oven to 350° F.
- After rising, brush the tops of the rolls with 2 tablespoons of melted butter before baking. Then bake for 16-20 minutes (depending on your oven). Mine bake in 18 minutes. After baking, brush with 1 more tablespoon of melted butter and cool on the pan for 10 minutes.
- Serve warm or cool completely on a wire rack before serving.
Notes
Shaping: To get smooth rolls, apply as little pressure as possible when rolling out on your floured surface. Then once each rolls is moved onto the baking sheet, gently roll it into place to smooth out any lumps. Smooth out the ends and make sure they're not pointed.
- Leftover rolls are best stored in the freezer. To reheat frozen rolls, wrap in aluminum foil and heat in the oven at 400° until warmed through.
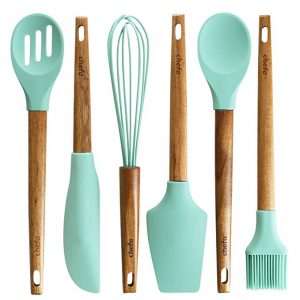
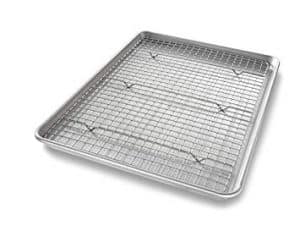
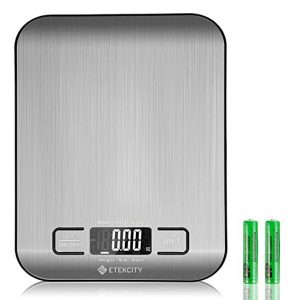
Recommended Products
Nutrition Information
Serving: 1g | Calories: 329kcal | Protein: 5g | Fat: 17g | Polyunsaturated Fat: 11g
Disclaimers
As an Amazon Associate and member of other affiliate programs, I earn from qualifying purchases.
Nutrition Facts are estimated and aren't always accurate. Please consult a doctor or nutritionist if you have special dietary needs.
Did you make this?Mention @whattheforkfoodblog or leave a comment rating below!
