


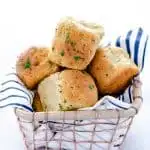
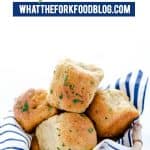


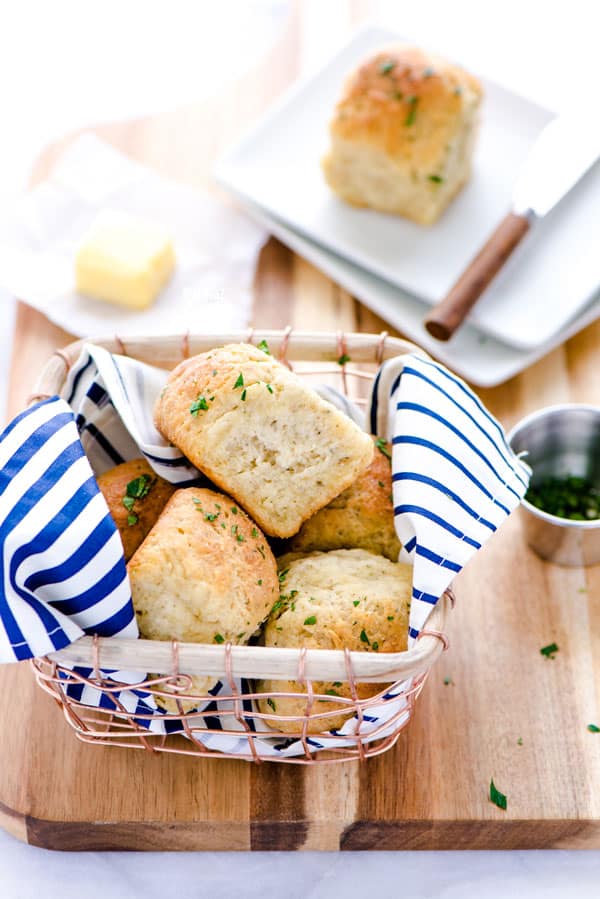
Soft, yeasty Gluten Free Rolls with garlic and herbs are easy to make and pair well with any meal. They’ve got a wonderful doughy texture and the dough can actually be shaped by hand. There’s a dairy-free option, too.
<< click here to pin this recipe >>
This post contains affiliate links for products and / or ingredients used to make this recipe. As always, thank you for helping to support What The Fork Food Blog ♥
Gluten Free Rolls with Garlic and Herbs
My recipe for gluten free dinner rolls has been so popular, I came back with another flavor. The new flavor is…. (drumroll….)
Gluten Free Rolls with Garlic and Herbs!
With a small adjustment to the recipe by adding some garlic powder and Italian seasoning, you’ve got a whole new savory roll that pairs great with any meal.
I used garlic powder in this recipe because I thought fresh garlic baked into the dough tasted a little too over-powering. Don’t get me wrong, there is plenty of garlic flavor here thanks to a full teaspoon of garlic powder. Feel free to reduce the amount of garlic powder to 1/2 teaspoon if you prefer.
I use Italian Seasoning for herbs in this recipe because I always have it on hand. I don’t always have a mixture of fresh herbs to chop up, especially in the winter. Since I can’t keep plants alive in my house, an indoor herb garden is out of the question. Dried herbs it is!

Did you make this recipe? Leave a star rating and let me know in the comments! You can also leave a photo/comment on this pin for others to see.
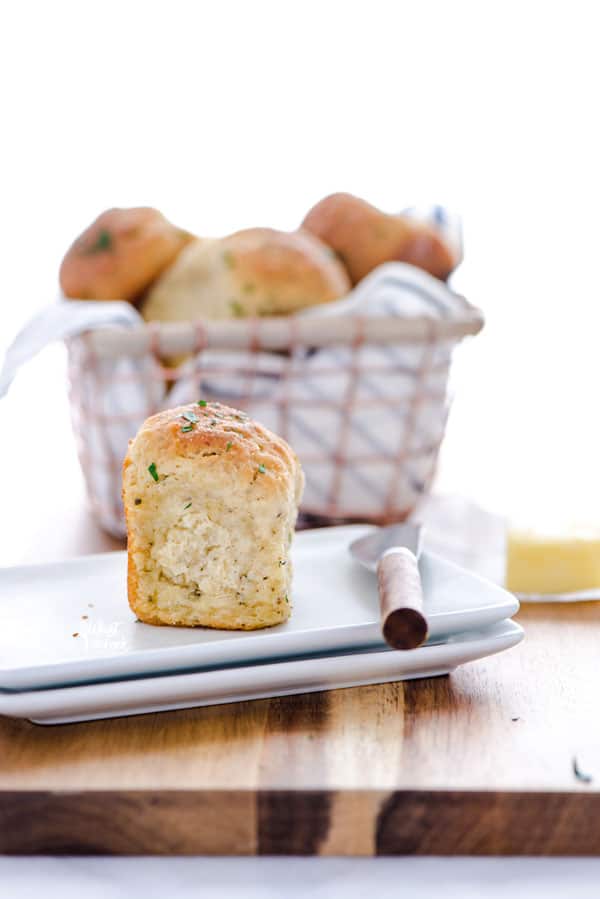
You guys, I can’t even stress enough how amazing this gluten free yeast dough is because these truly are the best gluten free rolls! First of all, the dough is shapeable. Watch the video – you can see just how easy it is to roll these into balls.
This is not an old-school gluten free bread dough that you have to scoop and drop into a pan. This dough is truly revolutionary in terms of gluten free bread.
Please don’t be intimidated by the list of gluten free flours. They’re all flours that I have on hand because I use them to make my Nightshade-Free Flour Blend. I have them listed out by weight because making yeast bread is not as easy as replacing a flour 1:1. There’s a higher starch:grain ratio which gives them their unique texture that you don’t traditionally get with gluten free yeast rolls.
Below, you’ll find the recipe rundown with all the info you need to make this gluten free dinner roll recipe with confidence and success. When you give these garlic and herb rolls a try, let me know in the comments! Happy baking my friends, enjoy!
Key Ingredients for Gluten Free Garlic and Herb Dinner Rolls
- Arrowroot – arrowroot starch/flour/powder is the key starch in this recipe. It’s what gives the rolls that little bit of chew that is synonymous with wheat-based breads. If you replace the arrowroot with a different starch, you will not get the same result.
- Sorghum Flour – a little bit of sorghum flour gives these rolls a wheat-like taste. A little bit goes a long way here, which is why I only call for 2 tablespoons. If you don’t have sorghum flour, you can replace it with 1 tablespoon white rice flour + 1 tablespoon brown rice flour.
- Garlic powder – garlic powder gives these rolls that full garlic flavor without the risk of biting into hard bits of fresh garlic.
- Italian Seasoning – Italian seasoning is an easy way to infuse flavor into these rolls when you don’t have fresh herbs on hand. I do like to sprinkle the tops with fresh parsley though, and not dried parsley.
- Avocado Oil – I use avocado oil for all my baking and high-heat cooking. If you don’t have avocado oil, you can use a neutral tasting oil such as canola oil or vegetable oil.


<< PIN THIS RECIPE TO YOUR GLUTEN FREE BREAD BOARD >>
Equipment Needed to Make This Recipe
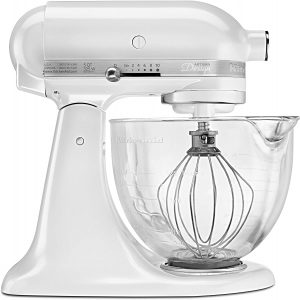
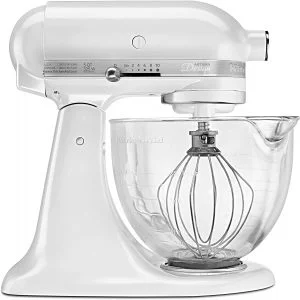
- Stand Mixer – a stand mixer is key for mixing gluten free yeast dough. I would not recommend trying to make these rolls by hand.
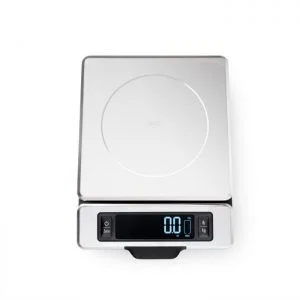
- Kitchen Scale – When making gluten free yeast dough, I like to measure my flour by weight for the most accurate measurement. I always do this when making recipes that call for individual flours.
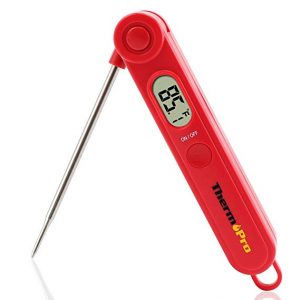
- Instant Read Thermometer – Since this recipe calls for warm milk, I use an instant read thermometer to make sure it’s the proper temperature. Too cold and the yeast may not fully bloom, too warm and the milk could kill the yeast. The thermometer takes all the guesswork out of it and gives an accurate reading every time.
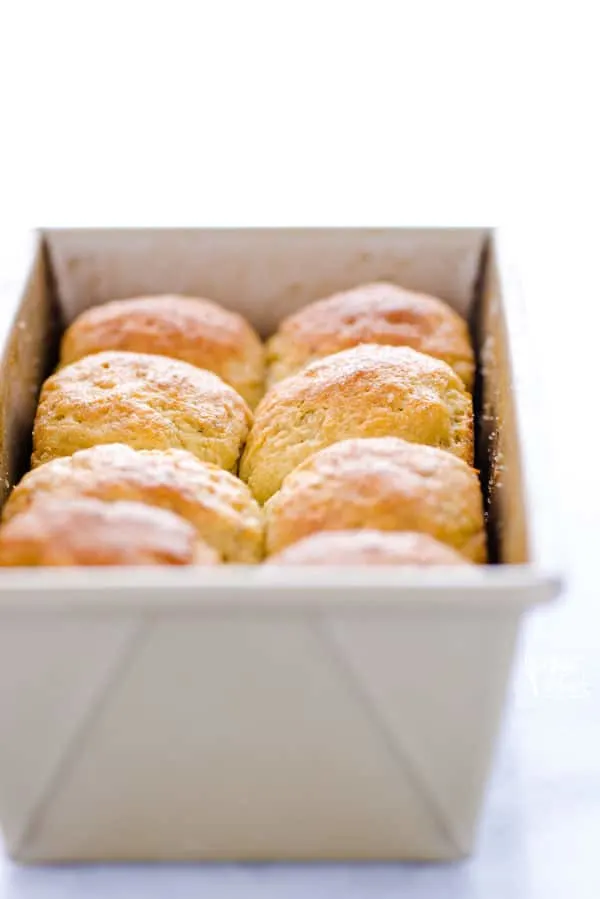
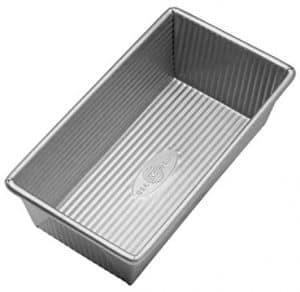
- Loaf Pan – I bake my rolls in a loaf pan because it helps the rolls rise nice and high instead of spreading out in a pan. I find that an 8×4 inch pan or 8.5×4.5 inch pan works best but you could use a 9×5 inch loaf pan if that’s what you have. You can use either metal or glass but metal gives the rolls a better crust.
Tips for Making Gluten Free Rolls
- Don’t be afraid to work with the dough. This dough is meant to be shaped and rolled into balls with your hands. I even squish the dough a bit in my hands, like play dough, and toss it back and forth between my hands before rolling into a ball. It makes it easier to get a nice smooth ball of dough.
- Be sure your yeast has the proper amount of time to bloom. I let my yeast bloom (or foam up) for about 15 minutes before adding the rest of the ingredients to make the dough. If your yeast doesn’t foam up, it’s no longer good and your rolls will not rise.
- Use the exact flours called for in this recipe. This recipe was developed specifically with these flours and the amounts listed here, with the exception of the sorghum flour explained above. This blend of flours and the amounts used is what makes these gluten free rolls special and unlike any gluten free roll you’ve had before. Well, other than the gluten free rolls and gluten free cinnamon rolls found on this site 😉
- Read the recipe fully before starting. This is a big one and it’s often something that’s not done. But it’s important to fully read through a recipe before you start. Having your ingredients ready to go when you start is also very helpful and makes the baking processes easier and more streamlined.

Can this gluten free dinner rolls recipe be made dairy free?
Yes! To make dairy free rolls, use oil to brush the pan and use oil or vegan butter for brushing the rolls. Use unsweetened coconut milk in place of the regular milk. There are also specific notes in the recipe notes for baking these without the butter.
How to Store and Freeze These Rolls
These rolls are best eaten the day of baking but you can keep them an extra day at room temperature stored in an airtight container or bag. If you want to store them longer, freeze the rolls in a freezer bag once they’re cooled to room temperature.
Reheat the frozen rolls in the oven by wrapping them tightly in aluminum foil and heating them at 400 degrees until warmed all the way through.
Be sure to follow me on Instagram and hashtag #whattheforkfoodblog or tag @whattheforkfoodblog – I love seeing what you make!
If you love this gluten free rolls recipe, be sure to follow me on social media so you never miss a post:
| facebook | twitter | pinterest | instagram | youtube |


Gluten Free Rolls with Garlic and Herbs
Ingredients
- 2 1/4 teaspoons active dry yeast
- 1/2 teaspoon granulated sugar
- 1/2 cup 120 ml milk (heated to 105-110 degrees) - see notes for dairy free
- 55 grams white rice flour about 1/3 cup
- 50 grams brown rice flour about 1/3 cup
- 65 grams Arrowroot about 1/2 cup
- 30 grams tapioca flour about 1/4 cup
- 16 grams sweet white sorghum flour 2 tablespoons
- 1 1/2 teaspoons 5 g xanthan gum
- 1 teaspoon 5 g aluminum free baking powder
- 1/2 teaspoon 3 g fine sea salt
- 1 Tablespoon 3 g Italian Seasoning
- 1 teaspoon 4 g garlic powder
- 2 Tablespoons honey
- 1 large egg room temperature
- 3 Tablespoons avocado oil
- 3 Tablespoons butter divided
- garlic salt for garnish, about 1/8 teaspoon
- 1 Tablespoon fresh parsley chopped (optional)
Instructions
- Preheat oven to 350 degrees and grease a 8x4 inch loaf pan with 1 tablespoon butter (or spray well with non-stick spray). Set aside.
- Add the yeast and granulated sugar to the bowl of a stand mixer. Slowly pour in the milk, making sure the yeast is moistened. Let sit for at least 15 minutes to "bloom" as you prepare the other ingredients.
- Add the white rice flour, brown rice flour, Arrowroot, tapioca flour, sorghum flour, xanthan gum, baking powder, salt, garlic powder, and Italian seasoning to medium bowl. Whisk well to combine.
- When the yeast has bloomed (is super foamy), add the honey, egg, and avocado oil. Use the paddle attachment to mix on medium low speed until combined.
- Add the flour mixture and mix on low until combined. Stop the mixer and scrape down the bowl. Then mix on medium (6 on my KitchenAid Stand Mixer) for 1 minute.
- Use a spatula to scrape down the sides of the bowl and form into a ball (dough should easily do this) and turn the dough ball out onto a well floured surface (I usually just flour some plastic wrap). Sprinkle the top of the dough with additional gluten free flour and use a knife to cut the dough into 8 equal pieces.
- Use well-floured hands to roll each piece of dough into a ball (best results if you squish/flatten the dough in your hands first THEN roll into a ball). Place the dough ball in the prepared baking pan and repeat with the remaining dough balls - DUST YOUR HANDS WITH FLOUR EACH TIME.
- Place the dough to rise in a warm spot (I like mine to rise on top of my preheated oven) and cover loosely with plastic wrap or a clean kitchen towel. Let rolls rise for 1 hour.
- After rising, brush the tops of the rolls with 1 tablespoon of melted butter before baking. Then bake for 20-24 minutes (depending on your oven). Mine bake in 20 minutes. After baking, brush with 1 more tablespoon of melted butter and sprinkle with the garlic salt and fresh parsley. Then remove from the pan and serve hot or warm.
Video
Notes
- For Dairy Free, use unsweetened coconut milk in place of the milk. Brush the pan with oil instead of using butter and brush the rolls with a small amount of oil instead of butter (optional).
Recommended Products


Nutrition Information
Disclaimers
As an Amazon Associate and member of other affiliate programs, I earn from qualifying purchases.
Nutrition Facts are estimated and aren't always accurate. Please consult a doctor or nutritionist if you have special dietary needs.
Did you make this recipe? Leave a star rating and let me know in the comments! You can also leave a photo/comment on this pin for others to see.
Would like to make this as a load for grilled cheese, what would the cooking time be?
Hi Taylor, I haven’t tried baking this as a loaf.
Can I omit the sugar out or is it necessary for the yeast?
The small amount of sugar helps the yeast bloom.
Woo hoo! Thanks for this recipe. So so good. I use macadamia but milk and dairy free butter. Delicious. Loved the texture.
Thanks Sarah!
These rolls look so delicious. I would love to make them, but is it possible to sub a flax egg as I am allergic to eggs. Thanks
I haven’t tried a flax egg in these, sorry!