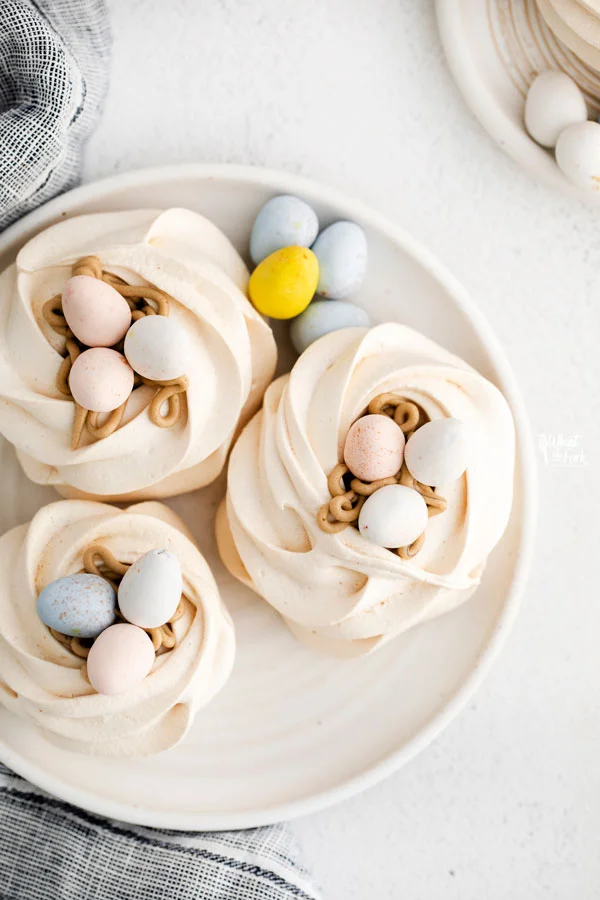
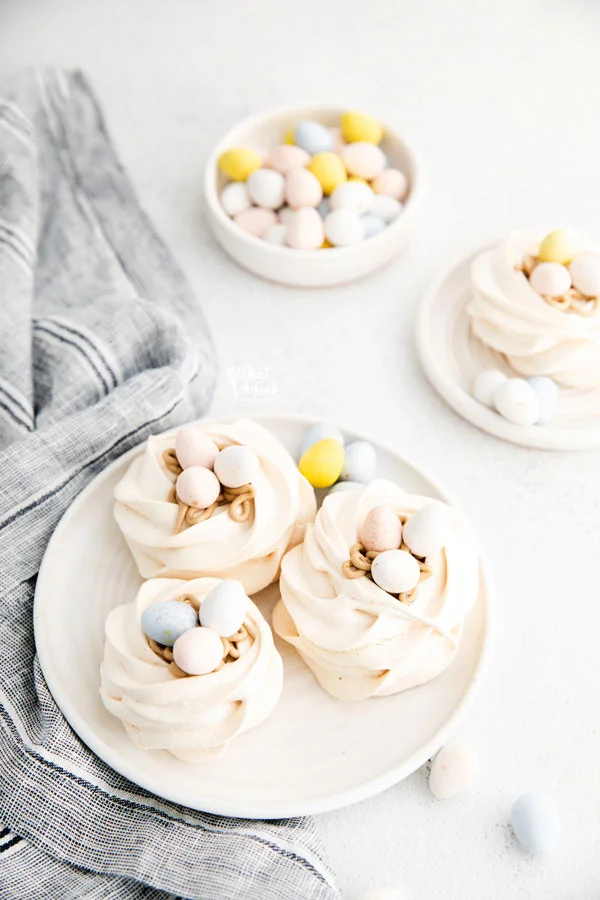
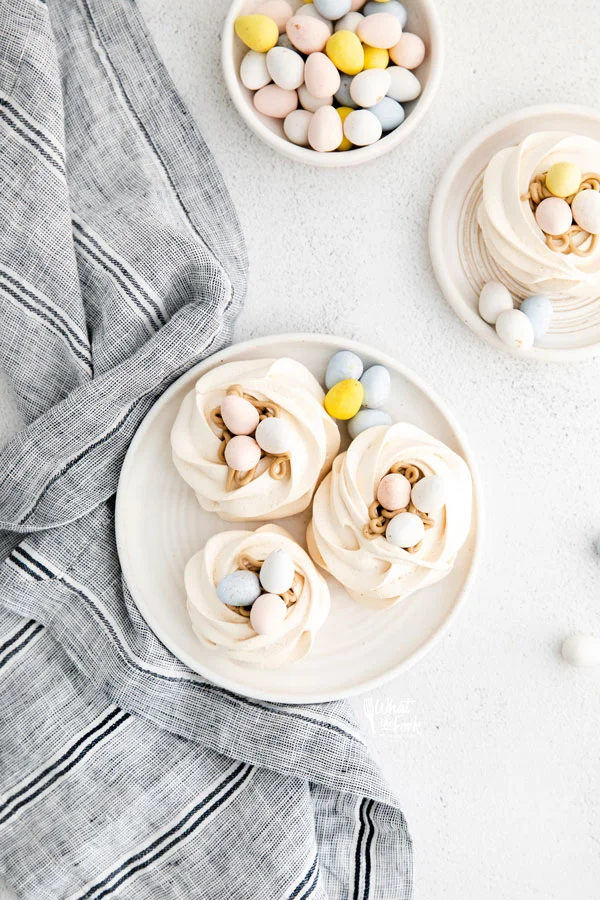
Mini Meringues make the perfect Easter Meringue Nests! Not only are they delicious, but they make a beautiful table centerpiece as well!
This post contains affiliate links for products and ingredients I use and love. You can read my full disclosure here. Thank you for supporting What The Fork Food Blog so I can continue to provide you with free gluten free recipes ♥
Easter Meringue Nests
Gluten-Free [check]
Adorable [check]
Delicious [check]
In time for Easter [check]
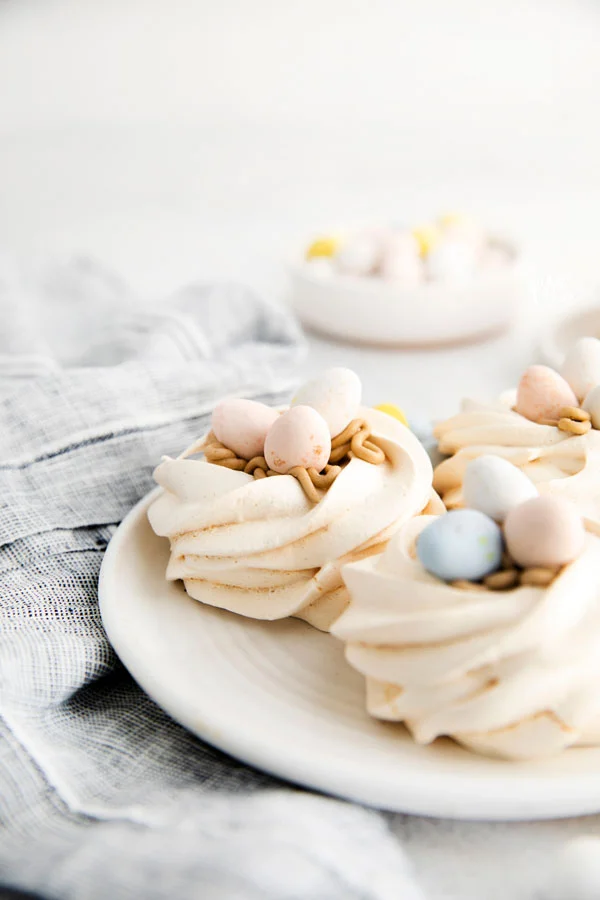
Easter is just around the corner and this seasonal gluten-free dessert is one of my favorites. Adorable meringue nests are (almost) too cute to eat. Kiddos and adults alike will love these whimsical nests filled with mini Cadbury eggs (but feel free to use whatever allergy-friendly egg-shaped candy you’d like).
Even better, they’re perfect for doubling as your tablescape focal point and dessert. Grab your favorite apron and let’s jump right in!
What You Need To Know About This Gluten-Free Meringue Nest Recipe:
We’ve been working on several meringue recipes over the past few weeks. You may have pegged your favorite, but this meringue nest recipe may just make you change your vote. These small gluten-free nests are an ideal way for you to gain some practice with your meringue-making skills.
What I love about this recipe:
- it’s easy
- it’s versatile
- it’s a crowd-pleaser
- it’s 100% kid-approved
I hope you enjoy making these gluten-free meringue nests (and eating them!) with those that you love this Easter. This recipe is one that I look forward to each year.
Did you make this recipe? Leave a star rating and let me know in the comments! You can also leave a photo/comment on this pin for others to see.
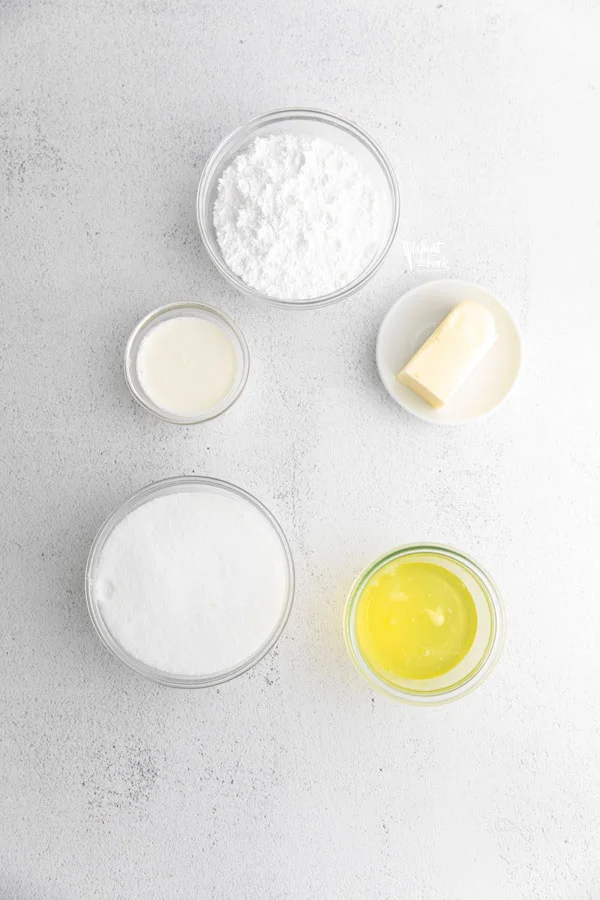
Ingredients for Meringue Nests
- Egg Whites
- Granulated Sugar
- Butter
- Powdered Sugar
- Heavy Cream
- Cadbury Mini Eggs (check for gluten-free status or use your favorite allergy-friendly candy)
As an Amazon Associate I earn from qualifying purchases.
Equipment Needed to Make Gluten-Free Meringue Nests
- Hand Mixer or Stand Mixer
- Mixing Bowl
- Half Sheet Pan
- Silpat
- Piping Bag
- Open Star Tip
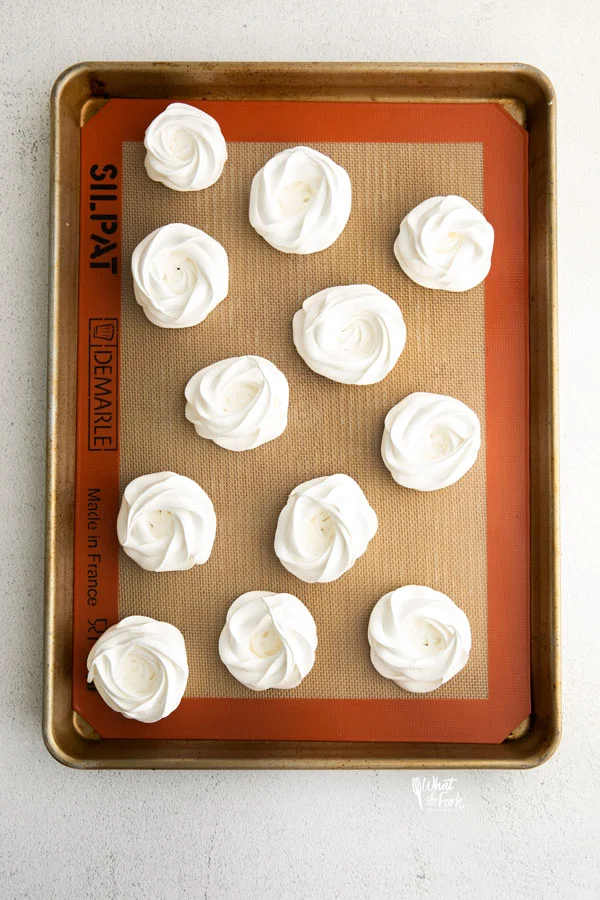
How to Make Easy Meringue Nests
Step 1. Preheat the oven to 250F and line a large baking sheet with parchment paper or a Silpat baking mat.
Step 2. Using a handheld or stand mixer, whip the egg whites on medium speed in a large mixing bowl.
Step 3. Add in the granulated sugar slowly, about 1 tablespoon at a time– it should take 2-3 minutes to add all of the sugar.
Step 4. Once all of the sugar has been added, turn the speed to medium-high and beat until stiff peaks form– another 1-2 minutes.
Step 5. Pipe the mixture into 3” diameter discs onto the baking sheet and use a spoon to create a well in the center of each meringue.
Step 6. Bake for 1 hour, or until the meringues are firm and dry but not brown on top.
Step 7. Turn off the oven and leave them to cool inside– about 1-2 hours.
Step 8. While the meringue shells cool, add the softened butter to the bowl of a stand mixer and beat until it becomes smooth and fluffy. Next, add the powdered sugar and heavy cream and beat on medium speed until the mixture becomes smooth and creamy– make sure to scrape down the sides a few times.
Step 9. Transfer the buttercream to a piping bag and pipe it into the center of the meringue nests. Top with a few mini eggs and serve immediately.
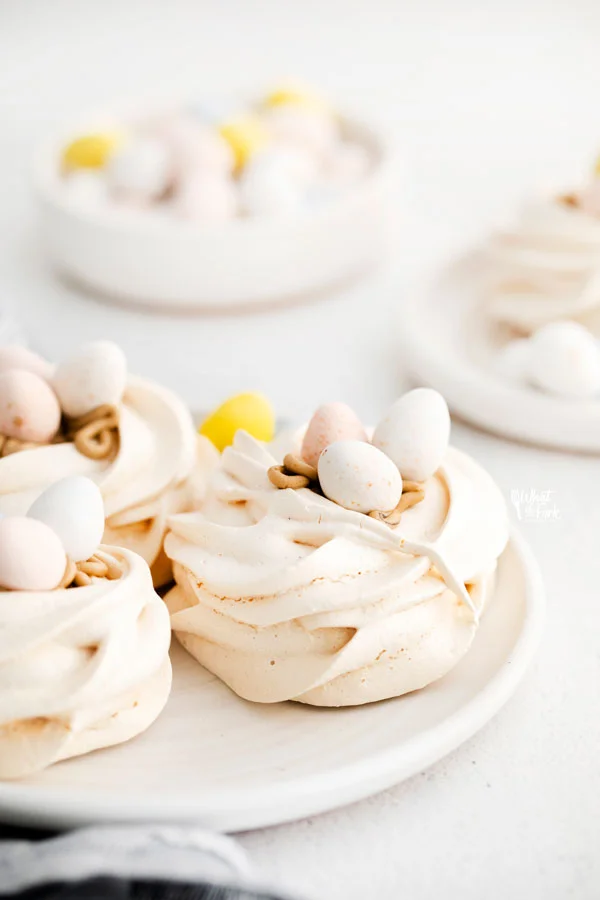
Tips for Making Meringue
- Make sure there are no bits of egg yolk in the egg whites and that there is no residual oil or fat on your mixing bowls.
- The nests can be made up to 24 hours in advance and kept in an airtight container at room temperature— just make sure to fill them right before serving so they don’t get soggy.
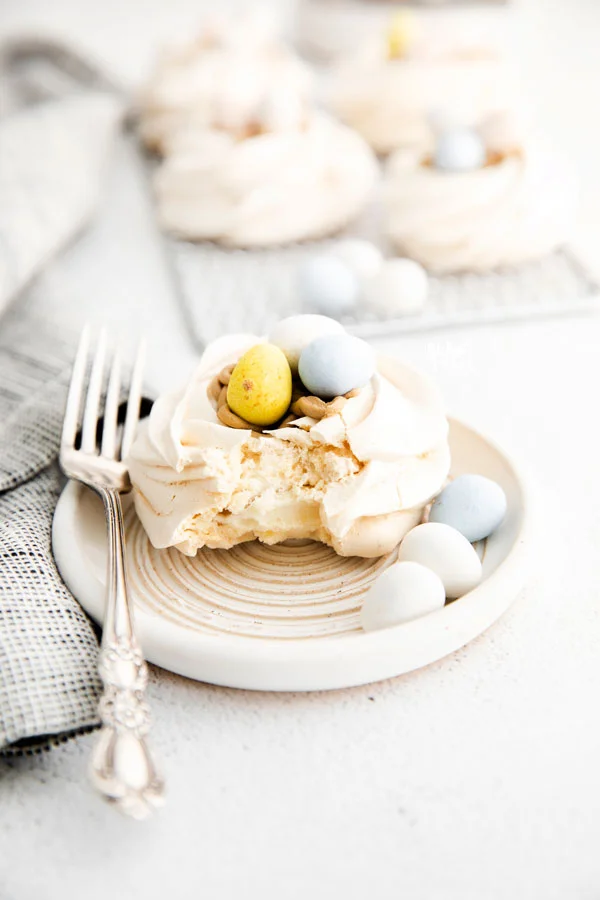
Other Meringue Recipes To Try
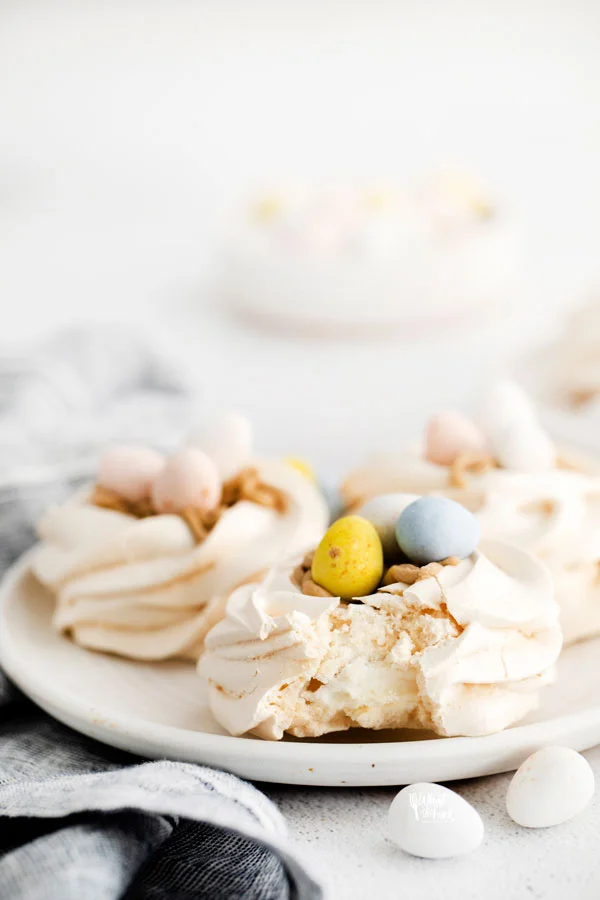
Be sure to follow me on Instagram and hashtag #whattheforkfoodblog or tag @whattheforkfoodblog – I love seeing what you make!
If you love this easy Meringue Nest recipe, be sure to follow me on social media so you never miss a post:
| Facebook | Twitter | Pinterest | Instagram | Youtube | Newsletter |

Easter Meringue Nests
Ingredients
- 4 large egg whites
- 1 cup granulated sugar
- 4 tablespoons butter softened
- 1 cup powdered sugar
- 2 tablespoons heavy cream
- 1 10 ounce bag Cadbury mini eggs (check for gluten free status)
Instructions
- Preheat the oven to 250F and line a large baking sheet with parchment paper or a silpat mat.
- Using a handheld or stand mixer, whip the egg whites on medium speed in a large mixing bowl.
- Add in the granulated sugar slowly, about 1 tablespoon at a time-- it should take 2-3 minutes to add all of the sugar.
- Once all of the sugar has been added, turn the speed to medium-high and beat until stiff peaks form-- another 1-2 minutes.
- Pipe the mixture into 3” diameter discs onto the baking sheet and use a spoon to create a well in the center of each meringue.
Bake for 1 hour, or until the meringues are firm and dry but not brown on top. - Turn off the oven and leave them to cool inside-- about 1-2 hours.
- While the meringues cool, add the softened butter to the bowl of a stand mixer and beat until it becomes smooth and fluffy. Next, add the powdered sugar and heavy cream and beat on medium speed until the mixture becomes smooth and creamy-- make sure to scrape down the sides a few times.
- Transfer the buttercream to a piping bag and pipe it into the center of the meringue nests. Top with a few mini eggs and serve immediately.
Notes
- The pavlovas can be made up to 24 hours in advance and kept in an airtight container at room temperature— just make sure to fill them with buttercream right before serving so they don’t get soggy.
Nutrition Information
Disclaimers
As an Amazon Associate and member of other affiliate programs, I earn from qualifying purchases.
Nutrition Facts are estimated and aren't always accurate. Please consult a doctor or nutritionist if you have special dietary needs.
Did you make this recipe? Leave a star rating and let me know in the comments! You can also leave a photo/comment on this pin for others to see.


Really good. Made it for Easter when we had people over.
Thanks, Marguerite!