


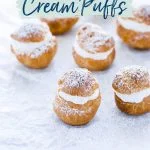


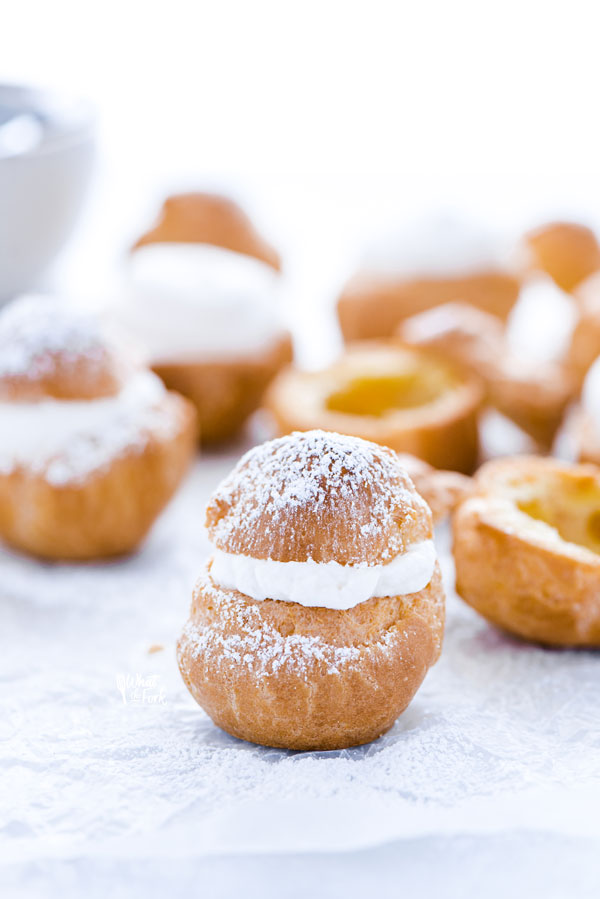
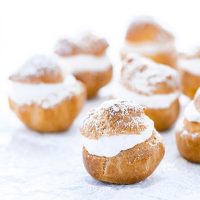
This easy Gluten Free Cream Puff recipe is made with gluten free Choux Pastry shells and homemade whipped cream. They’re a satisfying sweet treat!
This post contains affiliate links for products and ingredients I use and love. You can read my full disclosure here. Thank you for supporting What The Fork Food Blog so I can continue to provide you with free gluten free recipes ♥
Gluten Free Cream Puff
Who doesn’t love a cream puff…or five?
This simple gluten-free cream puff recipe is a crowd-pleaser, for sure. You’ll want to add this dessert to your “Top 5” for upcoming potlucks, holidays, and special events. Not only are these cream puffs gluten-free, but they are also easy to make and still give you space to flex your creative baking muscle.
Once you perfect this recipe, I challenge you to play around with various cream flavors. Let me know what you come up with!
Are you ready to master the BEST gluten-free cream puff recipe? Drooling?
Let’s jump in!
Choux Pastry Video Tutorial
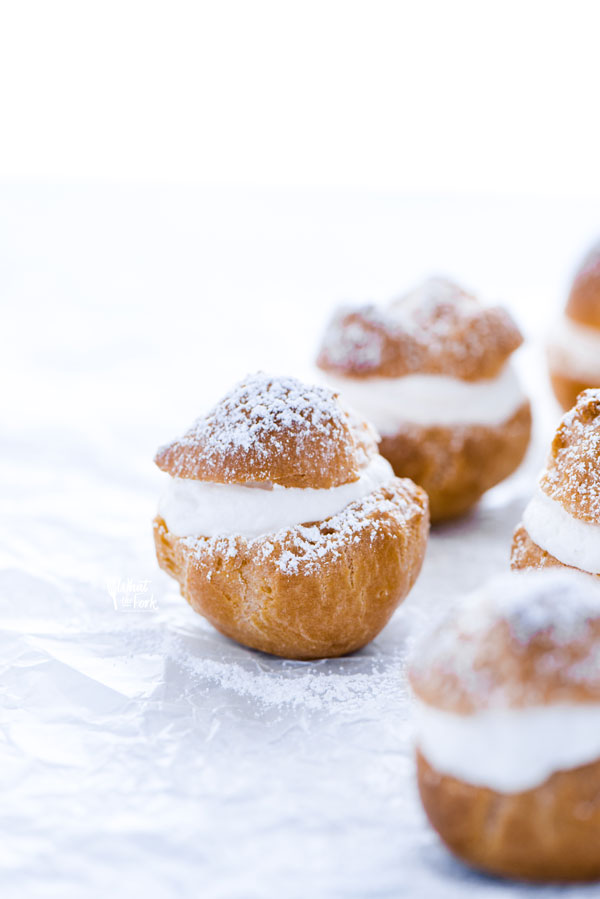
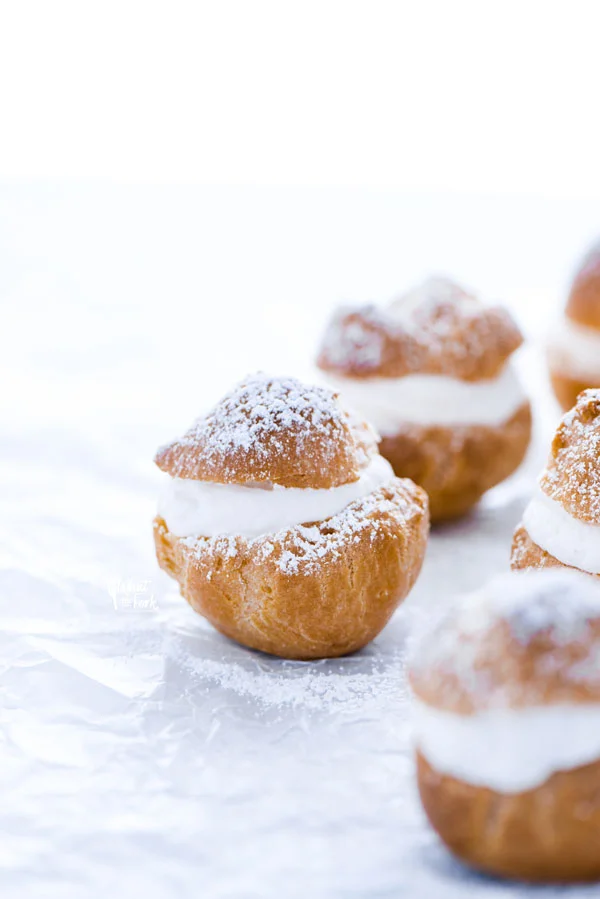
What are Cream Puffs?
A profiterole, cream puff, or choux à la crème is a filled French choux pastry ball with a filling of whipped cream, custard, or pastry cream. Gifted to the world by the French, cream puffs are the perfect dainty dessert.
You have probably seen cream puffs served at weddings or special occasions. These bite-sized pastries are always a crowd favorite and are versatile for any occasion.

Did you make this recipe? Leave a star rating and let me know in the comments! You can also leave a photo/comment on this pin for others to see.
What You Need To Know About This Cream Puff Recipe
Since the whipped cream is sweetened and flavored with vanilla, it’s technically called Crème Chantilly.
Chantilly Cream is a tad sweeter than what we traditionally refer to as whipped cream. Doesn’t it sound more elegant, too? Change things up by adding some flavored liqueur to the whipped cream once you get the basics of the recipe perfected. Some suggestions include amaretto, Irish cream, and rum.
The name of the game with this gluten-free cream puff recipe is patience. Although it’s not a difficult recipe, it does take time and attention to detail.

Ingredients for Homemade Cream Puffs
- Gluten Free Flour – I used my Nightshade Free Gluten Free Flour Blend in this recipe.
- Xanthan Gum – omit if your flour blend contains it.
- Unsalted Butter – I prefer using butter with at least 82% milk fat.
- Granulated Sugar – optional but adds a little flavor to an otherwise flavorless dough.
- Salt – fine sea salt is my preferred salt for baking and cooking.
- Water – I use all water for my Choux Pastry for a sturdier dough. You can use all milk or half milk + half water if you prefer. Using milk with produce a slightly more flavorful and richer pastry but the pastry will be a bit softer and won’t’ get quite as crisp.
- Eggs – Use large eggs for this recipe, which is the standard size egg I use in all my baking recipes.
- Heavy Whipping Cream – use heavy whipping cream instead of heavy cream. It’ll whip up faster because it already has more air incorporated into it.
- Pure Vanilla Extract – store-bought or homemade vanilla extract works great. Just be sure to use pure vanilla extract though and not imitation.
- Powdered Sugar – granulated sugar could also be used.
As an Amazon Associate I earn from qualifying purchases.
Equipment Needed to Make Pate a Choux and Cream Puff Filling
- Medium Sauce Pan
- Mixing Spoon – preferably wood or silicone
- Stand Mixer or Hand Mixer but a stand mixer is preferred.
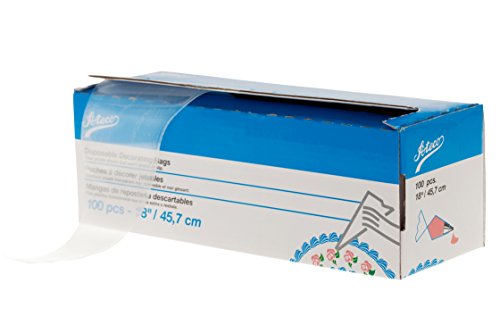
- Large Piping Bag + large round tip – or a medium scoop if you’d rather scoop and drop instead of pipe.
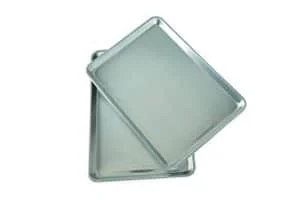
- 2 Half Sheet Pans
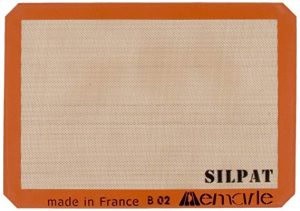
- Parchment Paper or a Silpat Silicone Baking Mat
- Medium Piping Bag + Wilton 1A Tip for piping the Whipped Cream
How to Make Cream Puffs
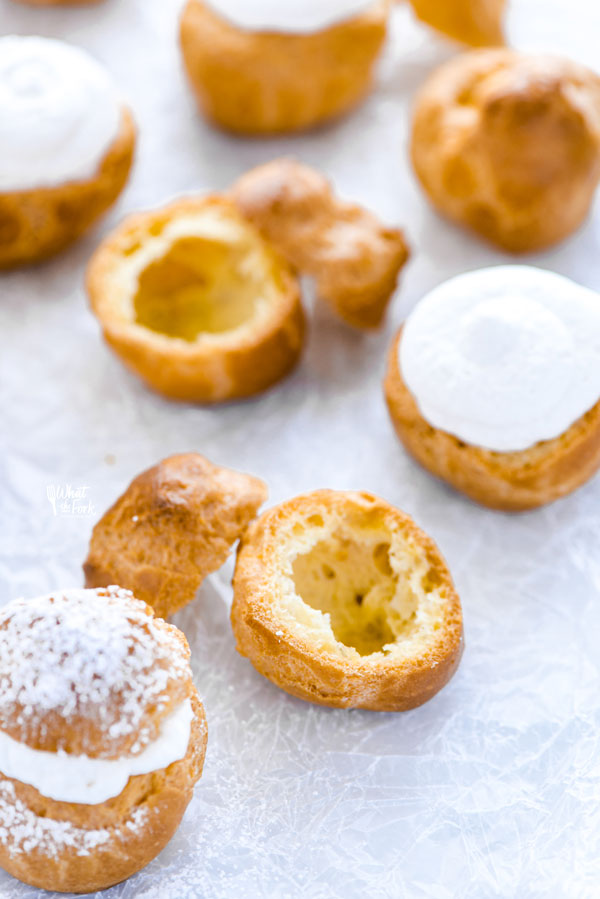
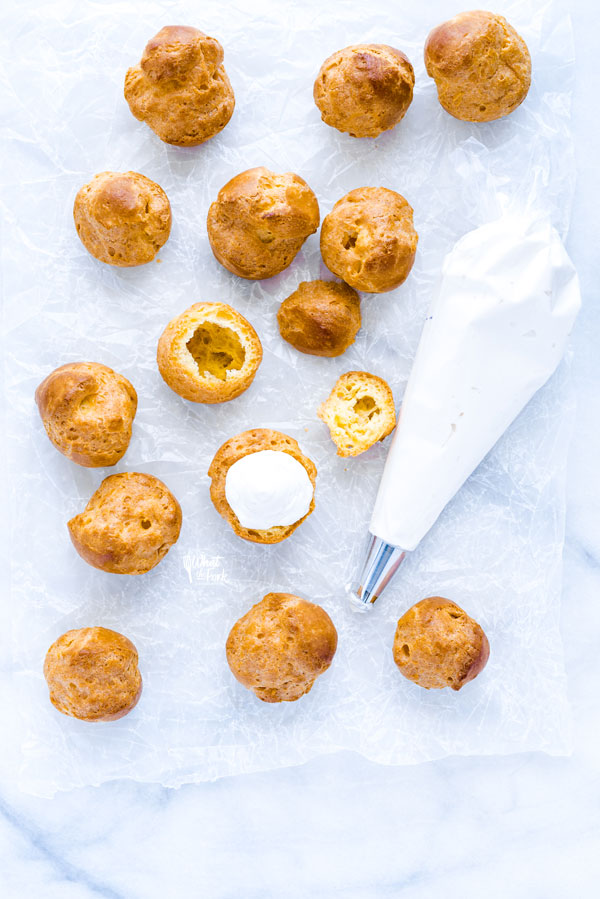
Step 1. Make the gluten free choux pastry recipe for cream puff shells. Cool the shells completely.
Step 2. Make the cream puff filling recipe, which is my recipe for homemade whipped cream.
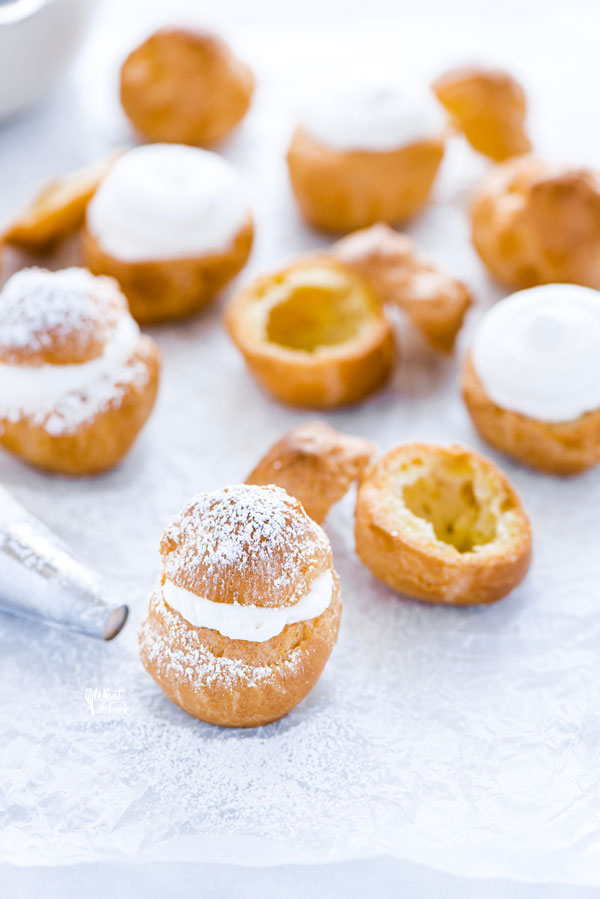
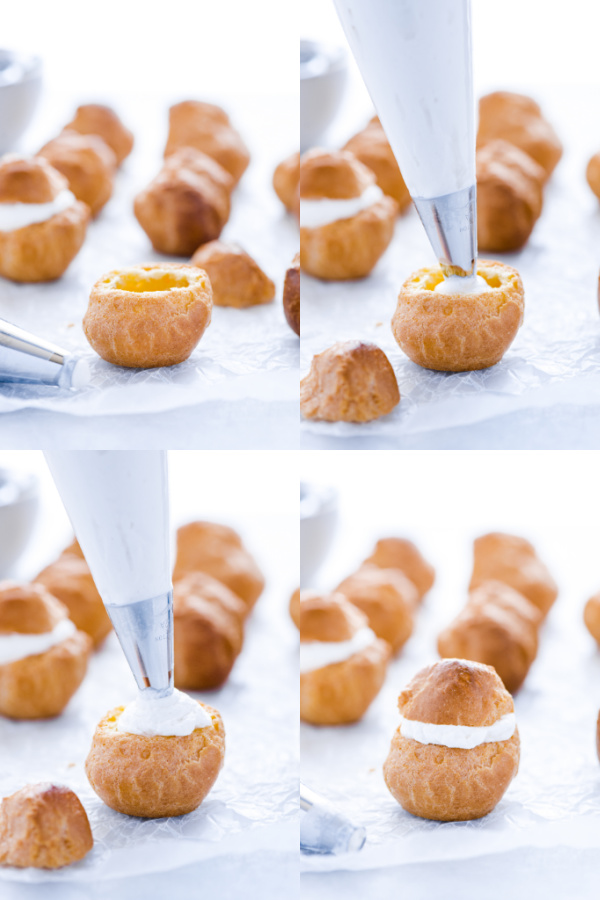
Step 3. Cut the top 1/3 of the choux pastry shells off. Use a piping bag fitted with a round tip to fill the shells with whipped cream.
Step 4. Place the top of the pastry shell on top of the whipped cream and serve immediately or refrigerate until ready to serve. Dust with powdered sugar before serving. See recipe notes for making in advance.

Tips for Making Gluten Free Cream Puffs
- Allow enough space between puffs, to let the steam escape as they bake.
- Do not open the oven door during baking unless absolutely necessary.
- Allow the cream puffs to cool completely before filling them.
- To avoid a soggy mess, don’t fill your gluten-free cream puffs too far in advance to serving them.
- Alternatively, these cream puffs can be filled with Pastry Cream instead or Diplomat Cream, which is a combination of equal parts pastry cream and whipped cream.

Other Gluten Free Choux Pastry Recipes To Try
- Basic Choux Pastry Shells
- Gluten Free Eclairs – pictured below
- Profiteroles
- Churros
- French Crullers
- Gougeres


Be sure to follow me on Instagram and hashtag #whattheforkfoodblog or tag @whattheforkfoodblog – I love seeing what you make!
If you love this easy Cream Puff recipe, be sure to follow me on social media so you never miss a post:
| Facebook | Twitter | Pinterest | Instagram | Youtube | Newsletter |


Gluten Free Cream Puff Recipe
Ingredients
For the Choux Pastry Shells
- 1 cup gluten free flour blend see notes
- 1/2 teaspoon xanthan gum
- 1/4 teaspoon fine sea salt
- 1 tablespoon granulated sugar
- 8 tablespoons unsalted butter
- 1 cup water
- 4 large eggs room temperature
For the Whipped Cream
- 1 cup heavy whipping cream very cold
- 1 teaspoon pure vanilla extract
- 2 tablespoons powdered sugar
Instructions
- Make the Choux Pastry
- Preheat oven to 400 degrees F and line 2 half sheet pans with parchment paper or silicone baking mats.
- In a small bowl, mix together your gluten free flour and xanthan gum and set aside.
- Add the salt, sugar, butter, and water to a medium saucepan. Heat over medium-high heat and bring to a boil.
- Decrease the heat to low and add all of the flour into the hot liquid. Immediately stir it in the flour until it’s moistened and has absorbed all the liquid. The dough will start to form into a ball. Continue to cook over low heat for about a minute.
- Transfer the dough to the bowl of a stand mixer and let the dough cool, no more than 5 minutes. Then, use the paddle attachment to start beating the dough before adding the eggs. This will help re-incorporate the butter if it has separated a bit.
- With the mixer running on medium-low speed, add the first egg. Once the egg is beaten and incorporated, add the second egg. Repeat this step until all the eggs have been mixed into the dough. The dough will look curdled at first but with the addition of each egg, the dough will smooth out and come together. Scrape down the bowl as needed during this process.
- Once all the eggs are added, mix for 30 seconds to a minute. You want a smooth, glossy dough. Please note, gluten free choux pastry dough is much thicker than traditional dough made with all-purpose flour but should still be pipe-able.
- Transfer the dough into a piping bag fitted with a large round tip. Pipe into rounds about 1 1/2 inches wide (about 1 heaping tablespoon of dough) or use a medium scoop to portion the dough. Space the rounds about 2 inches apart to allow for the pastry to puff while baking. Use kitchen shears to help snip the end of the pastry, if desired.
- Once you’ve piped your rounds, dip your fingers in a small bowl of water then smooth out the top of the pastries. You want the surface of the dough as smooth as possible. This will prevent any points from burning and will help form a nicely shaped pastry.
- Then sprinkle a very small amount of water over the pastry dough/baking sheet – you shouldn’t be leaving large puddles of water, just enough to mist the baking sheet.
- Bake the Choux Pastry for 25-30 minutes at 400 degrees. Then, remove from the oven and use a sharp knife to quickly poke a hole in the side of each pastry to help the steam release. Return the pastries to the oven, turn the oven off, and leave them in there for another 5 minutes. When done, the pastries should be dry in the center and hollow on the inside. You can leave them in the oven for an additional 30 minutes to an hour to completely dry them out, just make sure the oven is off.
- Remove the baked pastries from the oven and cool completely on a wire rack before filling.
- Make the Whipped Cream
- Add the heavy whipping cream, vanilla extract, and powdered sugar to a large bowl.
- Beat until medium peaks form (halfway between soft and stiff).
- Serve immediately or refrigerate up to 2 hours before serving.
Assemble- Use a paring knife or a serrated knife to cut the top 1/3 off of each pastry shell.
- Pipe the whipped cream into the pastry bottoms using a piping bag fitted with a round tip.
- Place the tops back on each pastry and then dust the tops of the pastries with powdered sugar. Serve immediately. If serving later, place the cream puffs in the refrigerator after filling and then dust with powdered sugar just before serving.
Video
Notes
- Watch the VIDEO in the blog post for step-by-step visuals on how to make this pastry.
- The recipe yield varies based on the size of pastry you’re making but this recipe makes enough for about 1 1/2 to 2 1/2 dozen round pastries. If you use a scoop instead of piping, you’ll have closer to 1 1/2 dozen.
- I used my Nightshade Free Flour Blend. If you use a flour blend that contains xanthan gum, omit the amount called for in the recipe.
- The water sprinkled on the pastry dough will create steam in the oven to help the pastries rise and puff.
- Choux Pastry is best eaten the day it’s baked but the unfilled pastries can be stored at room temperature in an air-tight container. To re-crisp the shells, bake them for 5 minutes at 350 degrees.
- To freeze the dough, shape and smooth the Choux Pastry on a baking sheet lined with parchment paper or a silicone mat. Then freeze until the dough is frozen solid. Transfer to a freezer safe bag and keep frozen for up to a month. Bake from frozen when ready to bake – do not thaw before baking.
- Baked and un-filled shells can also be frozen. Defrost at room temperature then re-crisp them in the oven at 350 degrees for 5 minutes.
Recommended Products


Nutrition Information
Disclaimers
As an Amazon Associate and member of other affiliate programs, I earn from qualifying purchases.
Nutrition Facts are estimated and aren’t always accurate. Please consult a doctor or nutritionist if you have special dietary needs.
Did you make this recipe? Leave a star rating and let me know in the comments! You can also leave a photo/comment on this pin for others to see.
Love the taste of these cream puffs! I made these yesterday, and this is the first time I’ve attempted cream puffs! The British Baking Show makes the recipe look so easy, but I didn’t find it to be that way!!LOL My first cookie sheet pan turned out great! However, I peaked into the oven on the second one, and they fell flat! I will not do that again!! I know now why you added the tip not to open the oven door during baking!LOL In any case, they taste great, and our company was wowed! (I used the first pan ONLY!) Thank you for sharing your recipe.
You are welcome Sheryl! I’m happy they were so impressed!