

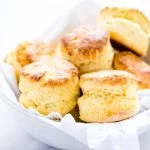


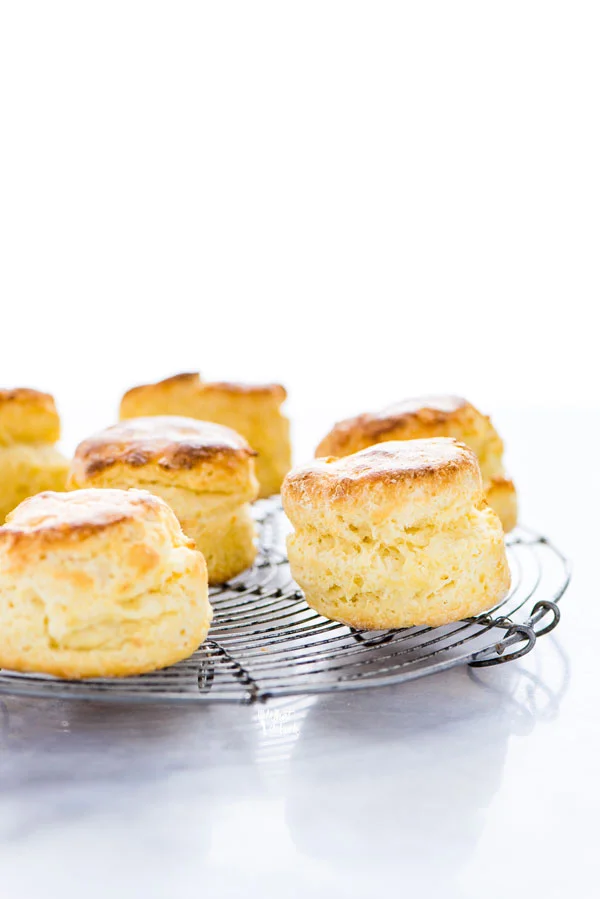
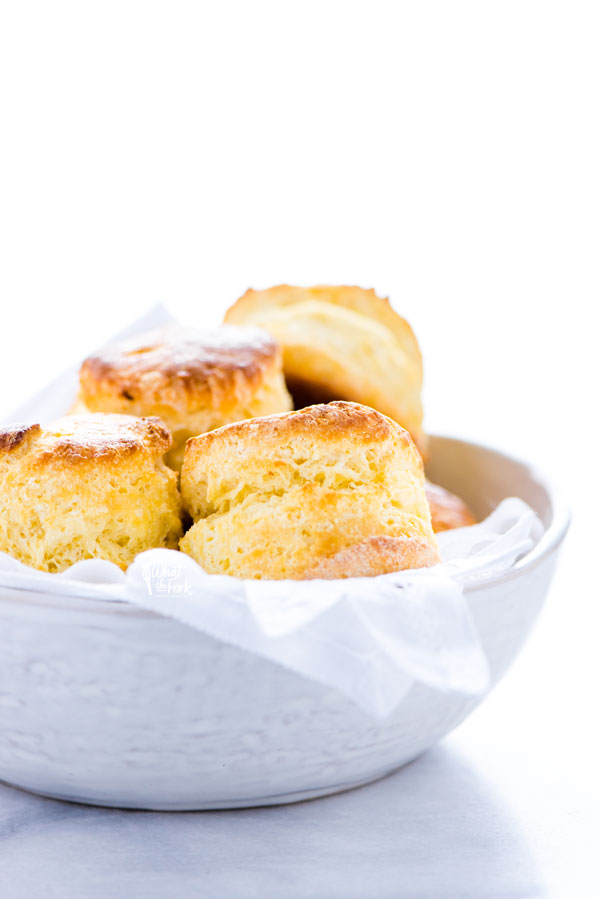
This simple, well-tested recipe for gluten-free scones combines gluten-free flour, cold unsalted butter and buttermilk, producing fluffy British-style scones! They’re perfect for breakfast, brunch or to serve with afternoon tea. Following a few simple steps, in just 30 minutes you’ll have 8 circle-style scones.

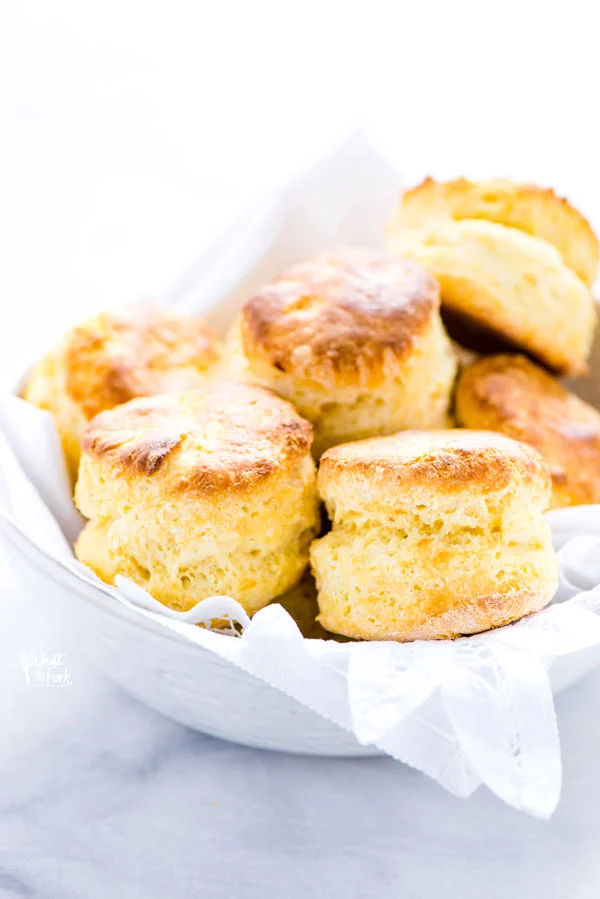
Fluffy Gluten-Free Scones with Buttermilk
This post contains affiliate links for products and ingredients I use and love. You can read my full disclosure here. Thank you for supporting What The Fork Food Blog so I can continue to provide you with free gluten free recipes ♥
Welcome this fluffy gluten free scone recipe to your gluten free breakfast recipe (or brunch!) line-up.
Not only are scones always a fan favorite, but they are versatile so that you can create just about any flavor combo that you’re craving. Gluten Free strawberry scones, Gluten Free vanilla bean scones, Lemon and blueberry, cranberry and orange, chocolate chip, and pumpkin spice are just a few flavor combinations that you can experiment with. No matter the flavor, I think these are collectively the best gluten-free scones out there!
Like macaroons, scones get a bad reputation for being difficult to make. I promise you, though, that this easy scone recipe is going to “wow” you! You don’t have to be an expert baker to make scones by the dozens. As a matter of fact, this scones recipe is fun and you’ll have them out of the oven faster than you think.
Are you a lover of scones? If you’re on the fence, you’re about to cross right over to fandom!

Don’t you just love bread products though? There are so many possibilities with gluten-free bread recipes for you to make! If you like scones, you’ll also enjoy making biscuits with my homemade gluten-free biscuit mix. If you’ve tried making any of these, please give me some feedback in the comments below!
What You Need To Know About This Homemade Fluffy Gluten Free Scone Recipe
I made buttermilk scones today but if you prefer, you can make cream scones. Just replace the buttermilk with heavy cream and omit the baking soda.
This recipe is inspired by an English Scones recipe, or British Scones. They’re different from American Scones which are generally sweeter and have a crumblier texture.
Did you make this recipe? Leave a star rating and let me know in the comments! You can also leave a photo/comment on this pin for others to see.
What’s the difference between British Scones and American Biscuits?
British scones and American biscuits are both delicious, but that’s about all that they have in common.
Biscuits are fluffier in texture and are more of a bread than a pastry. Of course, you can top them off with your favorite jam to make them sweet, but unlike scones, biscuits aren’t sweetened in the baking process.
Scones are typically more dense and crumbly than biscuits. They’re slightly drier (that’s actually a good thing!) and subtly sweet even before adding jam, cream, or a glaze.

Key Ingredients for Fluffy Gluten Free Scones from scratch
- Gluten Free Flour Blend
- Xanthan Gum (omit if your blend contains it)
- Aluminum-free Baking Powder
- Unsalted Butter, cold and cubed
- Large Egg, beaten
- Buttermilk, cold
How to Make Dairy-Free Scones
Are you dairy-free? No worries!
Rich, full-fat coconut milk is a great substitute in this recipe for buttermilk, just add a tablespoon of white vinegar. You can also use Silk Heavy Cream Alternative – it will give you the fat content without the added coconut flavor.
Use dairy free butter in place of the regular butter – my favorite is Miyoko’s European Style Cultured Vegan Butter.

As an Amazon Associate I earn from qualifying purchases.
Importance Of Using Buttermilk and Cold, Unsalted Butter
The buttermilk used in this scone recipe helps to make the scones more tender and fluffy. Also, they will have an ever-so-slight tang to them.
Using cold, unsalted butter helps to make them flaky, with a slight crisp on the outside. Using these ingredients this specific way will help make for the perfectly textured and perfectly flavored gf scone!

How to Make Scones from Scratch
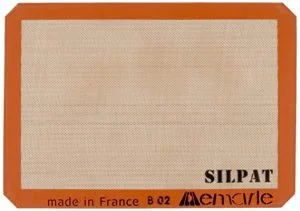
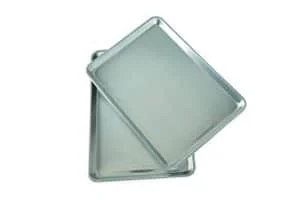
Step 1. Preheat the oven to 400 degrees and line a half sheet pan with parchment paper or a silicone baking mat.
Step 2. In a large bowl, whisk/stir together the gluten-free flour, xanthan gum (if using), granulated sugar, baking powder, salt, and baking soda.
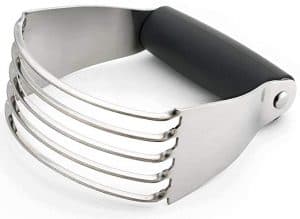
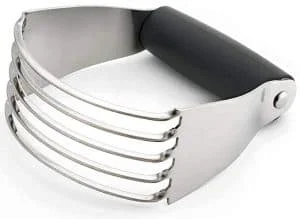
Step 3. Add the butter to the dry ingredients and use a pastry blender (or fork) to cut the butter into the flour until it resembles coarse crumbs.
Step 4. Make a well in the center of the flour/butter mixture and add the egg and buttermilk. Stir the buttermilk and egg together then stir in the flour until all the dry ingredients are incorporated.
Step 5. Turn the dough out onto a lightly floured surface and gently pat the dough into a rectangle (or use a floured rolling pin) until the dough is about 1 1/2 inches thick.
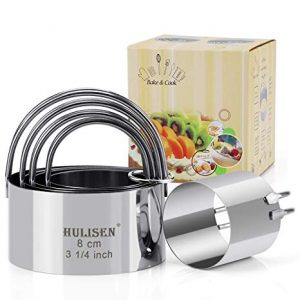
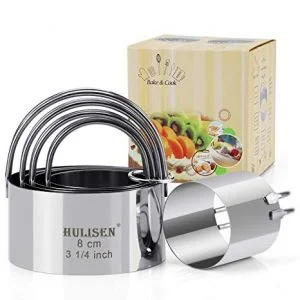
Step 6. Cut the dough with a 2-inch biscuit cutter and place the scones on the prepared baking sheet. Re-roll the dough as needed (by stacking the scraps and flattening).
OPTIONAL STEP (but recommended): refrigerate the scones for 30 minutes before baking.
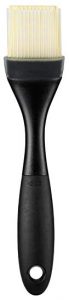
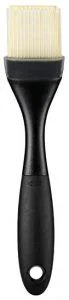
Step 7. Just before baking, brush the tops of the scones with buttermilk. This will make them nice and golden brown.
Step 8. Bake for 12-14 minutes or until the scones are browned and baked through.

Gluten Free Scones Video Tutorial
Tips for Making Scones
- This recipe works well with King Arthur Gluten-Free Measure for Measure Flour and Cup4Cup. Omit the xanthan gum if the blend you use contains it. If you use Cup 4 Cup, the scones will rise a little higher.
- Be sure to measure your flour properly if you’re not using a scale. Over-measuring your flour will result in tough, hard, and dry scones.
- For extra thick, tall scones, roll the dough out to 1 1/2 – 2 inches thick because the scones do not rise as much as scones made with regular all-purpose flour. Thicker scones will take a bit longer to bake and you will only get about 8 scones.
- Be sure to cut your butter into the dough until the pieces of butter are fairly small. If the butter bits are too big, they won’t incorporate into the dough well and the scones will come out dense.
- Try to work the dough as little as possible to keep the scones from being tough.
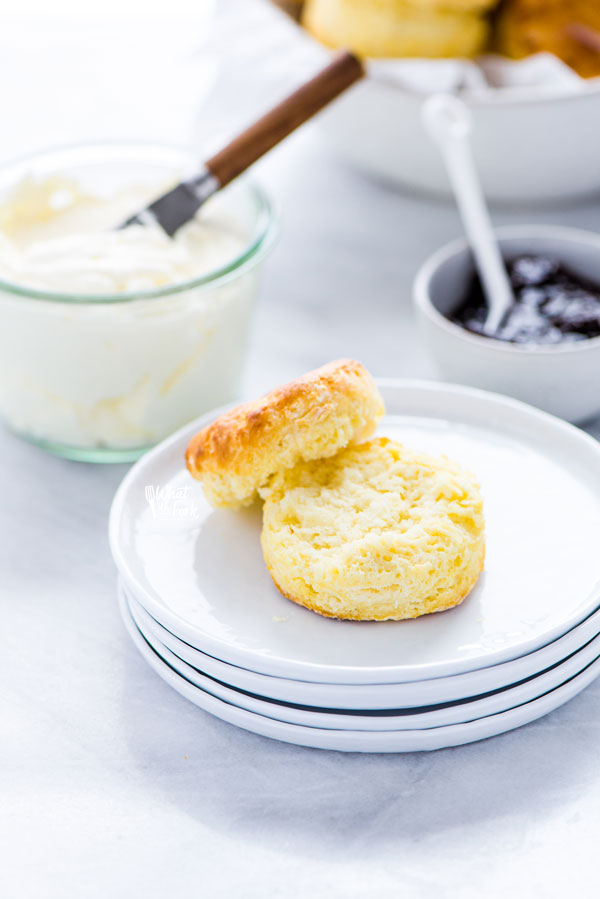
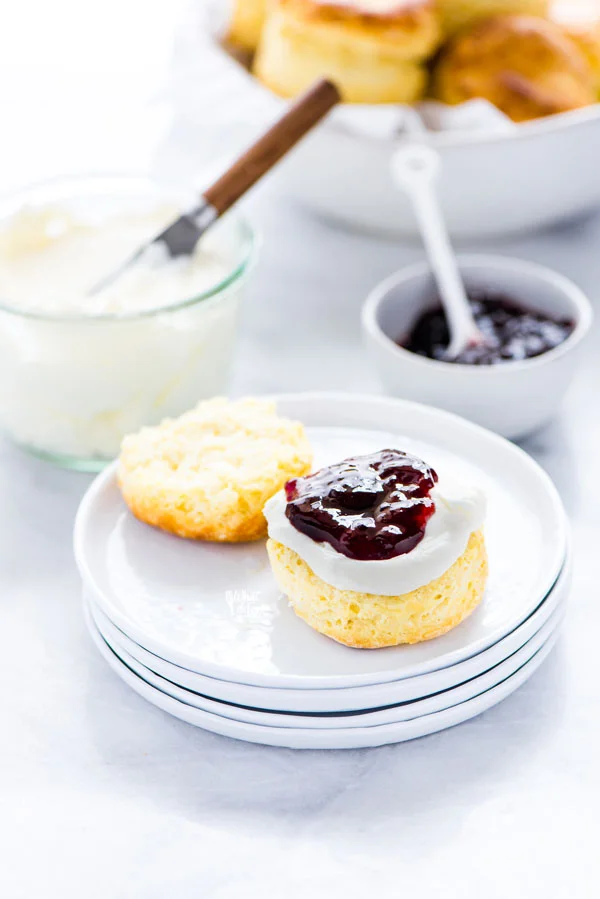
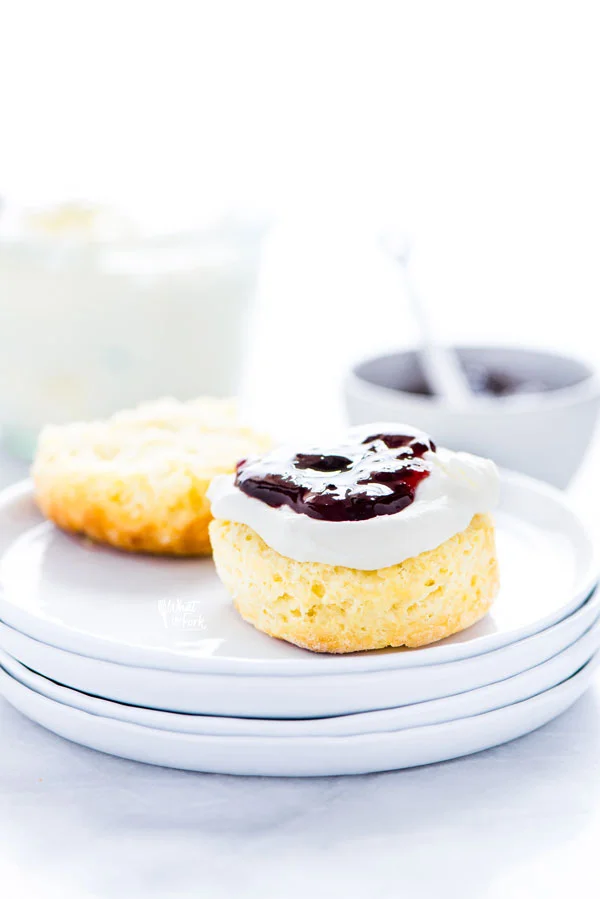
- Serve the scones with Clotted Cream or Faux Clotted Cream and jam.
- Leftover Gluten Free Scones dry out fairly quickly at room temperature. I suggest freezing leftovers and reheating them in the oven.


Be sure to follow me on Instagram and hashtag #whattheforkfoodblog or tag @whattheforkfoodblog – I love seeing what you make!
If you love this recipe for Gluten Free Scones, be sure to follow me on social media so you never miss a post:
| Facebook | Twitter | Pinterest | Instagram | Youtube | Newsletter |


Fluffy Gluten-Free Scones with Buttermilk
Ingredients
- 2 cups gluten free flour blend (see notes) 265g
- 1 teaspoon xanthan gum omit if your blend contains it
- 2 tablespoons granulated sugar 30g
- 1 tablespoon aluminum free baking powder 10g
- 1/2 teaspoon fine sea salt 5g
- 1/4 teaspoon baking soda
- 4 tablespoon unsalted butter cold and cubed
- 1 large egg beaten
- 2/3 cup buttermilk cold
Instructions
- Preheat oven to 400 degrees and line a half sheet pan with parchment paper or a silicone baking mat.
- In a large bowl, whisk/stir together the gluten free flour, xanthan gum (if using), granulated sugar, baking powder, salt, and baking soda.
- Add the butter to the dry ingredients and use a pastry cutter (or fork) to cut the butter into the flour until it resembles coarse crumbs.
- Make a well in the center of the flour/butter mixture and add the egg and buttermilk. Stir the buttermilk and egg together then stir in the flour until all the dry ingredients are incorporated.
- Turn the dough out onto a lightly floured surface and gently pat the dough into a rectangle (or use a floured rolling pin) until the dough is about a 1 1/2 – 2 inches thick.
- Cut the dough with a 2-inch biscuit cutter and place the scones on the prepared baking sheet. Re-roll the dough as needed (by stacking the scraps and flattening).
- OPTIONAL STEP (but highly recommended): refrigerate the scones for 30 minutes before baking.
- Just before baking, brush the tops of the scones with buttermilk. This will make them nice and golden brown.
- Bake for 12-14 minutes or until the scones are browned and baked through.
Video
Notes
- This recipe works well with King Arthur Measure for Measure and Cup 4 Cup. Omit the xanthan gum if the blend you use contains it.
- Be sure to measure your flour properly if you’re not using a scale. Over-measuring your flour will result in tough, hard, and dry scones.
- Be sure to cut your butter into the dough until the pieces of butter are fairly small. If the butter bits are too big, they won’t incorporate into the dough well and the scones will come out dense.
- Try to work the dough as little as possible to keep the scones from being tough.
- Serve with Clotted Cream (or Faux Clotted Cream) and jam.
Recommended Products


Nutrition Information
Disclaimers
As an Amazon Associate and member of other affiliate programs, I earn from qualifying purchases.
Nutrition Facts are estimated and aren’t always accurate. Please consult a doctor or nutritionist if you have special dietary needs.
Did you make these easy scones? Leave a star rating and let me know in the comments! You can also leave a photo/comment on this pin for others to see.
This was my second attempt at these scones. First batch didn’t really rise so changed all purpose flour to SRF and halved baking powder. Tasted amazing.
These were amazing. I added cheese and cayenne. So good!
Spicy AND cheesy?? I LOVE IT!
Light, fluffy, delicious. Since going GF, I’ve felt left out of the baked treats economy. This filled the hole. I adjusted a bit to reduced fat… Used fake butter rather than real and subbed 2 egg whites for whole egg. That resulted in something more biscuit than scone, but honestly it’s even harder to find good GF biscuits than scones.
Thanks for the feedback, Ira!
Fluffy, great consistency and yummy! Thank you.
You’re welcome, glad you enjoyed them as much as we do!
These are the best and so easy to make! I had mine with some blueberry jam and then added a dollop of plain Greek yogurt on top. So good!!
Thank you!
You’re welcome, J!
Hi i want to try this recipie but do u use self raising gluten free flour or regular 🙂
I use regular but Cup4Cup is the brand I highly recommend using for this recipe.
I have tried many GF scone recipes and this is the first that actually came out light and fluffy!! My new go to GF scone recipe. Thank you!
Thanks so much, Emily!
I didn’t have baking soda, but I still made without it anyway.
It is still nice.
Thanks, Essy!
So fluffy, could not stop eating them
Thanks, Sophia!
I did follow the recipe but my scones haven’t risen as much as yours. Any suggestions as to why? They are still in the oven but I know they won’t be rising any more. I used to make great GF scones but seem to have lost the magic touch. I used Bobs Red Mill GF 1 to 1 baking flour.
Thank you
Joan ( in Canada).
Hi Joan, this recipe works best with Cup4Cup. Bob’s Red Mill doesn’t rise as well.
A delicious little scone – light and scrumptious. Made these for a gluten free relative and they were a hit! Added some orange zest, juice of that orange and some cranberries. Will definitely be adding this to my gluten-free Pinterest board. Thanks for sharing the recipe.
I follow the direction but they didn’t puff up they stayed the same size as when I cut them. 1/2 inche.
What flour blend did you use? These really work best with Cup4Cup.
Excellent recipe. So much so that I feel confident in offering to make scones for bidding at our church auction. Thank you.
Thank you!
Thank you, Holly!
Do these freeze well? They look delicious.
Yes, they do!
Hello! These look wonderful! I’m wondering if I would get similar results if I add in blueberries and lemon zest?
I haven’t tried it yet but that sounds delicious!
These are so good and I am in love with the texture of the scones! They rose so well and we really enjoyed it for our weekend breakfast!
Thank you Sandhya!
I’m not much of a baker but all your tips and suggestions helped make this a success. It’s so important to have allergy-friendly options for gluten-free baking!
Thank you Cara!
I made these delicious scones yesterday and believe me they may be gluten free but they sure have plenty of taste. I did the buttermilk version and turned out perfectly. We had them for breakfast with a bit of sweet butter and homemade strawberry preserves. So good!! Will be making them again soon.
Thank you Marisa!
Hi, I planned on making these tomorrow. Why do you say omit the baking soda if using heavy cream?
Thank you,
Karen Alessi
The acid in the buttermilk helps activate the baking soda and you won’t get that reaction with heavy cream. However, you can add 2 teaspoons white vinegar to your heavy cream if you prefer.
Highly recommend these scones. They are really good. I am Scottish and have been baking scones for over 50 years but now have to eat gluten free. I found this recipe and I don’t have to look any further. I used Bob’s Red Mill GF flour measure for measure therefore did not need the X-gum. You would never know they are GF, they are that good. Give them a try…..you won’t be disappointed.
Can I use your nightshade free, gluten free flour here? Would love to make these but all those store bought gluten free flour mixes have potato starch and I can’t eat that!
Hi Emily, while that blend will work, it won’t produce the same texture and rise. I would suggest replacing 2 or 3 tablespoons of the flour with the same amount of dry milk powder. The extra protein from the milk powder (found in Cup4Cup) really helps with the structure of the scones.
I don’t usually comment on food blogs, even when the recipes are good, but holy shit these are amazing! These are just as good as the scones in the UK to my memory. I added currants and had topped with strawberries and cream. Thank you so much for making this recipe available!!!
Thank you Maddie!
I’ve made these three times and they always turned out perfectly. The last two times I cut the recipe in half so I adjusted by using a small egg or half of a flax egg. I also added about a half cup of frozen blueberries when I had the original recipe complete. They are light, fluffy and beautiful. This is my favorite GF scone recipe in the last year. They don’t take long to make which makes my husband very happy since we have these after rearranging snowflakes and being outside for a couple of hours. 🙂
Excellent! Another GF win from What the Fork. This is probably the best GF scone I’ve made, and I’ve made a lot over the years. Most that could double as hockey pucks. I did follow the directive to not overwork the dough, and when I turned the (very sticky) dough onto the floured surface, I just pressed lightly to get it into the rectangle shape. I cut triangles instead of using a biscuit cutter, so I also did not rework the dough to use up the spaces between a biscuit cutter. Absolutely delightful, and seems like an very versatile recipe for add-ins.
I’m so glad you liked it and it worked out for you. Thank you for your kind words!
These scones were so delicious. Light with a delicious flavor that’s not too sweet. I had never made scones before and all my biscuit tries end up as failures so I was a bit nervous. But I followed the recipe, notes and tips as Shay indicated and success! It has given me confidence to keep trying her biscuit recipes 🙂