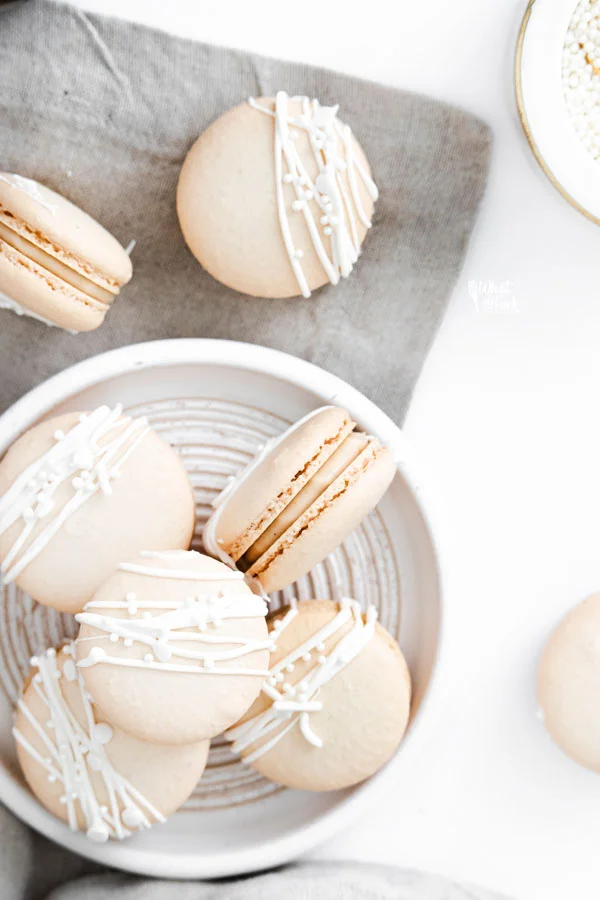
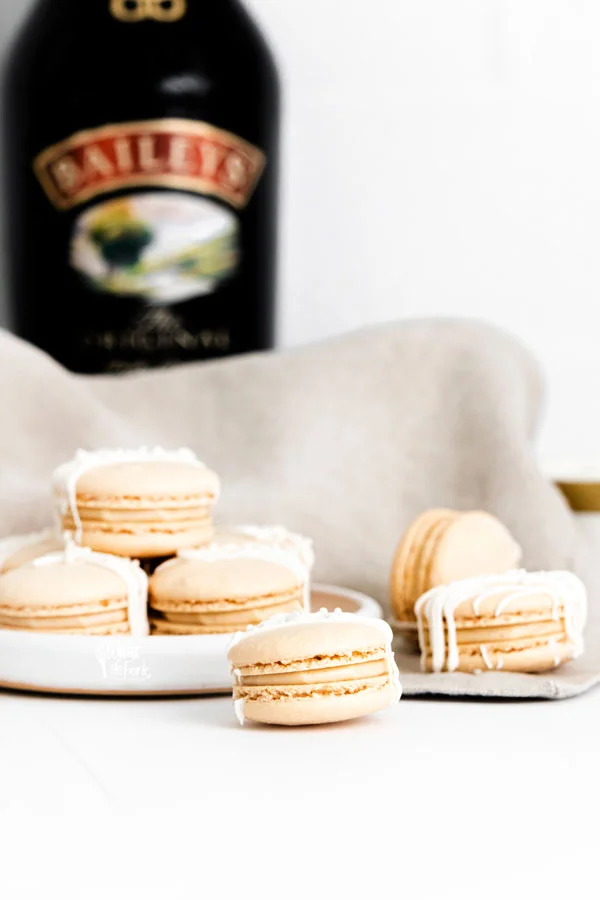
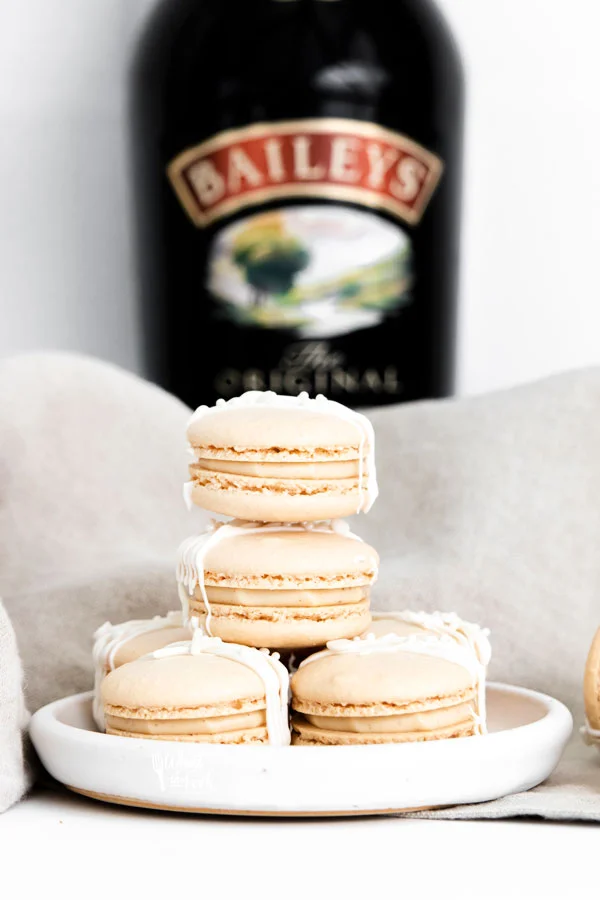
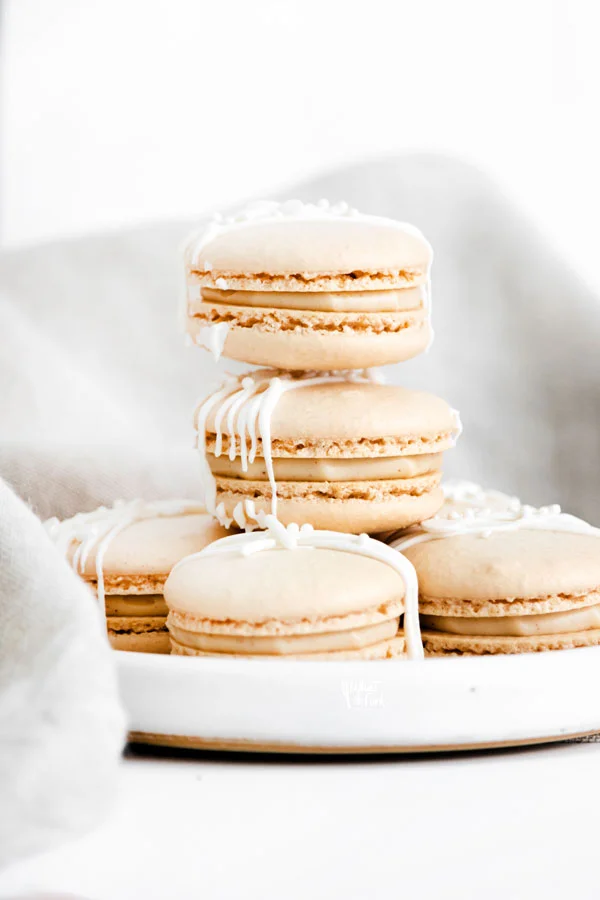
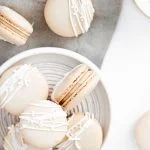
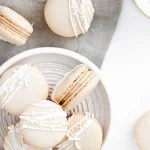
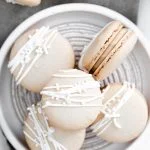
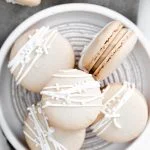
This Baileys Irish Cream Macaron Recipe is perfect for St. Patrick’s Day. They’re filled with a delicious Baileys-infused cream cheese filling.
This post contains affiliate links for products and ingredients I use and love. You can read my full disclosure here. Thank you for supporting What The Fork Food Blog so I can continue to provide you with free gluten free recipes ♥
Baileys Irish Cream Macaron Recipe
Macarons just got better! This Irish cream-filled easy macarons recipe is here just in time for St. Patty’s Day. What’s better than Bailey’s Irish Cream? A dessert made with Bailey’s!
If you’ve not perfected homemade macarons just yet then this is a great recipe to start with. You’ll find that making macarons isn’t nearly as complicated as you may think. I’ll walk you through the process step by step and give you helpful notes along the way. These sweet treats are the perfect follow-up to your St. Patrick’s Day dinner of Shepard’s Pie.
Grab a (green) apron and let’s get started!
Note: No judgment for drinking Bailey’s as you make these lucky macarons! as long as you’re 21+ 😉
Are Macarons Gluten Free?
Lucky you! French macarons are naturally gluten-free since they’re made with almond flour.
For those with Celiac Disease, it’s always the safest bet to make your own macarons at home to ensure that they haven’t been tainted by gluten in cross-contamination. Depending on your sensitivity to gluten, it’s important to always ask the bakery for a list of ingredients used rather than assume they’re gluten-free. Some store-bought macarons found in the freezer aisle may use gluten as a preservative.
So always check your labels and the safest bet is to just make them yourself.
Did you make this recipe? Leave a star rating and let me know in the comments! You can also leave a photo/comment on this pin for others to see.
Macaroons Vs. Macarons
Let’s break down the differences:
Macaron (pronounced mack-a-ROHN)
- two gluten-free cookies with jam or sweet filling sandwiched between them
- made with almond flour
- come in variations of colors and flavors
Macaroon (pronounced mack-a-ROON)
- is a mounded cookie made with shredded coconut
- made with coconut
- primarily the same across the board, although they can be dipped in various types of chocolate
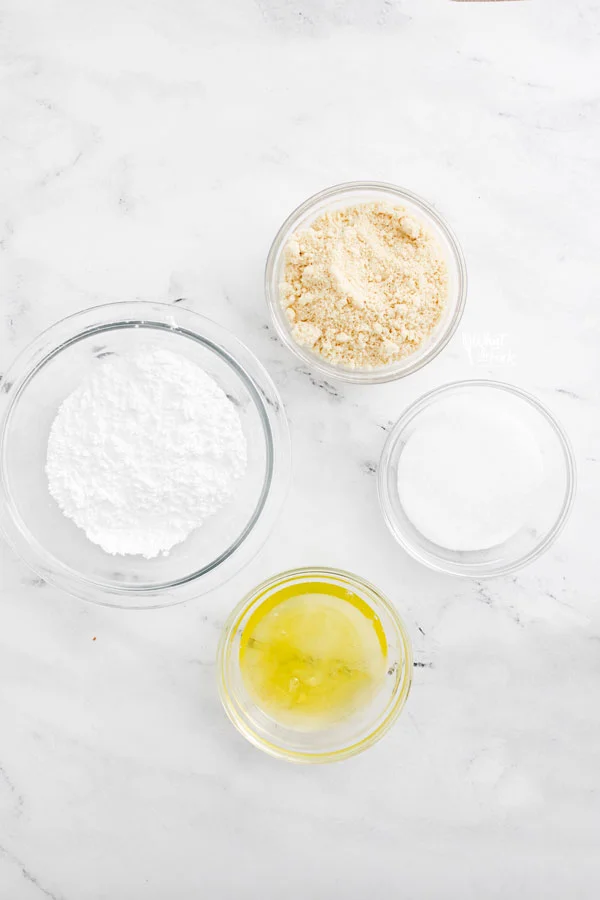
Macaron Ingredients
- Egg Whites
- Granulated Sugar
- Powdered Sugar
- Almond Flour
- Cream Cheese
- Irish Cream – I used Baileys Irish Cream
- Ground Cinnamon – just a pinch and it’s optional. Omit if you want the flavor of the Irish Cream to come through more.
As an Amazon Associate I earn from qualifying purchases.
Equipment Needed to Make French Macarons
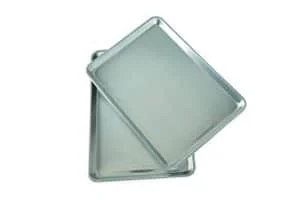
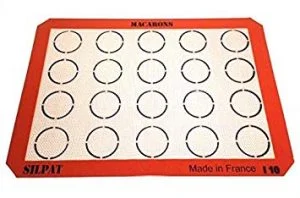
- 2 Half Sheet Pans, lined with parchment paper or Silpat Macaron Mats
- small saucepan
- heatproof bowl
- whisk
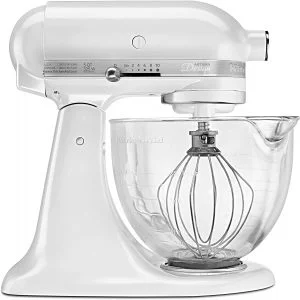
- KitchenAid Stand Mixer or Hand Mixer
- fine mesh stainless steel strainer/sifter
- spatula
- Large Piping Bag with a Round Piping Tip
How to Make Macarons
Step 1. Line two standard baking sheets with Silpat Macaron Mats or parchment paper. If you use parchment, make sure it lies flat so you don’t end up with lopsided macarons.
Step 2. Make sure to measure out all of your ingredients before you get started. Fill a small saucepan halfway full with water and set it over medium heat. Place a heatproof bowl over the pan, making sure that it doesn’t touch the water.
Step 3. Add the egg whites and granulated sugar to the bowl and whisk constantly until the sugar has fully dissolved– about 2-3 minutes. You can test to make sure the sugar is dissolved by pinching the mixture between your fingers. If it’s smooth, it’s ready. If it feels grainy or sandy, keep whisking for another minute.
Step 4. Transfer the egg white mixture to the bowl of a stand mixer fitted with the whisk attachment. Beat on medium-high speed until the egg whites reach a stiff peak.
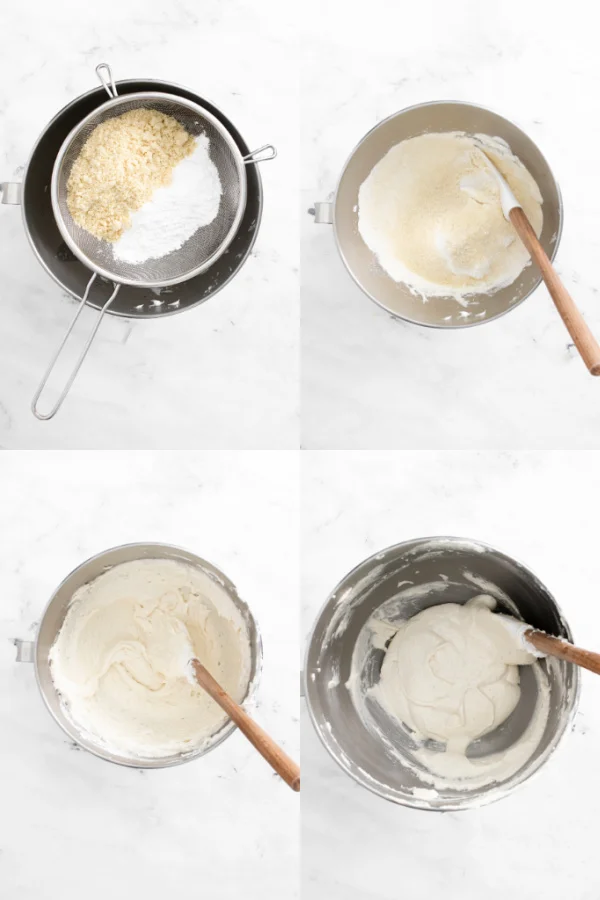
Step 5. Sift the powdered sugar and almond flour into the stiff egg whites. Fold the mixture together gently, making sure to scrape the sides of the bowl as you fold. Be careful not to deflate the egg whites yet.
Step 6. Once all of the dry ingredients have been incorporated, smush the batter against the sides of the bowl in a circular motion and then scrape down the sides of the bowl and fold it all back together. Repeat the deflating process until the batter flows smoothly off the spatula– depending on how much you deflate each time, between 4-6 smush-and-folds.
Step 7. Test the batter’s consistency by slowly drawing a figure 8 with the batter. If the 8 flows off the spatula in a constant stream, it’s ready to pipe. If it breaks or falls off in clumps, smush and fold a few more times before trying the Figure 8 test again.
Step 8. When the meringue flows smoothly, transfer the mixture to a piping bag fitted with a round tip (I like a Wilton #10).
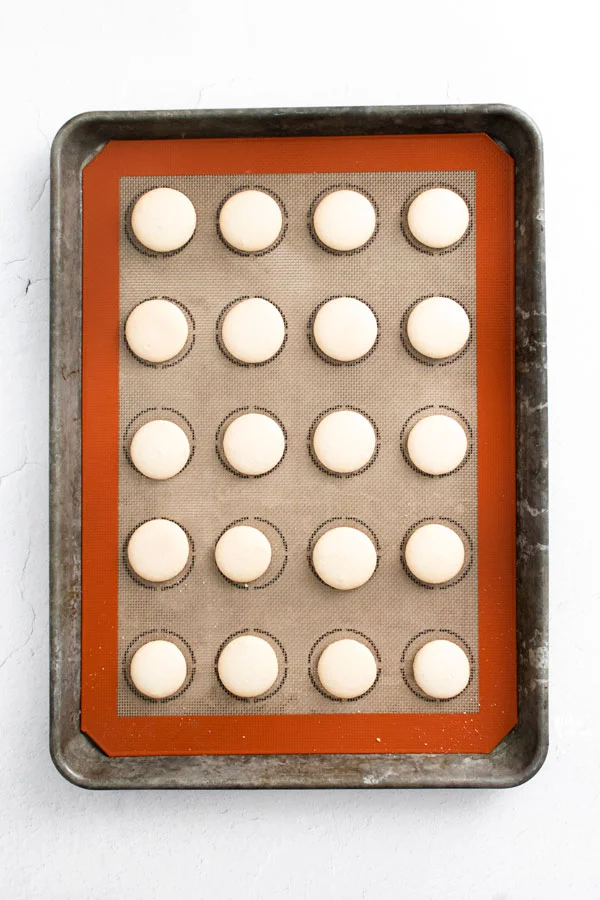
Step 9. Pipe 1” circles about 2” apart (using a macaron mat can help with this). Immediately once you’ve finished piping one tray, hold it 6-8” off the counter and drop it straight down to release any air bubbles. Repeat 5-6 times, or until any large air bubbles have popped. The macarons will flatten slightly– that’s okay!
Step 10. Set the trays aside to rest for 25-30 minutes or until they develop a skin. When they’re ready to bake, you should be able to touch them gently without the meringue sticking to your hands.
Step 11. While the macarons rest, preheat your oven to 325F.
Step 12. Bake the trays one at a time for 14 minutes, flipping them around halfway through baking.
Step 13. Allow the macarons to cool before removing them from the tray (this helps prevent sticking).
For the Filling
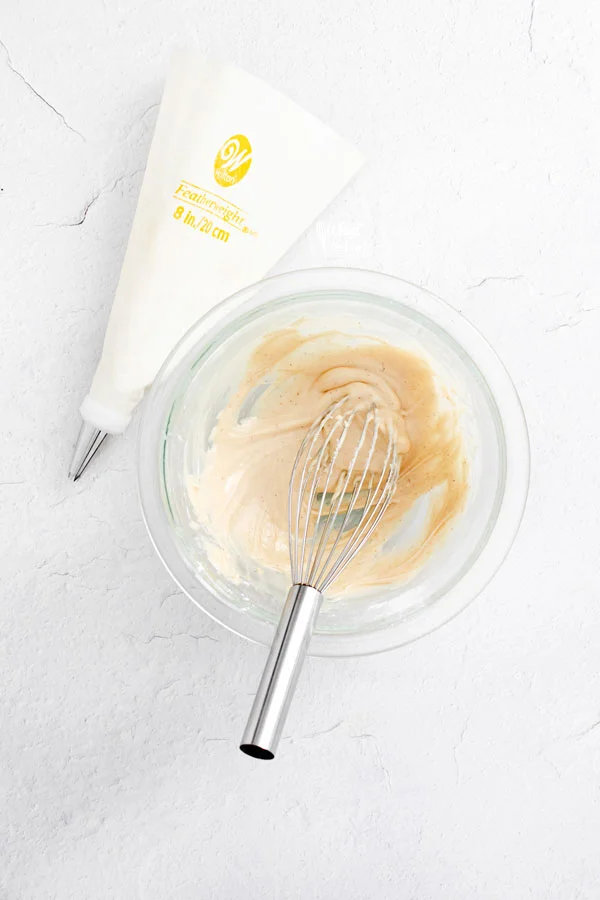
Step 1. Whisk together the cream cheese and Irish Cream until smooth. Add the powdered sugar and cinnamon and whisk until combined– about 1-2 minutes.
Step 2. Transfer the mixture to a piping bag and set aside until ready to use.
To Assemble and Age
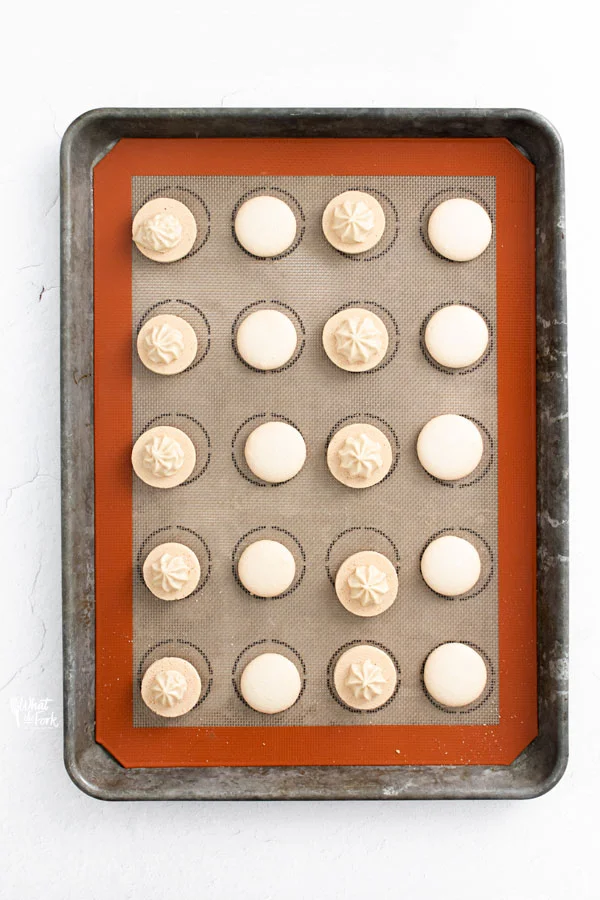
Step 1. Place the macarons in similar-sized pairs. Pipe a small dollop of filling on one macaron and place another on top. Press gently, just until the filling reaches the edges.
Step 2. Place the macarons in an airtight container in the fridge to age overnight. Bring to room temperature before serving.
How to Store Macarons
Make sure your macarons are stored in an airtight container. If the bottom of your macarons are sticky, I recommend placing a piece of plastic wrap or parchment paper in between each layer as you stack them on top of one another.
How Long Do Macarons Last?
Macarons last 3 days in the refrigerator. If you’re taking them out of the freezer then they last 3-4 days once completely thawed.
Tips for Making this French Macaron Recipe
- Make sure to hold the piping bag perpendicular to the tray while piping. Holding it at an angle can result in lopsided macarons.
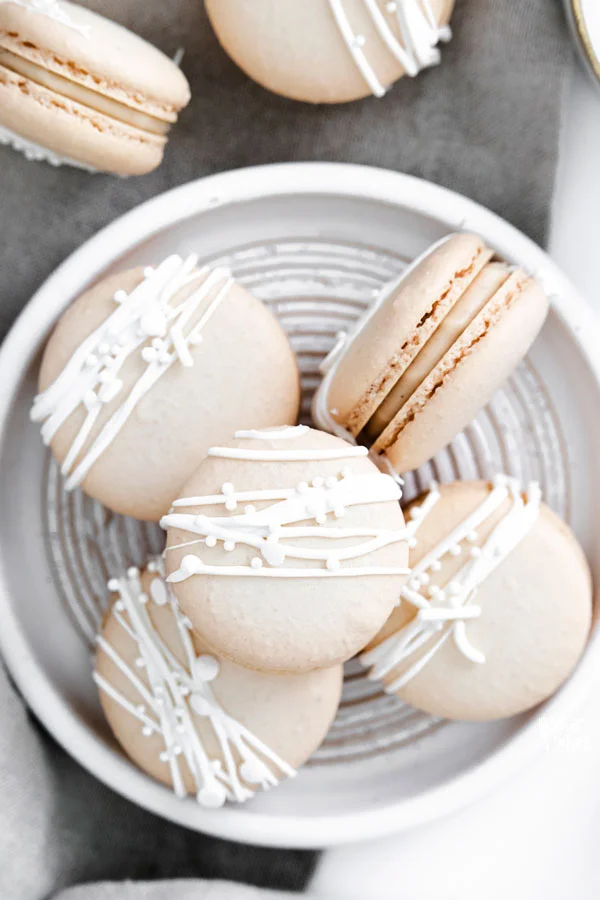
- Aging the macarons overnight is optional but highly encouraged! It will help soften the shell and create that perfect crisp and chewy macaron that we all know and love.
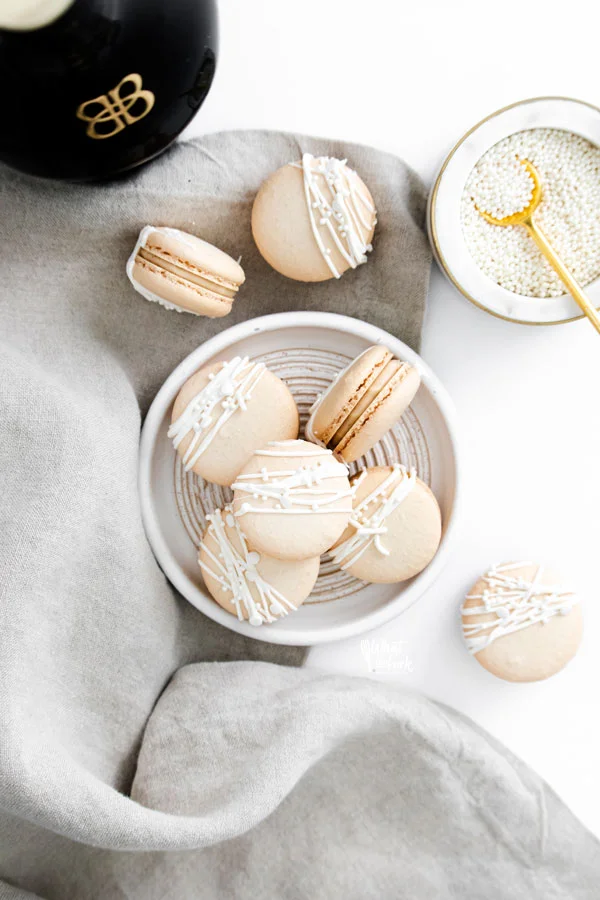
- I decorated the macarons with melted white chocolate and sprinkles, but that is optional.
Other French Macaron Recipes To Try
Be sure to follow me on Instagram and hashtag #whattheforkfoodblog or tag @whattheforkfoodblog – I love seeing what you make!
If you love this Irish Cream Macaron recipe, be sure to follow me on social media so you never miss a post:
| Facebook | Twitter | Pinterest | Instagram | Youtube | Newsletter |
Baileys Irish Cream Macaron Recipe
Ingredients
For the Shells
- 90 grams egg whites
- 90 grams granulated sugar
- 95 grams powdered sugar
- 95 grams almond flour
For the Filling
- 20 grams cream cheese softened
- 20 grams Irish Cream liqueur
- 40 grams powdered sugar
- Pinch of Cinnamon to taste (optional)
Instructions
- For the Shells
- Line two standard baking sheets with Silpat Macaron Mats or parchment paper. If you use parchment, make sure it lies flat so you don’t end up with lopsided macarons.
- Make sure to measure out all of your ingredients before you get started.
Fill a small saucepan halfway full with water and set it over medium heat. Place a heatproof bowl over the pan, making sure that it doesn’t touch the water. - Add the egg whites and granulated sugar to the bowl and whisk constantly until the sugar has fully dissolved-- about 2-3 minutes. You can test to make sure the sugar is dissolved by pinching the mixture between your fingers. If it’s smooth, it’s ready. If it feels grainy or sandy, keep whisking for another minute.
- Transfer the egg white mixture to the bowl of a stand mixer fitted with the whisk attachment. Beat on medium-high speed until the egg whites reach a stiff peak.
- Sift the powdered sugar and almond flour into the stiff egg whites.
Fold the mixture together gently, making sure to scrape the sides of the bowl as you fold. Be careful not to deflate the egg whites yet. - Once all of the dry ingredients have been incorporated, smush the batter against the sides of the bowl in a circular motion and then scrape down the sides of the bowl and fold it all back together. Repeat the deflating process until the batter flows smoothly off the spatula-- depending on how much you deflate each time, between 4-6 smush-and-folds.
- Test the batter’s consistency by slowly drawing a figure 8 with the batter. If the 8 flows off the spatula in a constant stream, it’s ready to pipe. If it breaks or falls off in clumps, smush and fold a few more times before trying the Figure 8 test again.
- When the meringue flows smoothly, transfer the mixture to a piping bag fitted with a round tip (I like a Wilton #10).
- Pipe 1” circles about 2” apart (using a macaron mat can help with this). Immediately once you’ve finished piping one tray, hold it 6-8” off the counter and drop it straight down to release any air bubbles. Repeat 5-6 times, or until any large air bubbles have popped. The macarons will flatten slightly-- that’s okay!
- Set the trays aside to rest for 25-30 minutes or until they develop a skin. When they’re ready to bake, you should be able to touch them gently without the meringue sticking to your hands.
- While the macarons rest, preheat your oven to 325F.
- Bake the trays one at a time for 14 minutes, flipping them around halfway through baking.
- Allow the macarons to cool before removing them from the tray (this helps prevent sticking).
- For the Filling
- Whisk together the cream cheese and Irish Cream until smooth. Add the powdered sugar and cinnamon and whisk until combined-- about 1-2 minutes.
- Transfer the mixture to a piping bag and set aside until ready to use.
- To Assemble and Age
- Place the macarons in similar-sized pairs. Pipe a small dollop of filling on one macaron and place another on top. Press gently, just until the filling reaches the edges.
- Place the macarons in an airtight container in the fridge to age overnight. Bring to room temperature before serving.
- Store in the fridge for up to three days.
Notes
- Make sure to hold the piping bag perpendicular to the tray while piping. Holding it at an angle can result in lopsided macarons.
- Aging the macarons overnight is optional but highly encouraged! It will help soften the shell and create that perfect crisp and chewy macaron that we all know and love.
- I decorated the macarons with melted white chocolate and sprinkles, but that is optional.
Recommended Products
Nutrition Information
Disclaimers
As an Amazon Associate and member of other affiliate programs, I earn from qualifying purchases.
Nutrition Facts are estimated and aren't always accurate. Please consult a doctor or nutritionist if you have special dietary needs.
Did you make this recipe? Leave a star rating and let me know in the comments! You can also leave a photo/comment on this pin for others to see.








Oh these sound amazing! My son just got a macaron mat for Christmas and wants to start making a variety of flavors and kinds– I’m adding this to the wish list of ones I want to try.
Thanks, Joanne!