


These classic Nanaimo Bars are a Canadian staple. This version was adapted from the official Nanaimo recipe to be gluten free. They’re an easy no-bake dessert recipe that everyone loves!


This post contains affiliate links for products and ingredients I use and love. You can read my full disclosure here. Thank you for supporting What The Fork Food Blog so I can continue to provide you with free gluten free recipes ♥
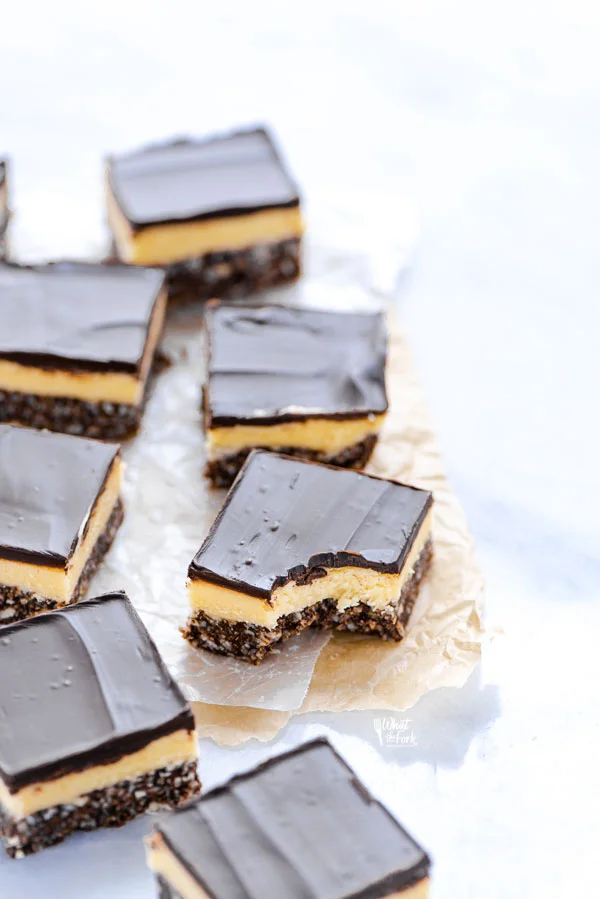
Gluten Free Nanaimo Bars
You’ve just stumbled across a gluten-free dessert recipe that will be a game-changer on those busy days. Every layer of these Nanaimo Bars is pure bliss. Sweet, nutty, chocolaty, and oh so loveable!
Life happens and we all need easy no-bake desserts to add to our “I Can’t Even” list. Even the most passionate bakers need to take a break and prop their feet up for a while. You know the pinches you can find yourself in–all of a sudden your kid tells you they need to take a dessert to an event, a friend drops by unexpectedly, or those late-night cravings hit hard.
These Nanaimo Bars are gluten-free and are perfect for any “no-bake” situation you may find yourself in! They’re a favorite in my house and I believe you’ll find them just as delicious and frankly, addicting, as we do.
Grab an apron, throw your hair up in a messy bun, and let’s get to making this easy no-bake dessert.
Did you make this recipe? Leave a star rating and let me know in the comments! You can also leave a photo/comment on this pin for others to see.
What are Nanaimo Bars?
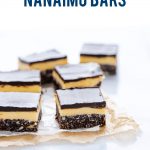
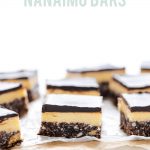
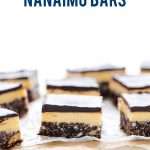
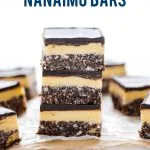
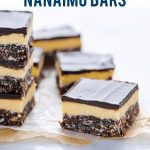
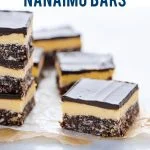
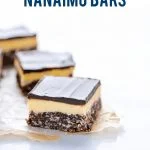
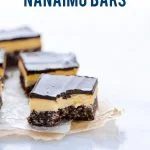
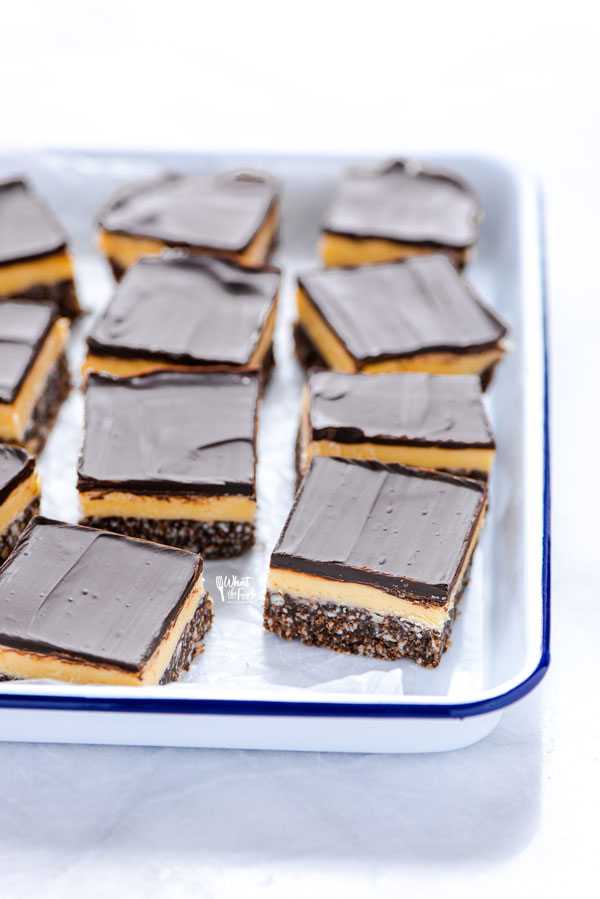
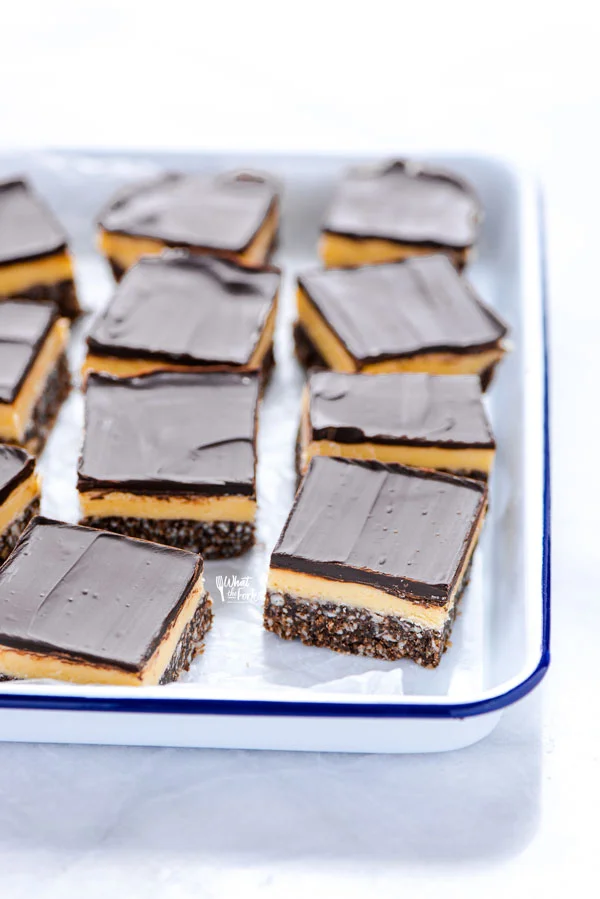
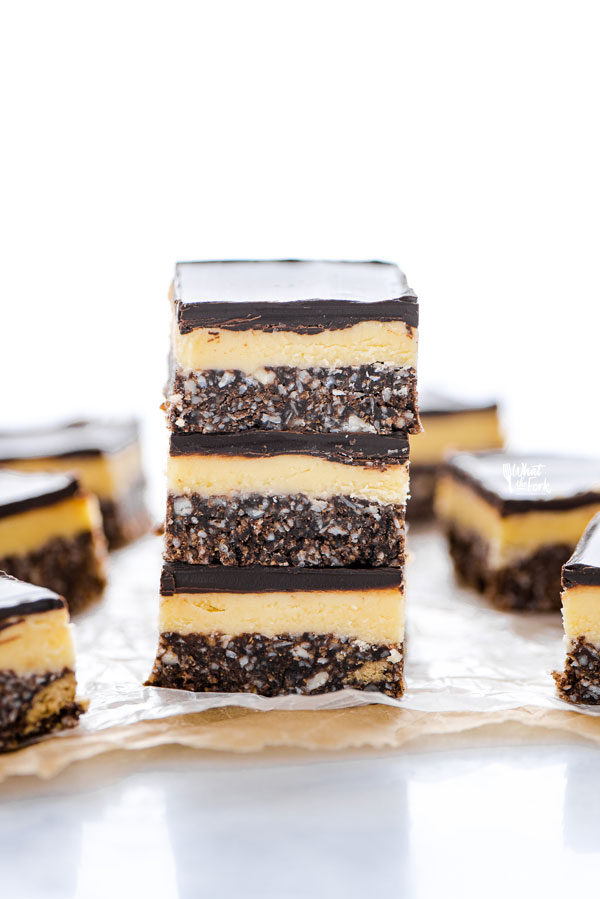
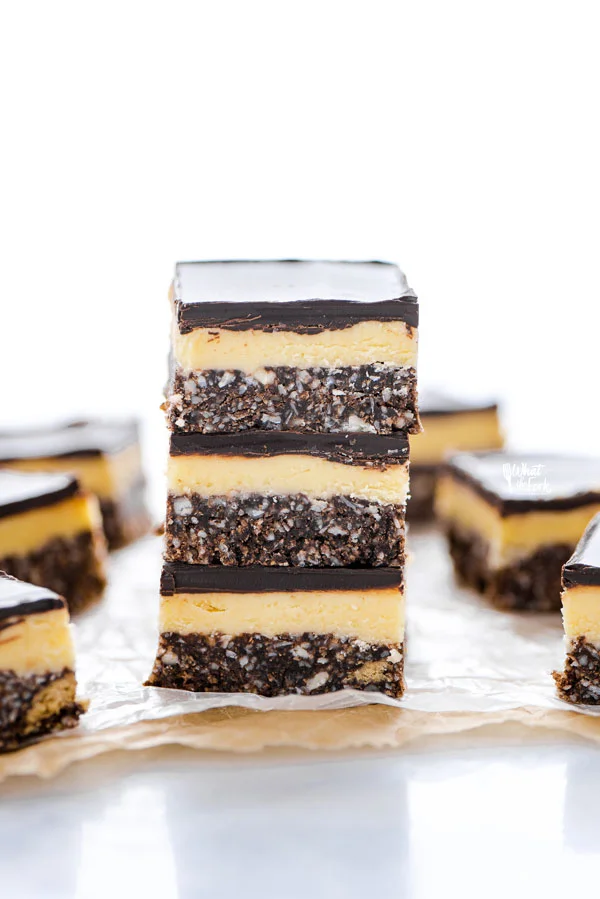
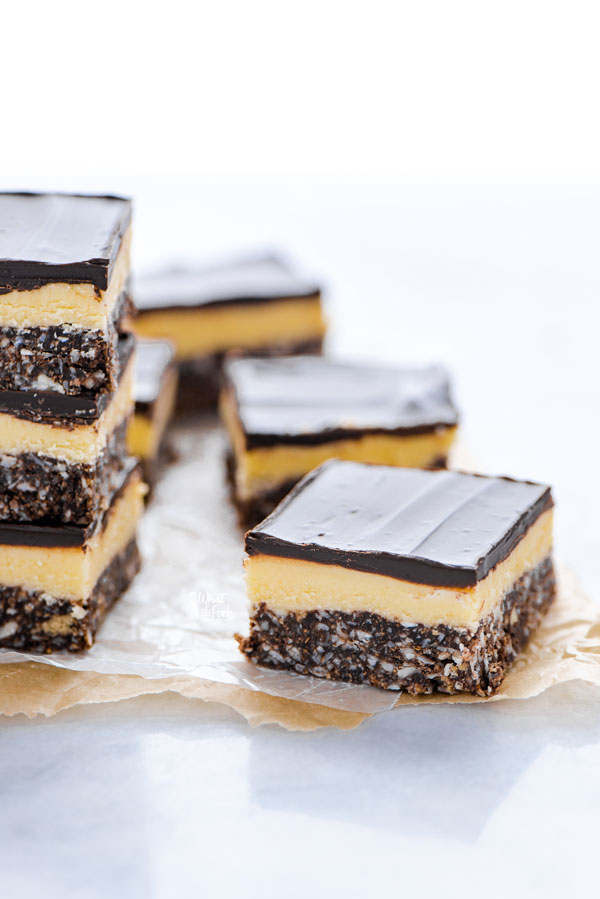
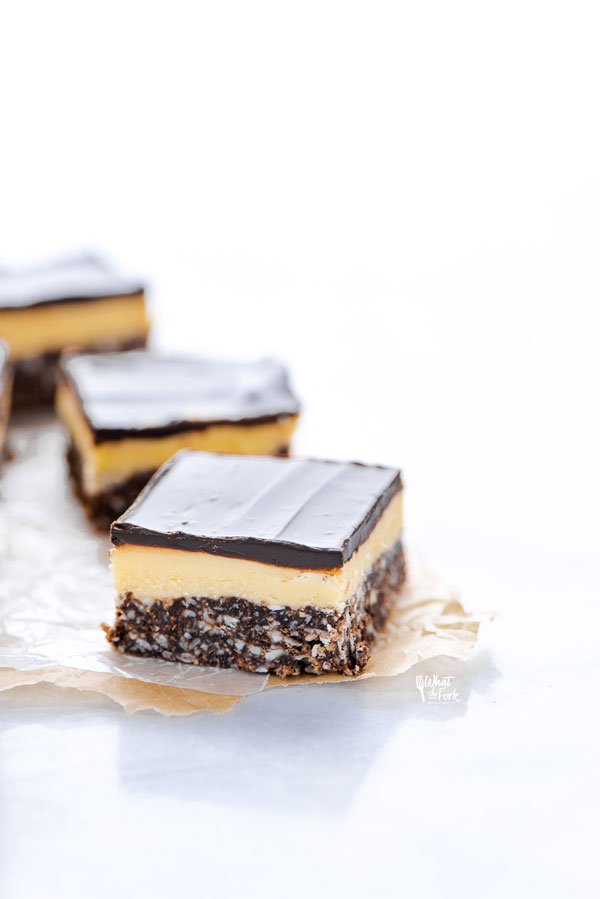
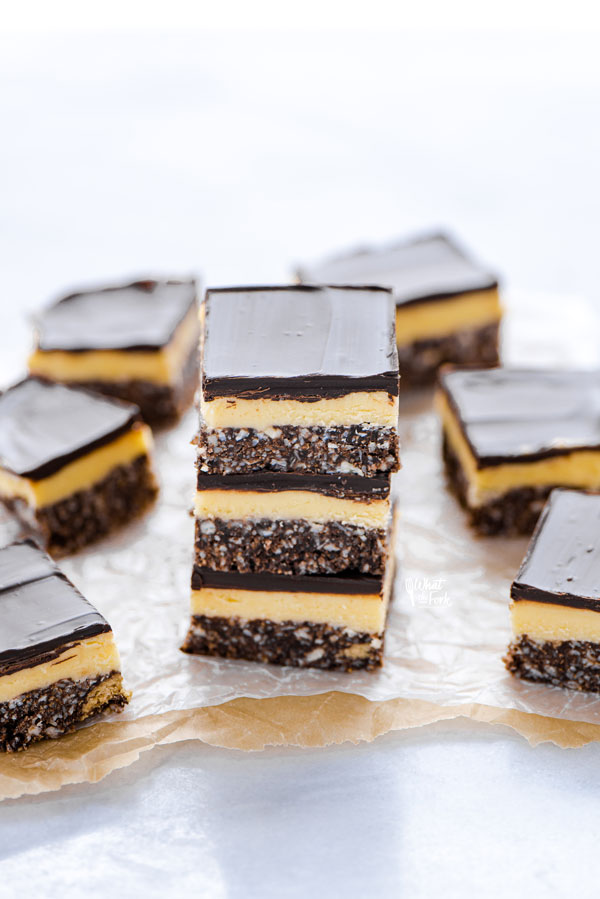
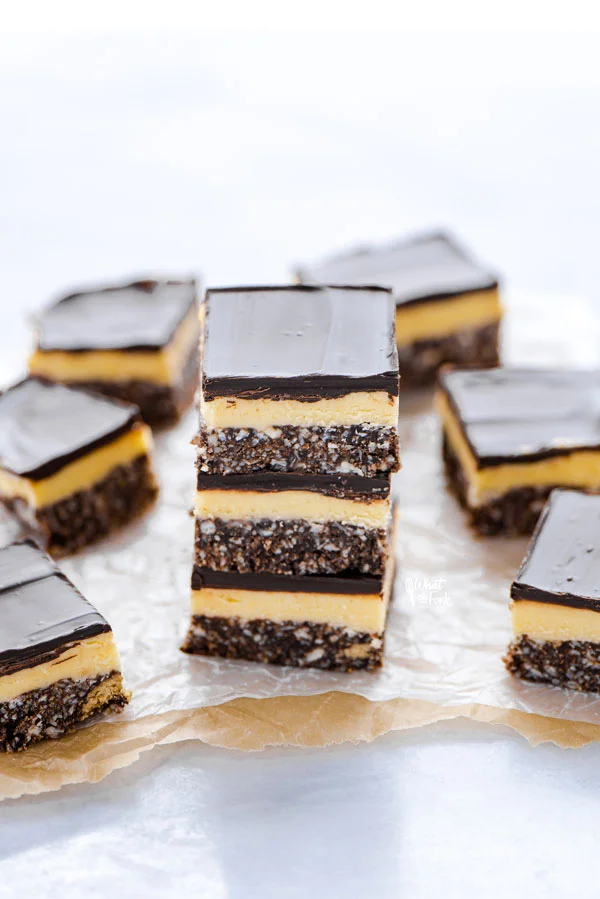
The Canadians have blessed us with this easy no-bake dessert. Nanaimo Bars are named after the city of Nanaimo, British Columbia. Nanaimo Bars are made of three layers: a wafer, nut, and coconut crumb base; custard icing in the middle; and a layer of chocolate ganache on top.
If you’re a fan of balanced sweet and salty then you’ll love this no-bake dessert! In fact, this recipe was adapted from the official City of Nanaimo recipe.


As an Amazon Associate I earn from qualifying purchases.
Nanaimo Bar Ingredients
- Unsalted Butter – cultured European style recommended. I use Vermont Creamery (not sponsored).
- Granulated Sugar
- Natural Unsweetened Cocoa Powder
- Egg
- Gluten Free Graham Crackers
- Raw Almonds, finely chopped
- Unsweetened Shredded Coconut – use finely shredded coconut for best results
- Heavy Cream – or heavy whipping cream
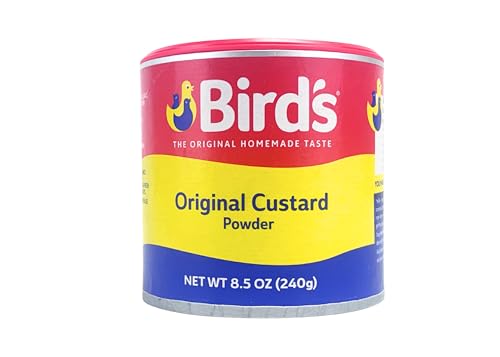
- Vanilla Custard Powder – Bird’s Custard Powder is the traditional ingredient to use in this recipe.
- Powdered Sugar
- Semi-Sweet Chocolate – I used Guittard Semi-Sweet Baking Bars
What is Custard Powder?
Custard powder is a mixture that has a pudding-like texture (for those of you in the USA) when cooked. You simply add milk and then, cook to thicken it.
In this recipe, it isn’t cooked into a custard but is used to flavor the buttercream filling.
Is there a Custard Powder Substitute?
Are you looking to substitute the custard powder in your Nanaimo Bars? You can use vanilla pudding mix if you have some on hand. Simply swap the 1:1 ratio. To do this, use 1 tablespoon of vanilla pudding in place of each tablespoon of custard powder.

Equipment Needed to Make Nanaimo Bars
- Food Processor
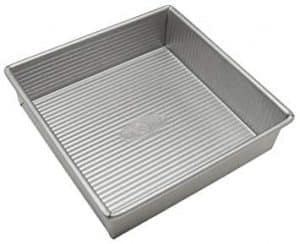
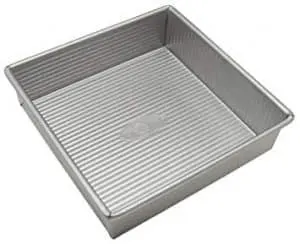
- 8×8 Square Baking Pan
- Parchment Paper
- Double Boiler or a Small Saucepan + Medium Heat-Proof Bowl
- Stand Mixer or Hand Mixer
- Microwave-safe Bowl
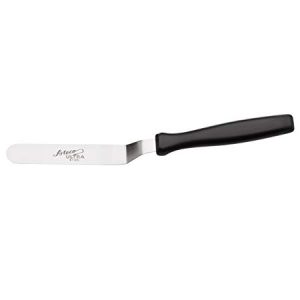
- Offset Spatula
How to Make Nanaimo Bars Gluten Free
Make the Bottom Layer
Step 1. Line an 8×8 square pan with parchment paper, leaving enough of an overhang to pull the bars out of the pan when ready to serve.
Step 2. Add the butter, sugar, and cocoa powder to a double boiler, heating over medium-low heat. Heat, whisking occasionally until the butter is completely melted and the ingredients are well combined.
Step 3. Whisk in the beaten egg, whisking constantly to cook the egg and the mixture slightly thickens.
Step 4. Remove from the heat and then stir in the graham cracker crumbs, finely chopped almonds, and the shredded coconut. Press the mixture into the prepared pan, forming a firm, even layer.
Make the Middle Layer
Step 1. Using a hand mixer or stand mixer, cream together the butter, cream, custard powder, and powdered sugar.
Step 2. Beat until light and fluffy then spread evenly over the bottom layer.
Make the Top Layer
Step 1. Add the chocolate to a microwave-safe bowl. Heat at 50% power for 1 minute then stir well to melt the chocolate. Continue to melt at 50% power for 20-second intervals, stirring after each time, until the chocolate is melted and smooth.
Step 2. Once the chocolate is melted, stir in the butter. Then pour on top of the custard layer and use an offset spatula to spread in an even layer.
Step 3. Refrigerate the bars for 15 minutes. Then remove from the refrigerator and use a sharp knife to score the chocolate into 16 slices, where they will be cut before serving. Return the bars to the refrigerator and chill for at least 2 hours before serving.
Step 4. Cut the bars into 16 squares before serving. Store leftovers in the refrigerator.

Tips for Making Nanaimo Bars
- 1 5.6 oz (160g) box of Schar Honeygrams is the perfect amount of graham crackers.
- Bird’s Custard Powder is the traditional custard powder used in this recipe. It’s available in many grocery stores or online.
- Refrigerate the bars while preparing the second and top layers. It’ll make it easier to spread the layers evenly.
- Scoring the chocolate after refrigerating for 15 minutes will prevent the chocolate from cracking when you cut the chilled bars.
- Watch how I make these Gluten Free Nanaimo Bars on TikTok!
Other No-Bake Dessert Recipes To Try
- No-Bake Gluten-Free Walnut Cookies
- Gluten-Free Pumpkin Lush Cake
- Gluten-Free Oreo Truffles
- No-Bake Cheesecake
- Oreo Icebox Cake

Be sure to follow me on Instagram and hashtag #whattheforkfoodblog or tag @whattheforkfoodblog – I love seeing what you make!
If you love this Gluten Free Nanaimo Bars recipe, be sure to follow me on social media so you never miss a post:
| Facebook | Twitter | Pinterest | Instagram | Youtube | Newsletter |


Gluten Free Nanaimo Bars (No Bake)
Ingredients
Bottom Layer
- ½ cup unsalted butter cultured European style recommended
- ¼ cup granulated sugar
- 5 tablespoons natural unsweetened cocoa powder
- 1 large egg room temperature, and beaten
- 1 ¾ cups gluten free graham cracker crumbs see notes
- ½ cup finely chopped almonds
- 1 cup finely shredded unsweetened coconut
Middle Layer
- ½ cup unsalted butter room temperature
- 3 tablespoons heavy cream
- 2 tablespoons vanilla custard powder see notes
- 2 cups powdered sugar
Top Layer
- 4 oz semi-sweet chocolate bars for baking roughly chopped
- 2 tablespoon unsalted butter
Instructions
Make the Bottom Layer
- Line an 8x8 square pan with parchment paper, leaving enough of an overhang to pull the bars out of the pan when ready to serve.
- Add the butter, sugar, and cocoa powder to a double boiler, heating over medium-low heat. Heat, whisking occasionally until the butter is completely melted and the ingredients are well combined.
- Whisk in the beaten egg, whisking constantly to cook the egg and the mixture slightly thickens.
- Remove from the heat and then stir in the graham cracker crumbs, finely chopped almonds, and the shredded coconut. Press the mixture into the prepared pan, forming a firm, even layer.
Make the Middle Layer
- Using a hand mixer or stand mixer, cream together the butter, cream, custard powder, and powdered sugar.
- Beat until light and fluffy then spread evenly over the bottom layer.
Make the Top Layer
- Add the chocolate to a microwave-safe bowl. Heat at 50% power for 1 minute then stir well to melt the chocolate. Continue to melt at 50% power for 20-second intervals, stirring after each time, until the chocolate is melted and smooth.
- Once the chocolate is melted, stir in the butter. Then pour on top of the custard layer and use an offset spatula to spread in an even layer.
- Refrigerate the bars for 15 minutes. Then remove from the refrigerator and use a sharp knife to score the chocolate into 16 slices, where they will be cut before serving. Scoring the chocolate will prevent the chocolate from cracking when you cut the chilled bars. Return the bars to the refrigerator and chill for at least 2 hours before serving.
- Cut the bars into 16 squares before serving. Store leftovers in the refrigerator.
Notes
- 1 5.6 oz (160g) box of Schar Honeygrams is the perfect amount of graham crackers.
- Bird’s Custard Powder is the traditional custard powder used in this recipe. It’s available in many grocery stores or online.
- Refrigerate the bars while preparing the second and top layers. It’ll make it easier to spread the layers evenly.
- Watch how I made these on TikTok!
Recommended Products


Nutrition Information
Disclaimers
As an Amazon Associate and member of other affiliate programs, I earn from qualifying purchases.
Nutrition Facts are estimated and aren't always accurate. Please consult a doctor or nutritionist if you have special dietary needs.
Did you make this recipe? Leave a star rating and let me know in the comments! You can also leave a photo/comment on this pin for others to see.
Leave a comment