


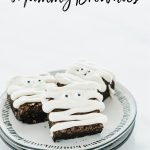
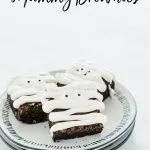

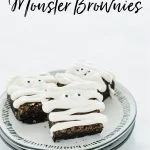

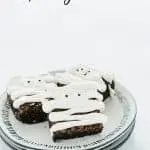
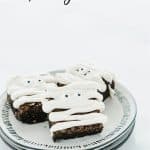


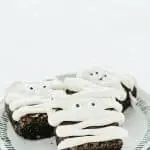


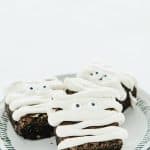


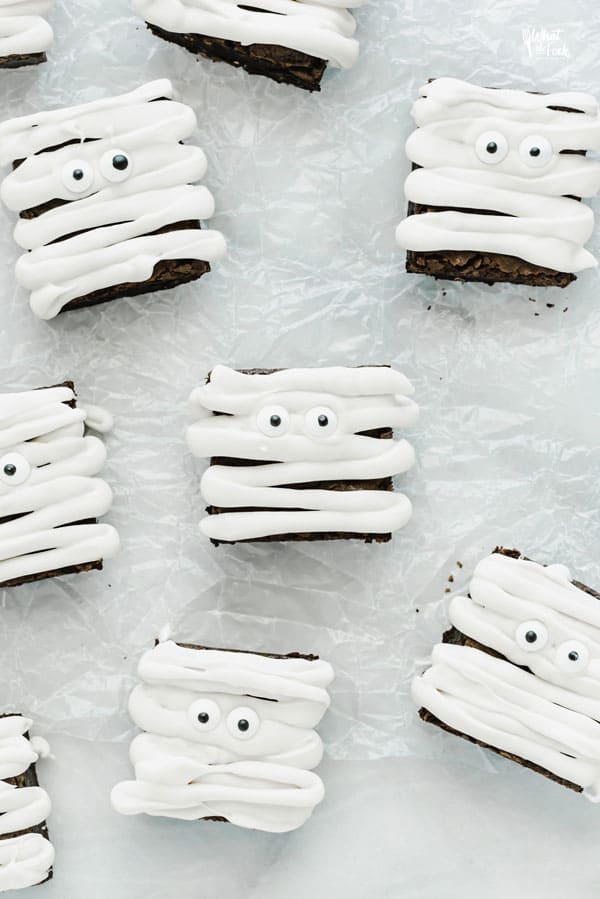
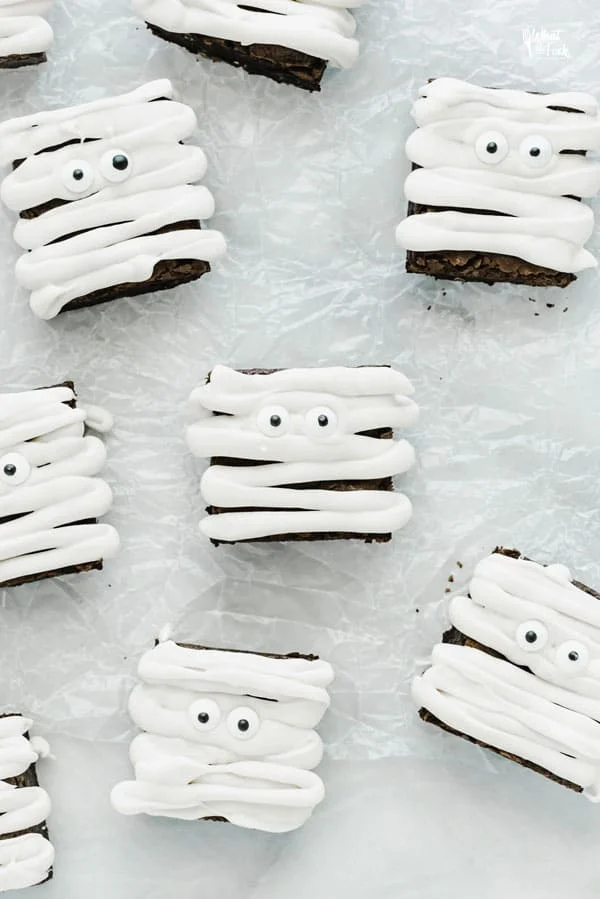
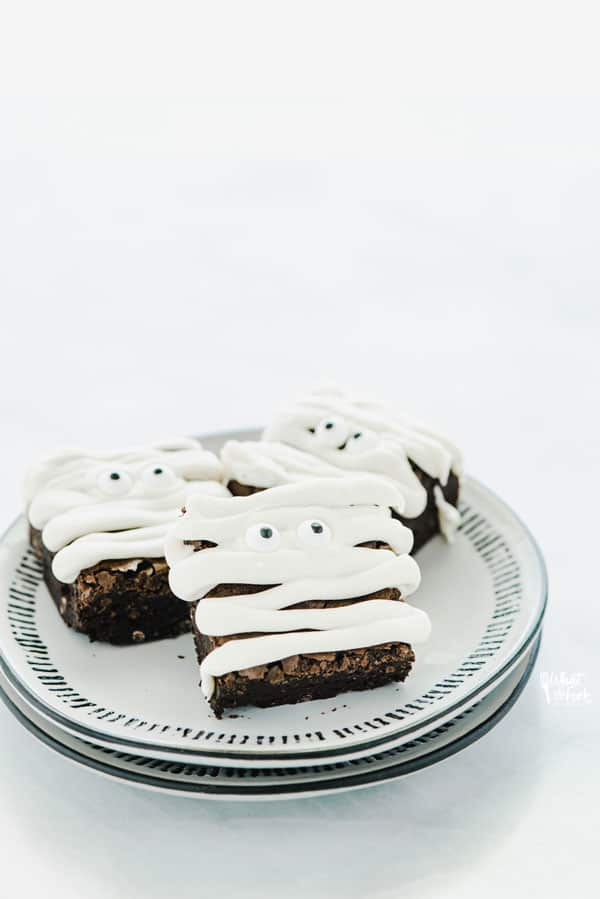
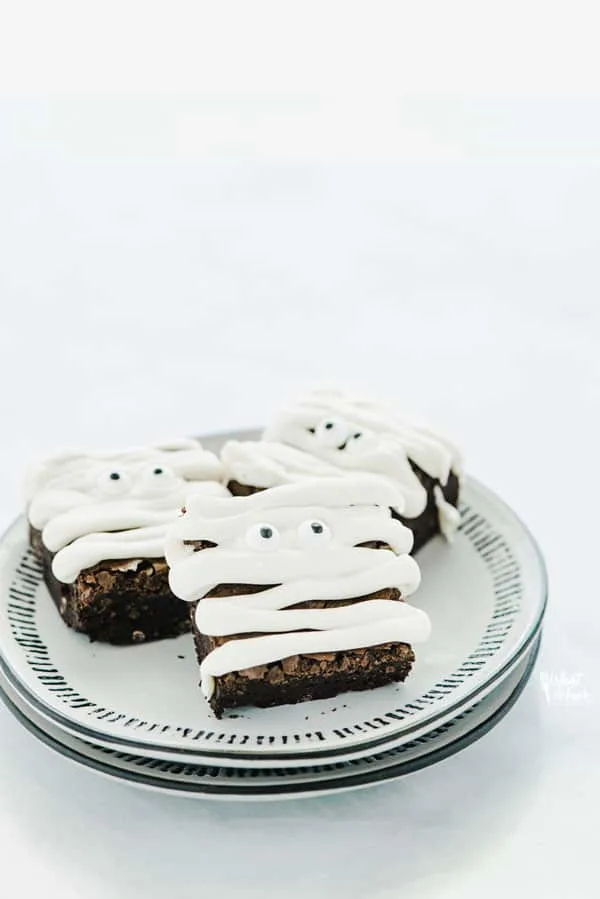
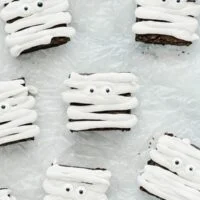
Gluten Free Mummy Brownies are one of the easiest Halloween desserts to make for your Halloween party buffet table! They’re spookily sweet Halloween treats!
This post contains affiliate links for products and ingredients I use and love. You can read my full disclosure here. Thank you for supporting What The Fork Food Blog so I can continue to provide you with free gluten free recipes ♥
Gluten Free Mummy Brownies
Halloween baked goods and spooky desserts are super fun to make and even more fun to eat. And is there anything more satisfying than throwing a halloween party with a table full of halloween themed desserts?
While Halloween isn’t my favorite holiday, Halloween themed food is definitely one of my favorites to make. From creepy/spooky to cute/spooky, you can’t go wrong.
I’ve got a couple more Halloween desserts to share this year but I’d love to know what your favorite Halloween party food and Halloween snacks are! Just drop your ideas for Halloween recipes in the comments below!
What You Need To Know About These Monster Brownies:
I used my popular gluten free brownie recipe as the base of my mummy brownies but you can use your favorite gluten free brownie mix if you prefer. Just be sure to bake it in a 9×9 pan.
Did you make this recipe? Leave a star rating and let me know in the comments! You can also leave a photo/comment on this pin for others to see.
These brownies are gloriously fudgy and the deep, rich chocolate flavor pairs so well with the chocolate. They taste so good, you might be finding yourself making mummy brownies year-round.
As an Amazon Associate I earn from qualifying purchases.
Key Ingredients for Mummy Brownies
- Cocoa Powder – I use Dutch Processed Cocoa Powder or Hershey’s Special Dark cocoa powder but Natural Cocoa Powder will also work.
- Fat – Butter gives these brownies flavor and richness while oil keeps them moist and fudgy.
- White Chocolate Chips
- Candy Eyes – storebought or homemade. Be sure to check the labels for gluten free status if using storebought.
Equipment Needed to Make Halloween Brownies
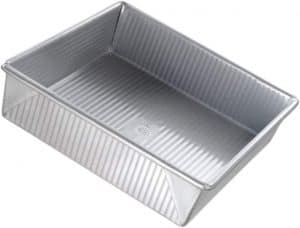
- 9×9 Square Baking Pan
- Parchment Paper – I line my baking pan with parchment paper and use parchment or wax paper to line my tray/workspace when drizzling the chocolate.
- Disposable Piping Bag – I highly recommend using disposable piping bags for piping. You’ll have more control and cleaner piping.
How to Make Mummy Halloween Brownies
Step 1. Preheat oven to 325 degrees and spray a 9×9 inch metal baking pan with non-stick spray. Then line the pan with parchment paper.
Step 2. In a large bowl, whisk together the sugar, cocoa powder, flour, xanthan gum, baking soda, salt, and cornstarch. Make a well in the center and add the eggs. Beat the eggs and mix in the butter, oil, vanilla extract, and water. Mix until the dry ingredients are incorporated.
Step 3. Transfer the batter to the prepared pan and bake at 325 degrees for 22-25 minutes. Cool completely then refrigerate until firm before cutting.
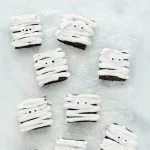
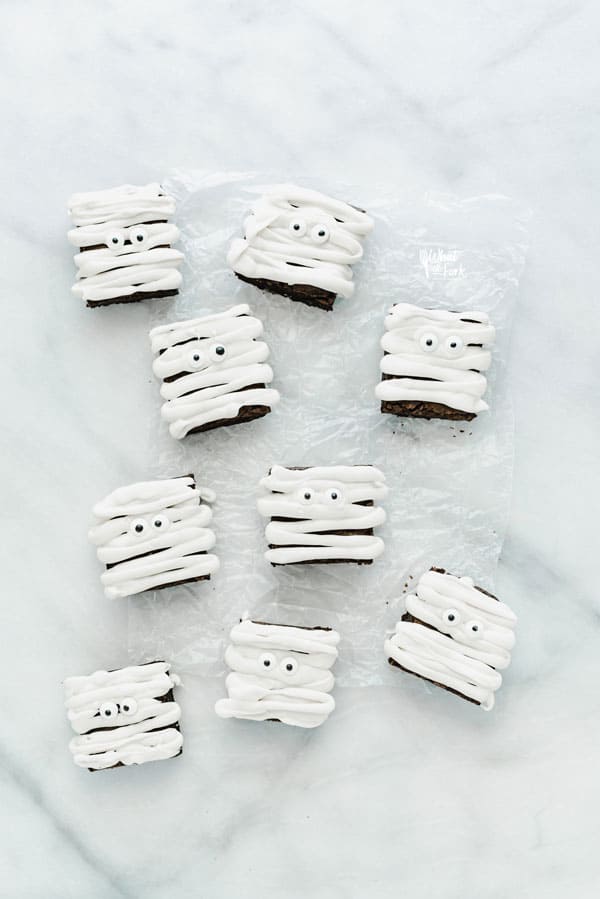
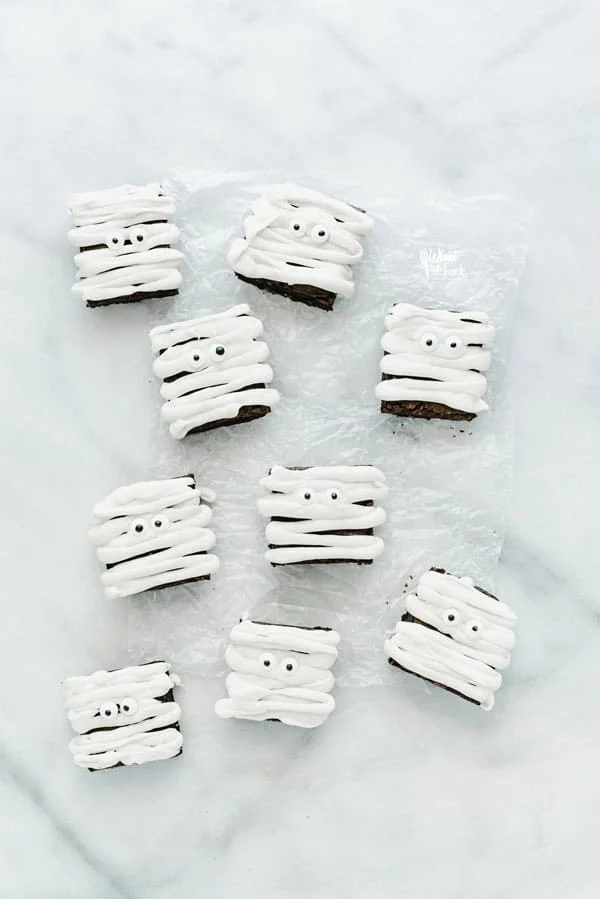
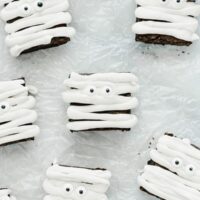
Step 4. Once chilled completely, slice the brownies into 16 squares and set on a wax paper-lined baking sheet or large cutting board.
Step 5. Melt the chocolate chips in a microwave-safe bowl and stir in the oil as needed – you want a pipeable consistency, but it shouldn’t be too thin so it doesn’t run off the brownies.
Step 6. Transfer the melted chocolate to a disposable piping bag and snip off the tip. Pipe the “bandages” onto the mummies and then place two eyes on each mummy to decorate.
Step 7. Let the chocolate harden before serving (you can speed it up by placing them in the refrigerator or freezer for a few minutes).
Tips for Making Mummy Brownies
- Chill your brownies in the refrigerator for at least 30 minutes to an hour before slicing. You’ll get cleaner cuts and they’ll be easier to work with. Cool your brownies to room temperature before refrigerating.
- Use oil to thin the melted white chocolate if it’s too thick. Start with 2 teaspoons and stir in an additional 1/2 teaspoon at a time until it reaches your desired piping consistency. You can use canola oil, vegetable oil, coconut oil, or avocado oil.
- Use a piping bag to pipe the mummy wrap. A piping bag is sturdier than a ziplock bag and you’ll have more control making it easier to pipe.
- Use wax paper under the brownies when piping. Any chocolate that drips down to the wax will come right off once hardened and cleanup will be a breeze.
- Don’t stack the brownies once they’re decorated. Store them in a single layer in an airtight container.
Other Easy Halloween Food Ideas To Try
- Halloween Spider Cookies
- Mummy Halloween Sugar Cookies
- Pumpkin Marshmallow Pops
- Ghost Halloween Cupcakes – coming soon
- Candy Corn Halloween Cookies – coming soon
Be sure to follow me on Instagram and hashtag #whattheforkfoodblog or tag @whattheforkfoodblog – I love seeing what you make!
If you love this recipe for gluten free brownies, be sure to follow me on social media so you never miss a post:
| Facebook | Twitter | Pinterest | Instagram | Youtube | Newsletter |


Gluten Free Mummy Brownies
Ingredients
For the Brownies
- 1 1/4 cups sugar
- 3/4 cup cocoa powder
- 1/2 cup all-purpose gluten-free flour see notes
- 1/4 teaspoon xanthan gum omit if your blend contains it
- 1/8 teaspoon baking soda
- 1/4 teaspoon fine sea salt
- 1 Tablespoon cornstarch
- 2 large eggs cold
- 4 Tablespoons butter melted and cooled to room temp
- 1/3 cup avocado oil or canola oil
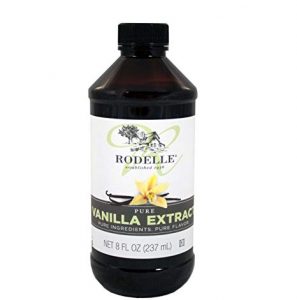
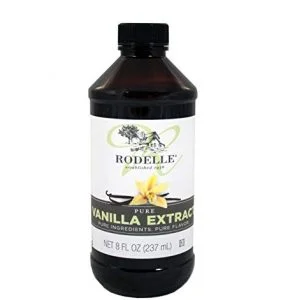
- 1 1/2 teaspoons pure vanilla extract
- 2 Tablespoons water cold
To Decorate
- 1 ½ cups white chocolate chips
- 2 teaspoons vegetable oil as needed
- 32 candy eyes see notes
Instructions
- Preheat oven to 325 degrees and spray a 9x9 inch metal baking pan with non-stick spray then line with parchment paper.
- In a large bowl, whisk together the sugar, cocoa powder, flour, xanthan gum, baking soda, salt, and cornstarch.
- Make a well in the center and add the eggs. Beat the eggs and mix in the butter, oil, vanilla extract, and water. Mix until the dry ingredients are incorporated.
- Transfer the batter to the prepared pan and bake at 325 degrees for 22-25 minutes. Cool completely then refrigerate until firm before cutting.
- Once chilled completely, slice the brownies into 16 squares and set on a wax paper-lined baking sheet or large cutting board.
- Melt the chocolate chips in a microwave-safe bowl and stir in the oil as needed – you want a pipeable consistency, but it shouldn’t be too thin so it doesn't run off the brownies.
- Transfer the melted chocolate to a disposable piping bag and snip the tip off.
- Pipe the “bandages” onto the mummies and then place two eyes on each mummy to decorate.
- Let the chocolate harden before serving (you can speed it up by placing them in the refrigerator or freezer for a few minutes).
Notes
- I use my Nightshade Free Gluten Free Flour Blend in this recipe.
- Check your labels for the candy eyes. If you don’t want to use store-bought eyes, you can find a homemade eye recipe here: https://www.whattheforkfoodblog.com/2016/10/09/gluten-free-spider-cookies/
- I prefer using a disposable piping bag instead of a ziplock or sandwich bag because the structure of the bag makes it easier to control for cleaner piping.
- Store the brownies at room temperature or in the refrigerator, serve at room temp.
Recommended Products


Nutrition Information
Disclaimers
As an Amazon Associate and member of other affiliate programs, I earn from qualifying purchases.
Nutrition Facts are estimated and aren't always accurate. Please consult a doctor or nutritionist if you have special dietary needs.
Did you make this recipe? Leave a star rating and let me know in the comments! You can also leave a photo/comment on this pin for others to see.
Leave a comment