


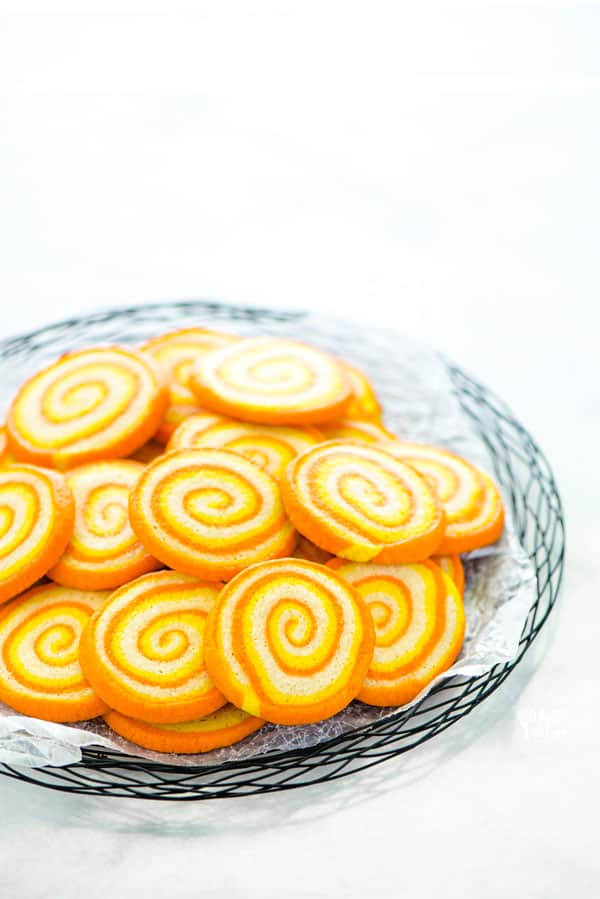
Gluten Free Candy Corn Pinwheel Cookies are festive Halloween cookies that taste like your favorite holiday slice and bake sugar cookies.

This post contains affiliate links for products and ingredients I use and love. You can read my full disclosure here. Thank you for supporting What The Fork Food Blog so I can continue to provide you with free gluten free recipes ♥
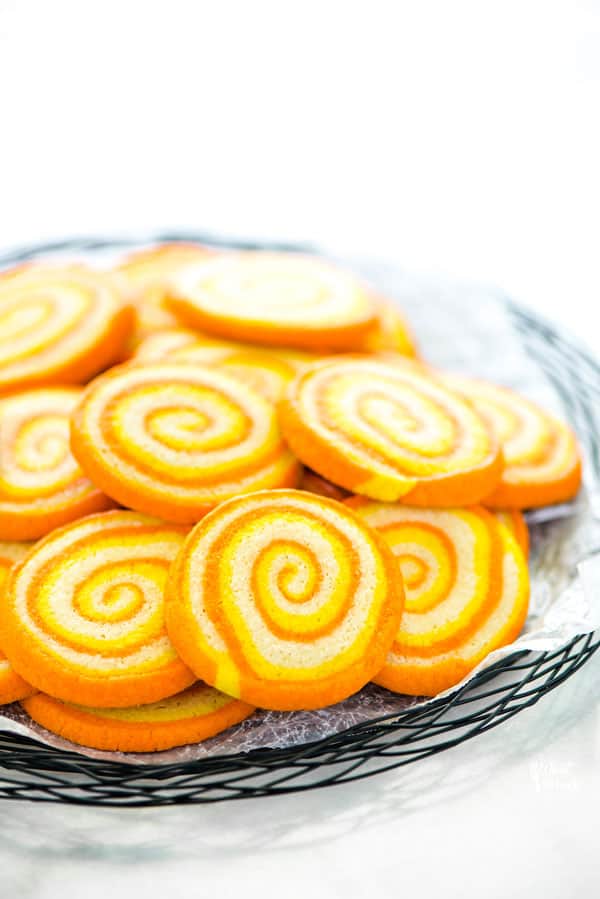
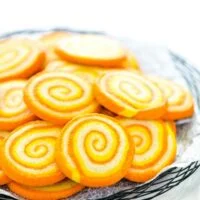
Gluten Free Candy Corn Pinwheel Cookies
If you’re looking for another Halloween dessert recipe for your dessert table, add these super fun Candy Corn Pinwheel Cookies! They’re a colorful and cute addition, especially for the littles to keep the creep-factor down.
Personally, I’m more of a cute Halloween treats and decoration fan vs. creepy Halloween.
What You Need To Know About This Gluten Free Cookie Recipe:
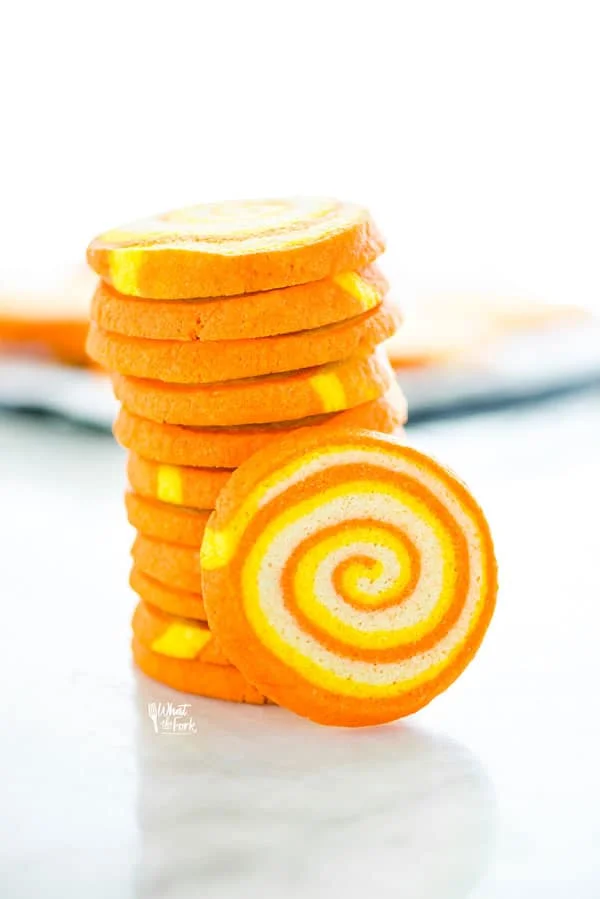
No Halloween cookie cutters are required for these – it’s a slice and bake cookie recipe! While the rolling/mixing process takes a little bit of time, these cookies are worth it! They taste just like the fun holiday Pillsbury cookies!
As an Amazon Associate I earn from qualifying purchases.
Key Ingredients
- Gluten Free Flour – My Nightshade Free Flour Blend is, by far, my favorite for baking gluten free cookies.
- Sorghum Flour – Sorghum Flour is my secret weapon in gluten free cookies and breads. It gives baked goods a little extra flavor that closely mimics the taste of regular flour.
- Food Coloring – I use AmeriColor Electric Orange and AmeriColor Electric Yellow in this recipe.
- Granulated Sugar – Unlike my recipes for gluten free chocolate chip cookies, peanut butter cookies, and oatmeal cookies, I use all granulated sugar in these slice-and-bake sugar cookies – no brown sugar.
- Extract – I use both pure vanilla extra and pure almond extract in this recipe for the best flavor. Please don’t skip the almond extract, the cookies will be a little bland without it!
Equipment Needed to Make Slice and Bake Cookies
- Cookie Sheets
- Plastic Wrap
- Empty Paper Towel Tube – this sounds weird but I use an empty paper towel tube around my log of cookie dough to prevent it from getting a flat side while it’s chilling in the refrigerator. I just cut the towel tube (the long way) and wrap it around the cookie dough that’s already been wrapped in plastic wrap.
- Sharp Knife

Did you make this recipe? Leave a star rating and let me know in the comments! You can also leave a photo/comment on this pin for others to see.
How to Make Pinwheel Cookies
Step 1. Whisk together the gluten free flour, sorghum flour, xanthan gum, baking powder, and salt.
Step 2. Add the butter and sugar to the bowl of a stand mixer fitted with the paddle attachment and beat until creamy. Next, add the egg, vanilla extract, and almond extract and mix until combined. The mixture will be light and slightly fluffy.
Step 3. Add the flour mixture and mix on low speed to combine then mix on medium speed to fully incorporate, scraping the bowl as needed.
Step 4. Divide the dough into 3 equal pieces. Wrap one piece in plastic and set aside while you color the other 2 pieces.
Step 5. Add one section of the dough back into the mixer and add the yellow food coloring. Mix to combine the food coloring. You may need to use a spatula to fully incorporate it, you don’t want any uncolored streaks left. Then form the dough into a ball and wrap it in plastic wrap. Repeat this step with the 2nd piece of dough and the orange food coloring.
Step 6. Place a large piece of plastic wrap on your workspace and unwrap the uncolored piece of dough, placing it in the center. Gently form into a flat rectangle with your hands. Then cover with a second piece of plastic wrap and use a rolling pin to roll into a thin rectangle, measuring 12” long and 8” wide. Remove the top piece of plastic wrap and set the rolled-out dough aside. Repeat this process with the yellow-colored dough and the orange-colored dough.
Step 7. Once the orange dough is rolled out, carefully lift the yellow dough and invert it onto the orange dough. Use the plastic wrap under the yellow dough to help you move and guide the dough so they’re lined up as closely as possible. The plastic wrap that was on the bottom of the yellow dough should now be on top. Before removing the plastic wrap, use your hand to press and smooth out any air bubbles or bumps. Remove the top piece of plastic wrap and repeat this process with the uncolored dough.
Step 8. Once the last piece of dough is placed and smoothed out, use the rolling pin to gently smooth out the dough and fuse the layers together. Remove the top layer of plastic wrap and use the bottom piece to help roll the dough into a tight log. Wrap the dough tightly in plastic wrap and refrigerate for 8 hours or up to 2 days.
Step 9. Preheat oven to 350 degrees and line a baking sheet with a silicone baking mat or parchment paper.
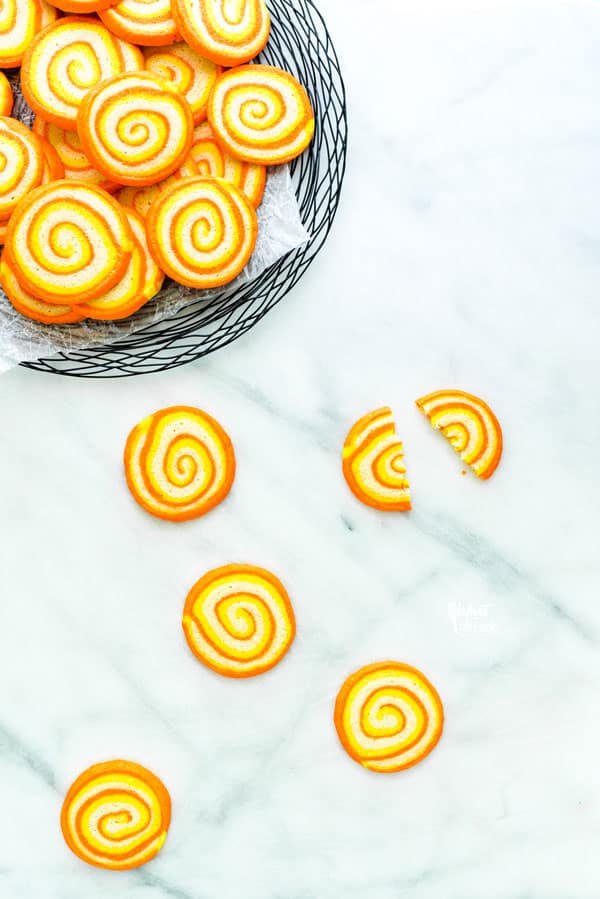
Step 10. Unwrap the dough and slice it into 1/4 inch thick slices. Use your thumb and index finger to reshape the cookie to make it round if it flattened out in the refrigerator.
Step 11. Place the cookies on the prepared baking sheet about 2 inches apart. Keep the rest of the unused dough refrigerated until ready to slice and bake.
Step 12. Bake for 8-12 minutes or until cookies are done – do not brown. Cool on the cookie sheet for 5 minutes before cooling completely on a wire rack. Repeat the baking process with the remaining cookie dough.

Tips for Making Gluten Free Cookies
- Don’t use a warm cookie pan. Rotate cookie sheets or cool the cookie sheets between batches. Placing cold cookie dough on warm cookie sheets will cause the cookies to spread more when baking.
- Reshape the cookies into a circle between your thumb and index finger if they flatten slightly when cutting. Just give it a gentle squeeze back into shape and your cookies will be nice and perfectly round!
Other Halloween Recipes To Try
- Mummy Brownies
- Spider Cookies
- Mummy Cookies
- Sugar Cookie Bars with Halloween Sprinkles
- Pumpkin Marshmallow Pops
- Ghost Cupcakes – coming soon!
- Mummy Macarons – coming soon!
Be sure to follow me on Instagram and hashtag #whattheforkfoodblog or tag @whattheforkfoodblog – I love seeing what you make!
If you love this recipe for Candy Corn Cookies, be sure to follow me on social media so you never miss a post:
| Facebook | Twitter | Pinterest | Instagram | Youtube | Newsletter |


Gluten Free Candy Corn Pinwheel Cookies
Ingredients
- 2 cups gluten free flour blend see notes
- ¼ cup sorghum flour
- ¾ teaspoon xanthan gum
- 1 teaspoon baking powder
- ½ teaspoon fine sea salt
- ¾ cups unsalted butter softened
- ¾ cups granulated sugar
- 1 large egg room temperature
- 1 teaspoon pure vanilla extract
- 1 teaspoon almond extract
- 8 drops yellow food coloring see notes
- 6 drops orange food coloring see notes
Instructions
- In a medium bowl, whisk together the gluten free flour, sorghum flour, xanthan gum, baking powder, and salt. Then set aside.
- Add the butter and sugar to the bowl of a stand mixer fitted with the paddle attachment and beat until creamy.
- Add the egg, vanilla extract, and almond extract and mix until combined. The mixture will be light and slightly fluffy.
- Add the flour mixture and mix on low speed to combine. Then mix on medium speed to fully incorporate, scraping the bowl as needed.
- Once the dough is mixed, divide the dough into 3 equal pieces. Wrap one piece in plastic and set aside while you color the other 2 pieces.
- Add one section of the dough back into the mixer and add the yellow food coloring. Mix to combine the food coloring. You may need to use a spatula to fully incorporate it, you don’t want any uncolored streaks left. Then form the dough into a ball and wrap it in plastic wrap. Repeat this step with the 2nd piece of dough and the orange food coloring.
- Place a large piece of plastic wrap on your workspace and unwrap the uncolored piece of dough, placing it in the center. Gently form into a flat rectangle with your hands. Then cover with a second piece of plastic wrap and use a rolling pin to roll into a thin rectangle, measuring 12” long and 8” wide. Remove the top piece of plastic wrap and set the rolled-out dough aside. Repeat this process with the yellow colored dough and the orange colored dough.
- Once the orange dough is rolled out, carefully lift the yellow dough and invert it onto the orange dough. Use the plastic wrap under the yellow dough to help you move and guide the dough so they’re lined up as closely as possible.
- The plastic wrap that was on the bottom of the yellow dough should now be on top. Before removing the plastic wrap, use your hand to press and smooth out any air bubbles or bumps. Remove the top piece of plastic wrap and repeat this process with the uncolored dough.
- Once the last piece of dough is placed and smoothed out, use the rolling pin to gently smooth out the dough and fuse the layers together.
- Remove the top layer of plastic wrap and use the bottom piece to help roll the dough into a tight log.
- Wrap the dough tightly in plastic wrap and refrigerate for 8 hours or up to 2 days.
- Preheat oven to 350 degrees and line a baking sheet with a silicone baking mat or parchment paper.
- Unwrap the dough and slice it into 1/4 inch thick slices. Use your thumb and index finger to reshape the cookie to make it round if it flattened out in the refrigerator.
- Place the cookies on the prepared baking sheet about 2 inches apart. Keep the rest of the unused dough refrigerated until ready to slice and bake.
- Bake for 8-12 minutes or until cookies are done - do not brown. Cool on the cookie sheet for 5 minutes before cooling completely on a wire rack. Repeat the baking process with the remaining cookie dough.
Notes
- I used my Nightshade-Free Gluten-Free Flour Blend for this recipe. The recipe for that can be found on my website.
- The best way to divide the dough evenly is by weighing it on a scale and the total weight by 3.
- I used AmeriColor Electric Orange and AmeriColor Electric Yellow food coloring.
- Keep the dough as cold as possible before baking in order to prevent the cookies from spreading too much.
- Store baked cookies in an air-tight container at room temperature up to 3 days. Baked/cooled cookies can also be frozen for up to 3 months.
Recommended Products

Nutrition Information
Disclaimers
As an Amazon Associate and member of other affiliate programs, I earn from qualifying purchases.
Nutrition Facts are estimated and aren't always accurate. Please consult a doctor or nutritionist if you have special dietary needs.
Did you make this recipe? Leave a star rating and let me know in the comments! You can also leave a photo/comment on this pin for others to see.

These are too cute/unique! Definitely going to add to my Halloween party list!
Thank you Jennifer!