


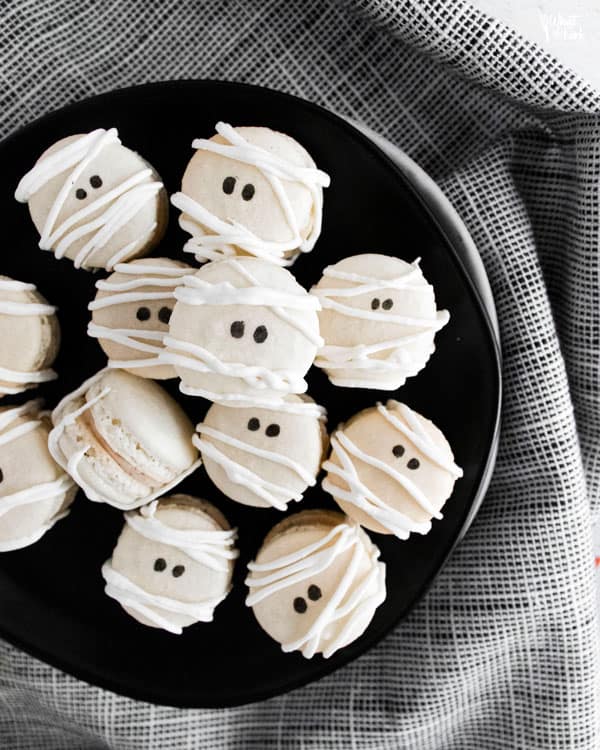
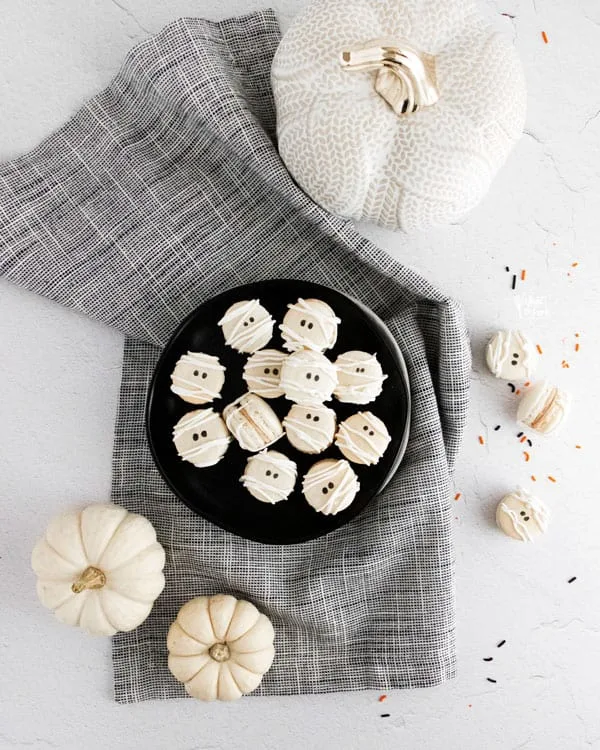
Mummy Macarons with Maple Cinnamon Filling are a super cute Halloween treat for your Halloween dessert table. They’re spooky sweet!

This post contains affiliate links for products and ingredients I use and love. You can read my full disclosure here. Thank you for supporting What The Fork Food Blog so I can continue to provide you with free gluten free recipes ♥
Mummy Macarons with Maple Cinnamon Filling
This Mummy Macaron recipe will make such a howl at your October get-togethers! Who knew that you could make a macaron even cuter than it already is?
These bite-sized desserts are always crowd-pleasers and this Halloween take on a classic is sure to bring (happy) screams! All tiny witches and goblins will love helping with the decorating process. A festive treat that allows you to try out your amazing baking skills and is almost too cute to eat?
Mummy Macarons with Maple Cinnamon Filling!
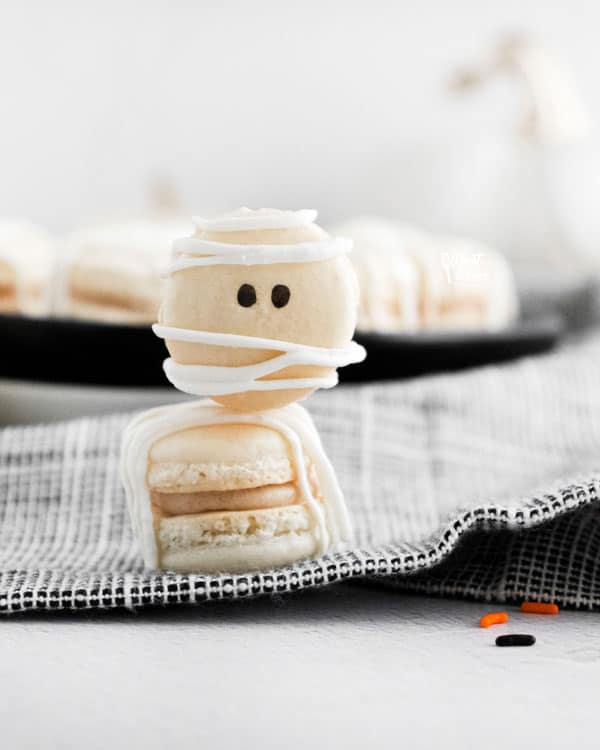
It’s a wrap!
What You Need To Know About This Recipe:
French Macarons are naturally gluten-free and made with almond flour. They’re also best when made ahead and they have 24 hours to chill in the refrigerator.
Macarons typically average 70-100 calories each. But hey, who’s counting?
Your macarons will have optimum freshness if enjoyed within three days.


As an Amazon Associate, I earn from qualifying purchases.
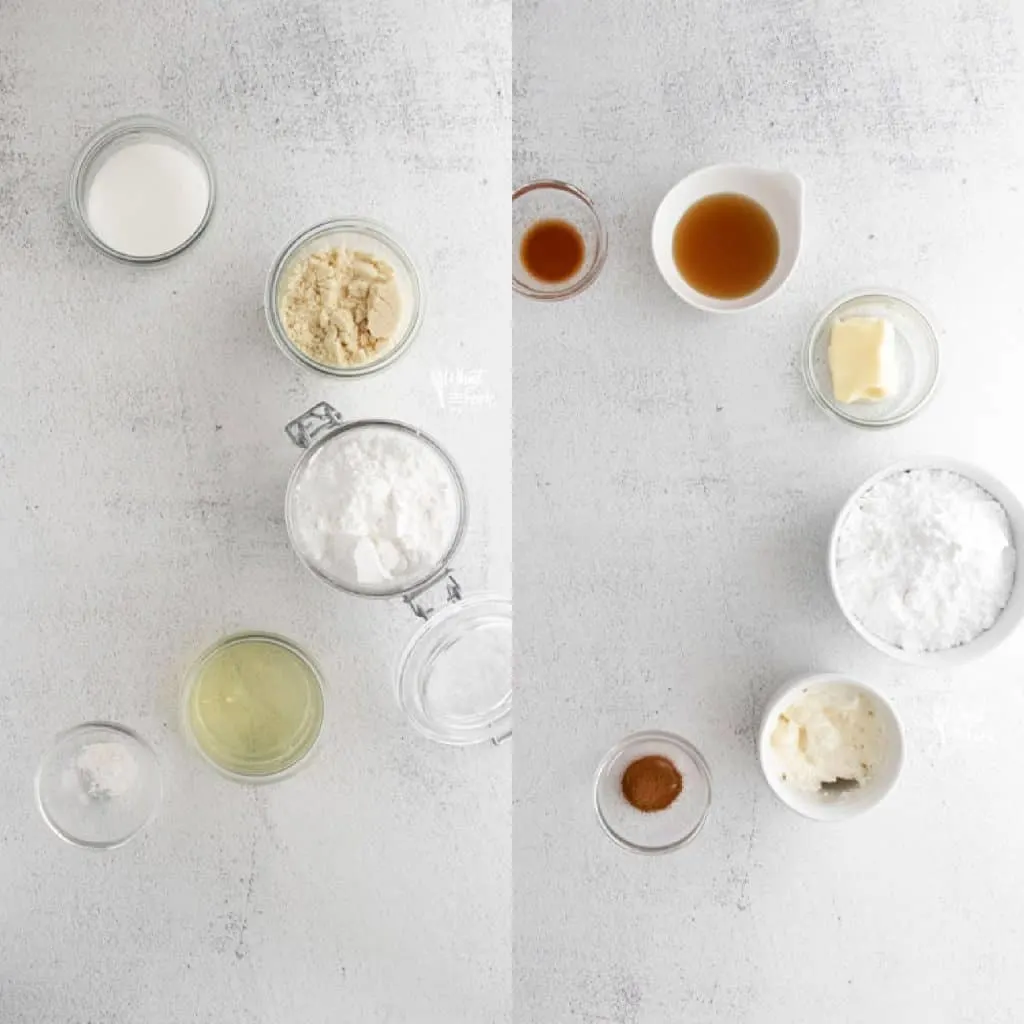
Key Ingredients for Mummy Macarons with Maple Cinnamon Frosting
- Sugar – both granulated sugar and powdered sugar
- Almond flour – finely ground almond flour, not almond meal
- Egg whites
- Whipped cream cheese
- Pure maple syrup (not pancake syrup)
- White chocolate chips or candy melts
- Black Food Pen

Equipment Needed to Make Mummy Macarons with Maple Cinnamon Frosting:
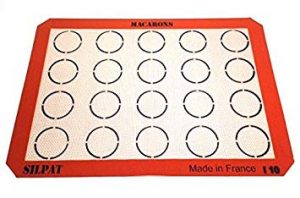
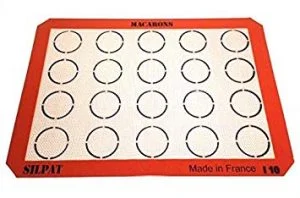
- 2 baking sheets
- parchment paper
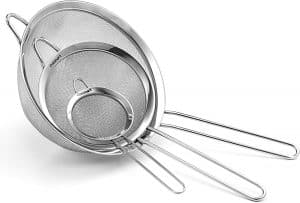
- fine-mesh sieve
- medium mixing bowl
- stand mixer
- spatula
- piping bag
- microwave-safe bowl

Did you make this recipe? Leave a star rating and let me know in the comments! You can also leave a photo/comment on this pin for others to see.
How to Make Mummy Macarons
To Make the Shells:
Step 1. Line two baking sheets with parchment paper.
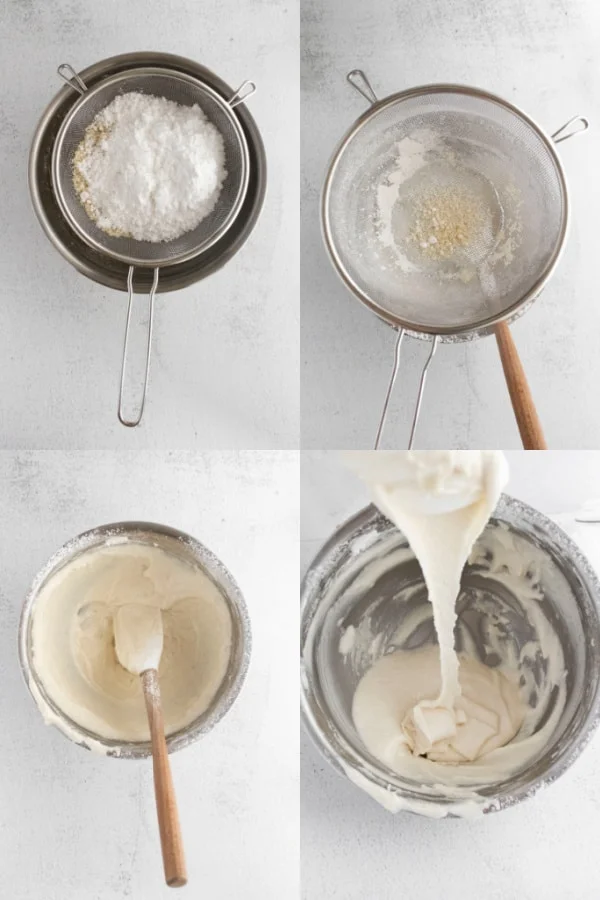
Step 2. Place a fine-mesh sieve over a medium-sized bowl. Add the powdered sugar and almond flour to the sieve and sift them together. Discard any large lumps that remain in the sifter. Set aside.
Step 3. Add the egg whites to the bowl of a stand mixer. Beat the egg whites on medium speed (speed 6-8 on a Kitchenaid Mixer) and add the granulated sugar slowly. You should add about 1 tablespoon of sugar and then wait for it to become fully incorporated before adding the next tablespoon. The process of adding sugar should take 2-3 minutes.
Step 4. Increase the speed to medium-high and beat the egg whites until they hold a stiff peak— about 4-6 minutes. Once the egg whites can hold a stiff peak, remove the bowl from the mixer stand and place the fine-mesh sieve on top.
Step 5. Pour the powdered sugar/almond four mixture into the sieve and sift it into the egg whites. Again, discard any remaining clumps.
Step 6. Begin to gently fold the dry ingredients into the egg whites. The proper folding technique is to cut through the center of the batter with your spatula and scoop around the bottom of the bowl and flip the batter from the bottom to the top. Turn the bowl 90 degrees and repeat.
Step 7. Once the dry ingredients have been fully incorporated, it’s time for the Macaronage stage. Smush all of the batter against the sides of the bowl and then scrape it down and fold it back together again. Repeat 5-6 times, or until the batter reaches the “lava stage”. You could be able to lift the batter with your spatula and draw a figure 8 without the batter clumping. If it doesn’t flow evenly and smoothly, repeat the smushing another 1-2 times and test again.
Step 8. Transfer the batter to a piping bag and pipe 1” circles that are about 2” apart on the baking sheet. Once you’ve finished the first tray, pick it up approximately 6” off the counter, and drop it straight down to release any air bubbles. Repeat 6-7 more times, or until you do not see any large air bubbles remaining.
Step 9. Continue piping the second tray and then drop it to release any air bubbles.
Step 10. Allow the macarons to rest at room temperature for 60 minutes or until they have developed a skin. You should be able to touch the top of the macaron without it sticking to your finger.
Step 11. While the macarons are resting, preheat your oven to 325F.
Step 12. Bake the macarons in a preheated oven one tray at a time— on the center rack— for 12-14 minutes, or until the bottoms are just starting to turn a light brown. Leave the macarons on the tray to cool.

To Make the Filling:
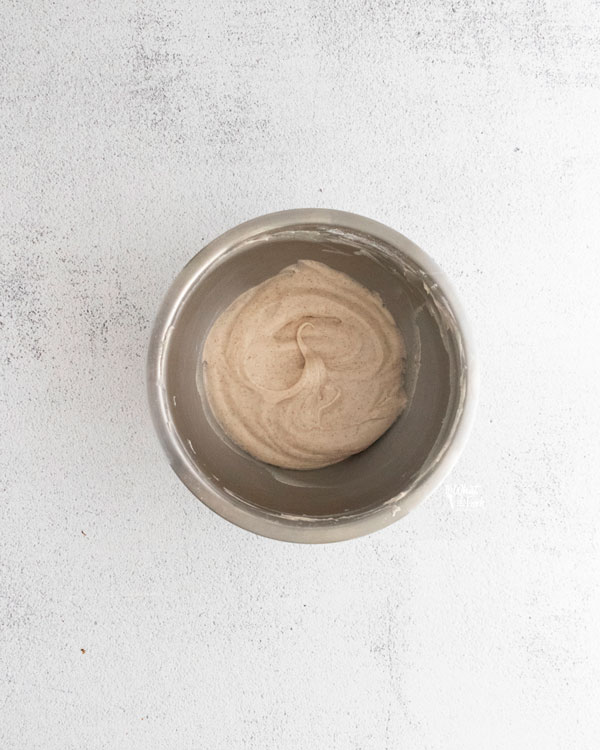
Step 1. In the bowl of a stand mixer fitted with the whisk attachment, cream together the cream cheese and butter on high speed until light and fluffy.
Step 2. Next, add the maple syrup, vanilla, and cinnamon and mix again on medium speed until they are completely incorporated.
Step 3. Scrape down the sides of the bowl and turn the mixer on low speed. Gradually add the powdered sugar. Once all of the powdered sugar has been added, turn the mixer to high and beat until the filling becomes light and airy— about 2 minutes. Transfer to a piping bag.
To Assemble:
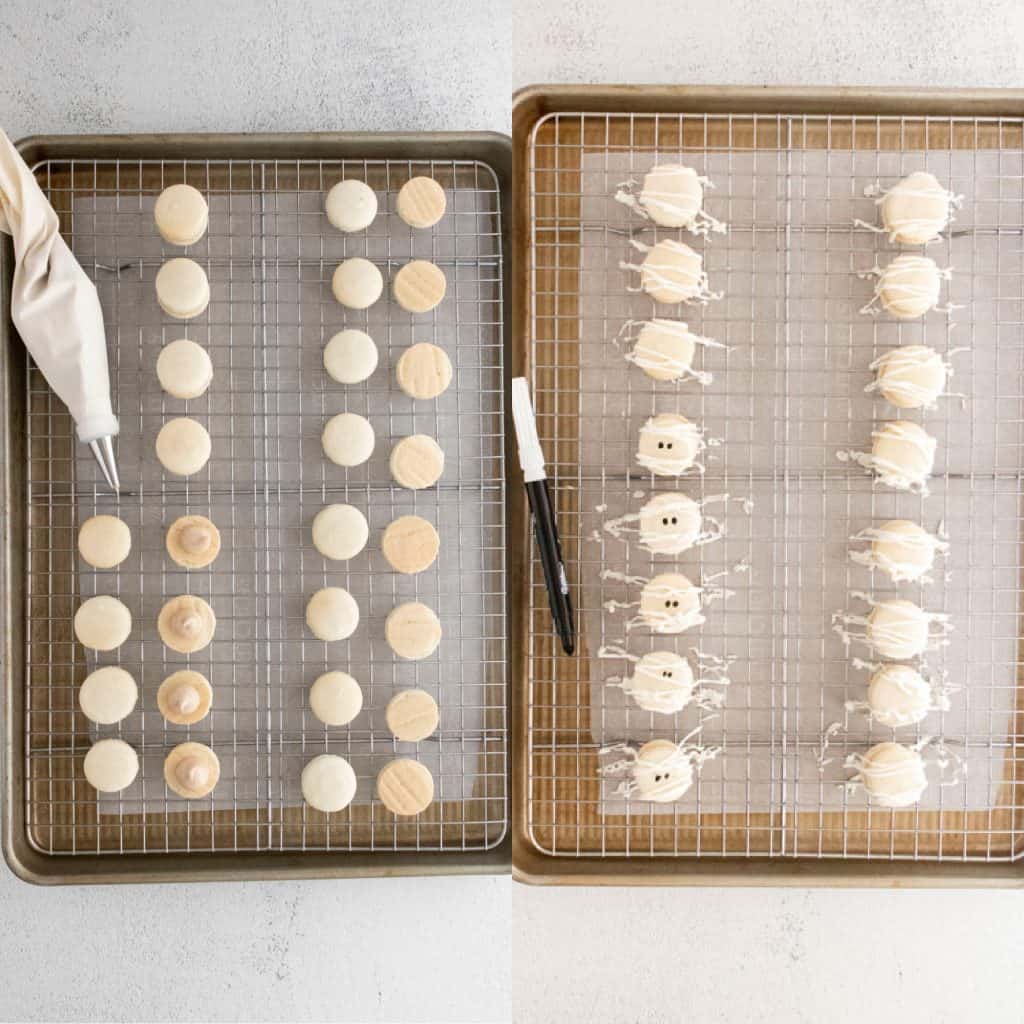
Step 1. Once the macarons have cooled fully, place them in similar sized pairs. Pipe a small dollop (about 1/2 teaspoon, depending on the size of your macaron) of filling into the center of one macaron.
Step 2. Place the second macaron on top and gently press it down to smush the filling all the way to the edge. Repeat with the remaining macarons.

To Decorate:
Step 1. Add the white chocolate chips or candy melts and vegetable shortening to a small, microwave-safe bowl. Microwave for 30 seconds. Stir.
Step 2. Microwave for an additional 30 seconds and stir again. Transfer the melted chocolate to a plastic bag. Cut the very tip of the corner of the bag off.
Step 3. Drizzle the chocolate over the macarons to create the mummy look.
Step 4. Once the chocolate has set, use a food pen to draw on two eyes.
Step 5. Place the macarons in an airtight container in the fridge to age at least 4 hours— if you have the time, aging overnight is preferred and will result in the best texture.
Step 6. Bring to room temperature before serving.
Macarons can be kept in the fridge for up to 3 days.

Tips for Making French Macarons
- Use Super-Fine Almond Flour and not Almond Meal.
- Make sure eggs are at room temperature.
- Measuring carefully is vital. Macarons can be temperamental!
- Don’t add all the sugar to the egg whites in one go, in three parts is usually best.
- Halfway through cooking, open the oven door, and quickly waft it a few times to allow any steam to escape. Close the door to finish the baking process.

Other French Macaron Recipes To Try
Be sure to follow me on Instagram and hashtag #whattheforkfoodblog or tag @whattheforkfoodblog – I love seeing what you make!
If you love this recipe for Gluten Free Mummy Macarons, be sure to follow me on social media so you never miss a post:
| Facebook | Twitter | Pinterest | Instagram | Youtube | Newsletter |


Mummy Macarons with Maple Cinnamon Filling
Ingredients
For the Shells
- 1 1/4 cups powdered sugar
- 3/4 cup almond flour see notes
- 2 large egg whites room temperature
- 1/4 cup granulated sugar
For the Filling
- 2 ounces whipped cream cheese at room temperature
- 1 tablespoon butter at room temperature
- 1 tablespoon maple syrup Grade A is recommended
- 1 teaspoon pure vanilla extract
- 1 teaspoon ground cinnamon
- 1 1/2 cups powdered sugar
- To Decorate
- 1/3 cup white chocolate chips or candy melts see notes
- 1 tablespoon vegetable shortening
- Black Food Pen see notes
Instructions
Make the Shells
- Line two baking sheets with parchment paper.
- Place a fine-mesh sieve over a medium-sized bowl. Add the powdered sugar and almond flour to the sieve and sift them together. Discard any large lumps that remain in the sifter. Set aside.
- Add the egg whites to the bowl of a stand mixer. Beat the egg whites on medium speed (speed 6-8 on a Kitchenaid Mixer) and add the granulated sugar slowly. You should add about 1 tablespoon of sugar and then wait for it to become fully incorporated before adding the next tablespoon. The process of adding sugar should take 2-3 minutes.
- Increase the speed to medium-high and beat the egg whites until they hold a stiff peak— about 4-6 minutes. Once the egg whites can hold a stiff peak, remove the bowl from the mixer stand and place the fine-mesh sieve on top.
- Pour the powdered sugar/almond four mixture into the sieve and sift it into the egg whites. Again, discard any remaining clumps.
- Begin to gently fold the dry ingredients into the egg whites. The proper folding technique is to cut through the center of the batter with your spatula and scoop around the bottom of the bowl and flip the batter from the bottom to the top. Turn the bowl 90 degrees and repeat.
- Once the dry ingredients have been fully incorporated, it’s time for the Macaronage stage. Smush all of the batter against the sides of the bowl and then scrape it down and fold it back together again. Repeat 5-6 times, or until the batter reaches the “lava stage”. You could be able to lift the batter with your spatula and draw a figure 8 without the batter clumping. If it doesn’t flow evenly and smoothly, repeat the smushing another 1-2 times and test again.
- Transfer the batter to a piping bag and pipe 1” circles that are about 2” apart on the baking sheet. Once you’ve finished the first tray, pick it up approximately 6” off the counter and drop it straight down to release any air bubbles. Repeat 6-7 more times, or until you do not see any large air bubbles remaining.
- Continue piping the second tray and then drop it to release any air bubbles.
- Allow the macarons to rest at room temperature for 60 minutes or until they have developed a skin. You should be able to touch the top of the macaron without it sticking to your finger.
- While the macarons are resting, preheat your oven to 325F.
- Bake the macarons in a preheated oven one tray at a time— on the center rack— for 12-14 minutes, or until the bottoms are just starting to turn a light brown. Leave the macarons on the tray to cool.
Make the Filling
- In the bowl of a stand mixer fitted with the whisk attachment, cream together the cream cheese and butter on high speed until light and fluffy.
- Next, add the maple syrup, vanilla, and cinnamon and mix again on medium speed until they are completely incorporated.
- Scrape down the sides of the bowl and turn the mixer on low speed. Gradually add the powdered sugar. Once all of the powdered sugar has been added, turn the mixer to high and beat until the filling becomes light and airy— about 2 minutes. Transfer to a piping bag.
Assemble
- Once the macarons have cooled fully, place them in similar sized pairs. Pipe a small dollop (about 1/2 teaspoon, depending on the size of your macaron) of filling into the center of one macaron. Place the second macaron on top and gently press it down to smush the filling all the way to the edge. Repeat with the remaining macarons.
Decorate
- Add the white chocolate chips or candy melts and vegetable shortening to a small, microwave-safe bowl. Microwave for 30 seconds. Stir.
- Microwave for an additional 30 seconds and stir again. Transfer the melted chocolate to a plastic bag. Cut the very tip of the corner of the bag off.
- Drizzle the chocolate over the macarons to create the mummy look.
- Once the chocolate has set, use a food pen to draw on two eyes.
- Place the macarons in an airtight container in the fridge to age at least 4 hours— if you have the time, aging overnight is preferred and will result in the best texture.
- Bring to room temperature before serving. Macarons can be kept in the fridge for up to 3 days.
Notes
- Make sure to use Almond Flour. It is not the same thing as Almond Meal. I prefer Bob’s Red Mill Superfine Almond Flour.
- Using whipped cream cheese in the filling makes a lighter icing but standard cream cheese works as well.
- There are two things that can help ensure the success of macarons. First, make sure you are deflating the batter only to the lava stage. If you don’t deflate enough, the batter will be too thick and your macarons will have peaks (typically called nipples). If you deflate too much, your batter will be too runny and the macarons won’t rise properly. Secondly, using an oven thermometer is highly encouraged. An oven that is too hot will cause the feet on the macarons to spread and result in hollow shells. An oven that is too cold will result in wrinkly, undercooked macarons.
- Check your labels for the gluten free status of your white chocolate chips or white candy melts.
- I recommend using AmeriColor Gourmet Writer Pens.
Recommended Products


Nutrition Information
Disclaimers
As an Amazon Associate and member of other affiliate programs, I earn from qualifying purchases.
Nutrition Facts are estimated and aren't always accurate. Please consult a doctor or nutritionist if you have special dietary needs.
Did you make this recipe? Leave a star rating and let me know in the comments! You can also leave a photo/comment on this pin for others to see.
Leave a comment