
Learn how to make a classic pastry recipe, but gluten free! Throughout the month, I’ll share recipes to show you all the delicious treats you can enjoy with this basic gluten free pastry shell.

Wow, I can’t believe it’s already February!
You guys absolutely crushed the January Gluten Free Baking Challenge. SO many gorgoues loaves of Cranberry Orange Bread 😍
After taking such a long break from it, I wasn’t sure if anyone would still be interested. But I was wrong, luckily! Can’t wait to start another delicious month of baking with you!
Let’s Bake!
The February Gluten Free Baking Challenge Recipe is ….
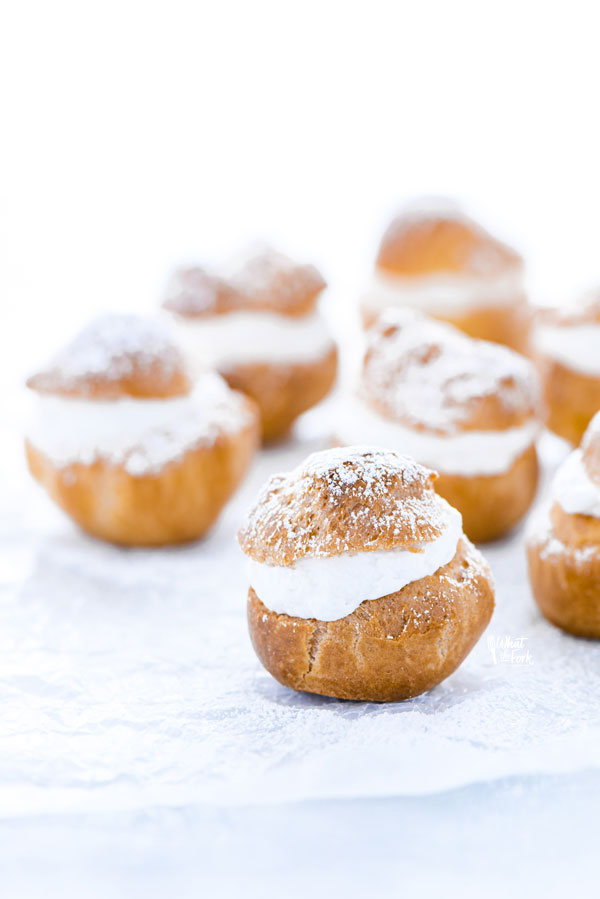
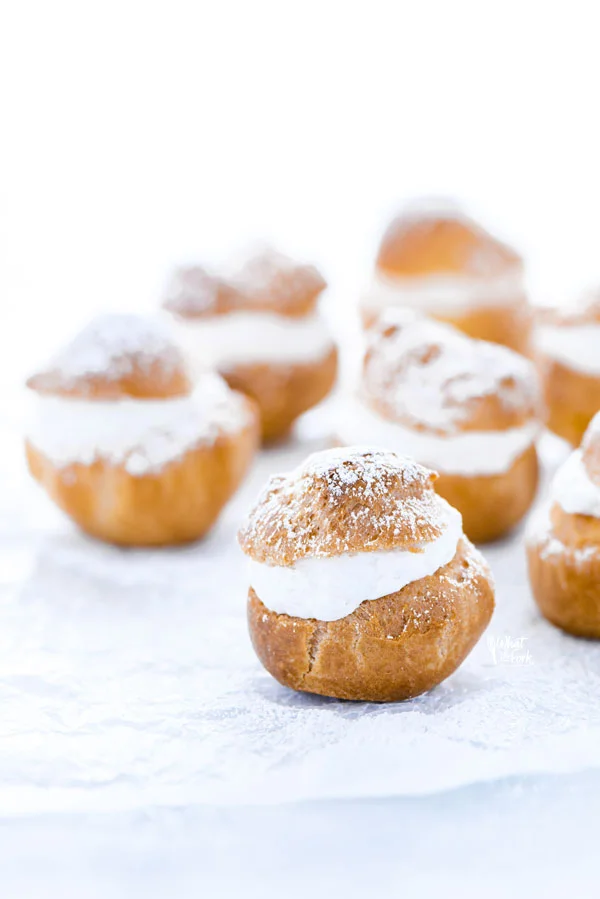
Gluten Free Choux Pastry
Some of you may have already guessed this month’s challenge recipe when I shared the Choux Pastry recipe yesterday, you smart cookies, you. I had also been teasing some recipes I’ve made with it in my Instagram stories.
Choux Pastry recipes will be coming your way all throughout the month of February. I can’t wait to see which gluten free pastry you’ll make and share!
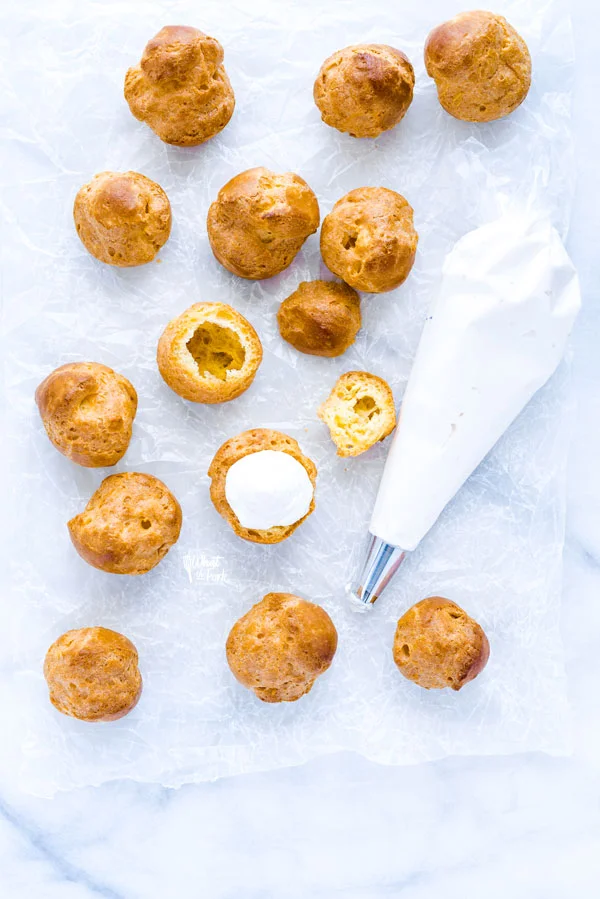
Tips for Making Gluten Free Choux Pastry
- Don’t worry if the butter starts to separate from the dough. Once you start beating it in the mixer, it will re-incorporate.
- Make sure the sugar and salt are dissolved fully before allowing the water to come to a boil.
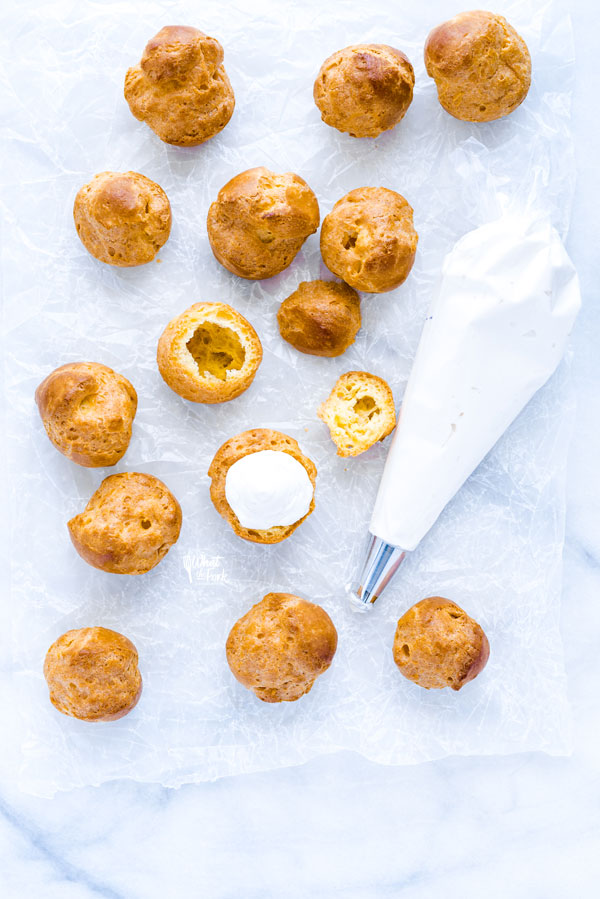
- Use kitchen shears to help separate the dough from the pastry tip.
- If your pastries start to deflate after removing them from the oven, bake them a little longer.
- After baking, you can leave them in the oven for an additional 30 minutes to an hour to completely dry them out, just make sure the oven is off.
- I have only made these with my Nightshade Free Flour Blend and haven’t experimented with other flours. If you use a different flour, baking times and results may vary.
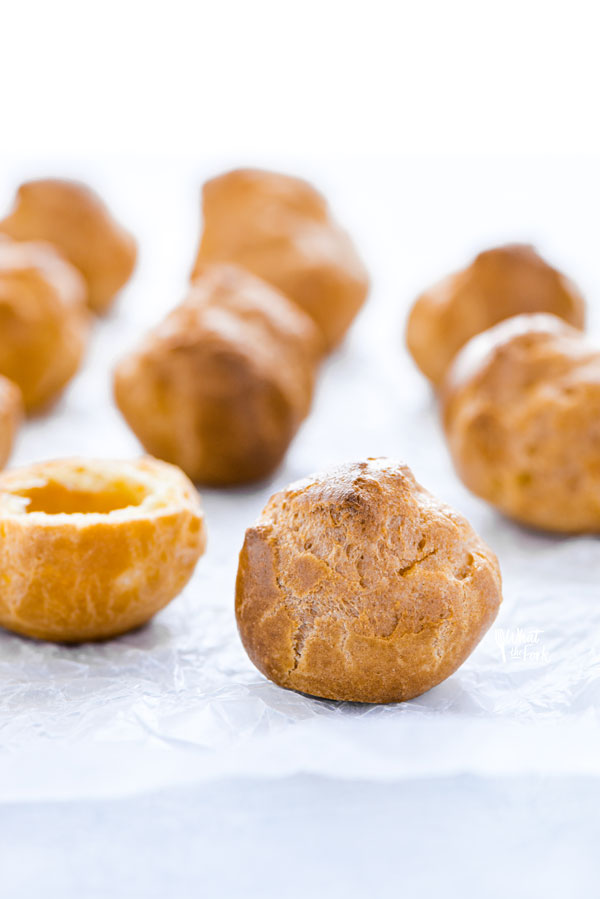
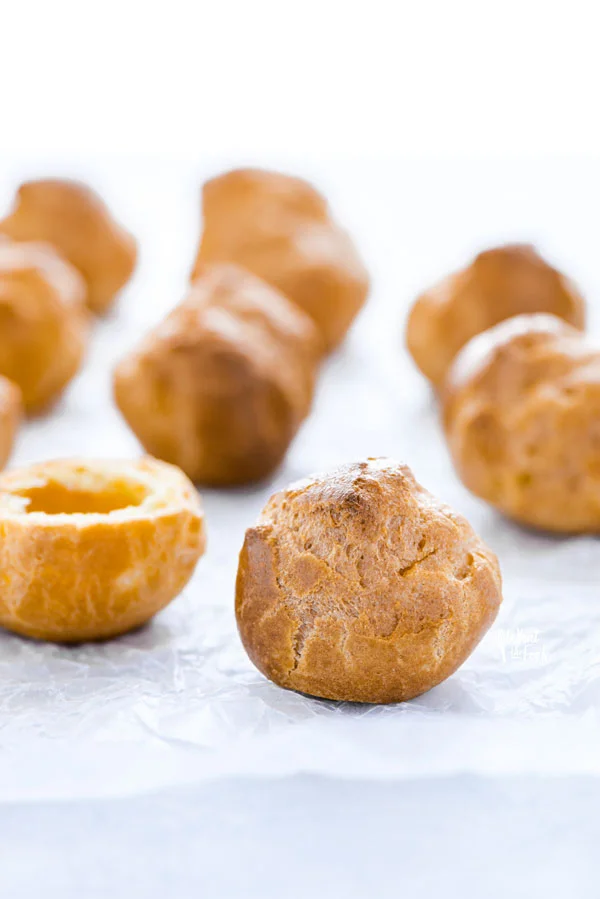
What is Choux Pastry?
Choux Pastry, or also lovingly referred to as “Choux Buns” are light and airy. They can be incorporated into sweet or savory dishes.
You’ve likely seen them used in profiteroles, éclairs, and cream puffs.
Choux Pastry Video Tutorial
Where To Share Your Photos
Share your photos to one or more, mentioned below. Only one is required as an entry for the giveaway so don’t feel like you need to share everywhere!
- Instagram – Share your photo of the Gluten Free Baking Challenge recipe to your public Instagram account. (If it’s a private account, I won’t be able to see it.)
- To qualify, you must use the #gfbakingchallenge and tag @whattheforkfoodblog
- Then, you must enter the link to your Instagram post in the giveaway form below.
- Facebook Group – If you’re a member of the Gluten Free Baking Club Facebook group, you can post your image there.
- To qualify for the prize, include the #gfbakingchallenge in your post!
- Once your post is approved, grab the link and to the post and enter it into the giveaway form below.
- Click here to request to join the group.
- Facebook Page – Share your photo to my What The Fork Food Blog Facebook page with the official baking challenge hashtag, #gfbakingchallenge then enter the link to your post into the giveaway form below the recipe.
The February Gluten Free Baking Challenge Prize
This month’s gluten free baking challenge prize is a $50 Amazon eGift Card. Please note, your chance of winning the challenge prize has nothing to do with photo quality. Winner will be randomly drawn from the giveaway form. There will be additional entries to increase your chances of winning.
To be eligible for the prize, you must use the entry form to enter. The giveaway form is located at the end of this post directly after the recipe. All winning entries will be verified and winners will be contacted by email.
Be sure to follow me on Instagram and hashtag #whattheforkfoodblog or tag @whattheforkfoodblog – I love seeing what you make!
If you love gluten free baking recipes, be sure to follow me on social media so you never miss a post:
| Facebook | Twitter | Pinterest | Instagram | Youtube | Newsletter |


Leave a comment