


This easy to work with gluten free pie crust recipe is nice and flaky, perfect for sweet and savory pies. There is a dairy-free and vegan option as well!
Updated photos added October 2018
<< click here to pin this recipe >>
Gluten Free Pie Crust Recipe
This recipe for gluten free pie crust has indeed been a long time in the making. Honestly, I had always sucked at pie crusts. Overall, it was just such a challenge for me.
I didn’t start making my first gf pie crust until I was well into my 20’s. My mom always made the best ever pie crust so I never really had to make my own. She was the pie lady.
Practice makes perfect simple and easy pie crust!
Making a pie crust is really an art. It’s not something that just happens perfectly the first time you make it. You have to really get a feel for what the dough is supposed to look like, how thin you can roll it without it falling apart when you try to transfer it, etc. Too wet? Too dry? You’ll learn as you go.
Making a perfect pie crust results from many, many, many times making it. It’s truly a practice makes perfect kind of thing.


Did you make this recipe? Leave a star rating and let me know in the comments! You can also leave a photo/comment on this pin for others to see.
I’m not going to say my recipe for this pie crust is perfect (but it is pretty damn close 😉). I still have quite a bit of work to do in order to get it to look pretty. I’m far from a Martha Stewart type so those gorgeous, show stopping too-pretty-to-eat pie crusts are not something that comes easy to me and I may never, ever get them to look stunning.
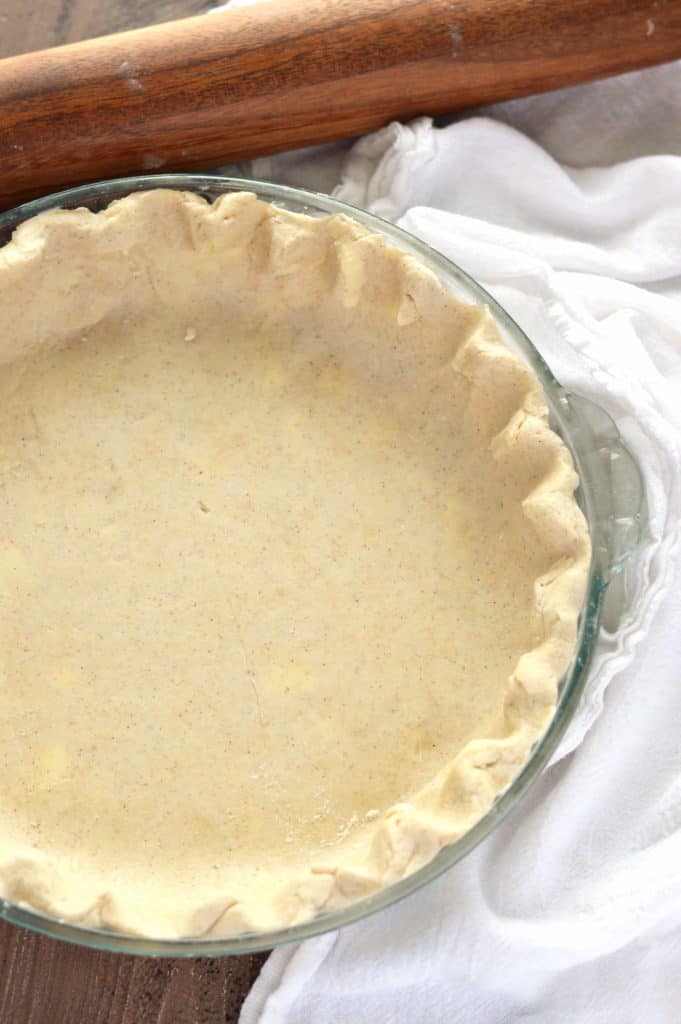
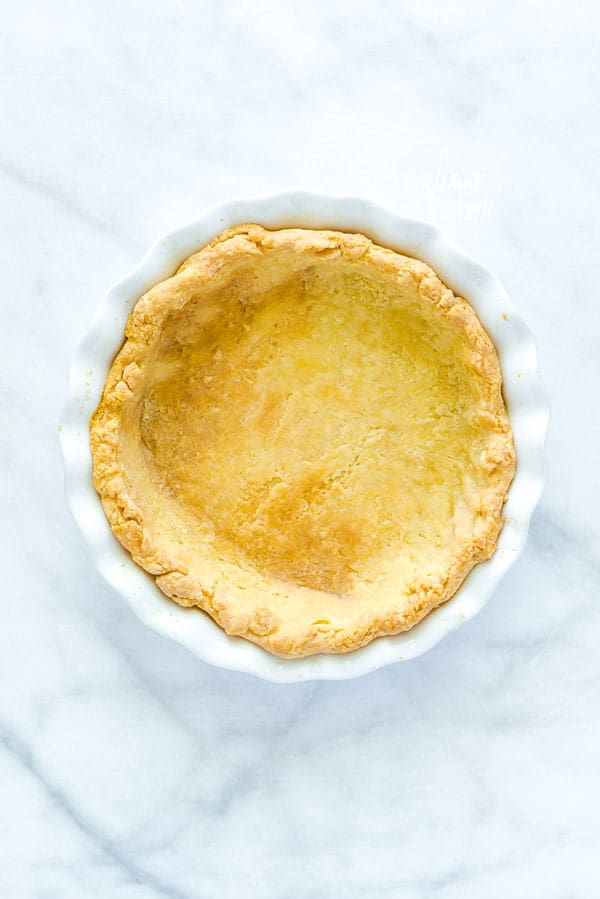
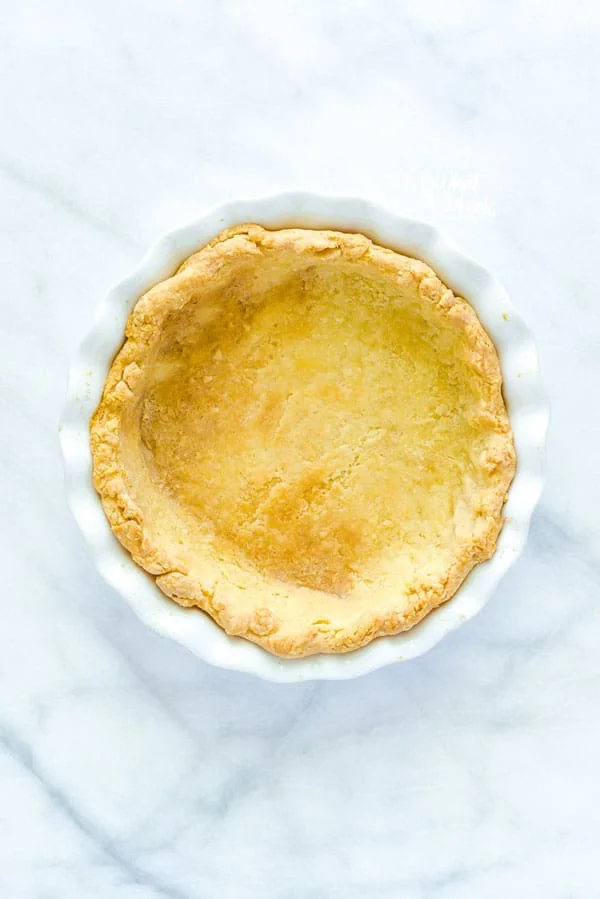
Although I must say, after several pie crusts that I’ve practiced on, they have gotten a liiiittle bit prettier. But pie art is definitely on my list of things I’d like to learn! There’s nothing like baking this pie crust and having a light golden, flaky crust!

Key Ingredients for this homemade gluten free pie crust
- 1 cup white rice flour
- 1 cup brown rice flour
- 2/3 cup tapioca flour/starch
- 1 1/2 teaspoons xanthan gum
- 1 teaspoon fine sea salt
- 1 cup butter or shortening cubed and very cold
- 6-12 Tablespoons ice water
- 1 Tablespoon granulated sugar optional (omit for savory pies)
Equipment Needed
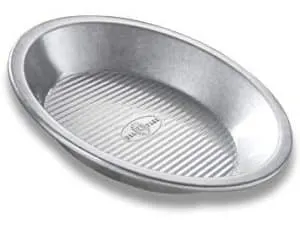
- 9 inch pie dish
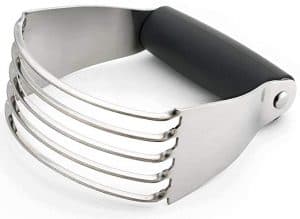
- Pastry cutter
- Mixing Bowls
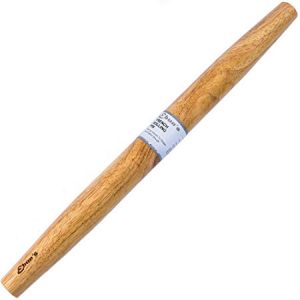
- Rolling Pin
- Baking Utensils
- Sur La Table Marble Pastry Board
- All-Clad Measuring Cups
- All Clad Measuring Spoons
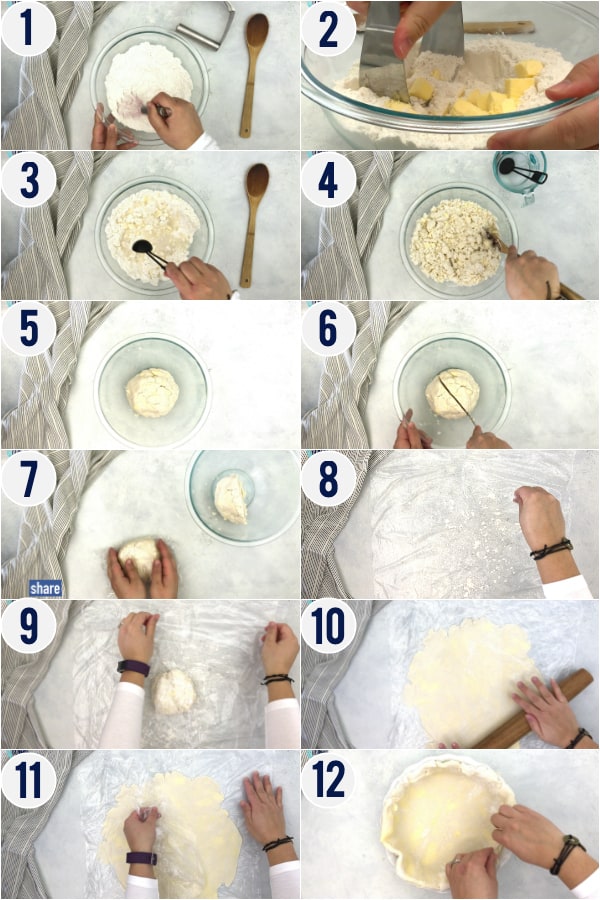
How to make an Easy Gluten Free Pie Crust that is flaky: (see photos below)
Step 1. Firstly, in a large bowl, whisk together the white rice flour, brown rice flour, tapioca flour, xanthan gum, and salt.
Step 2. Second, Use a pastry cutter to cut in the butter or shortening until the pieces are a little smaller than the size of peas.
Step 3. Thirdly, add in 6 tablespoons of the water.
Step 4. Then, mix with a spoon to start to form a dough ball.
Step 5. After that, form a dough ball with your hands.
Step 6. Split the dough in half and gently form each half of the dough into the shape of a disk.
You’re halfway there to a delicious pie crust!
Step 7. Wrap each dough disk in plastic wrap and chill for at least 30 min.
*Note: Only one half of the dough is needed for this recipe. Feel free to refrigerate the other half for up to 3 days.
Step 8. In the meantime, line your work space with 2 pieces of plastic wrap. Take out one dough disk and place in center of plastic. Sprinkle a bit of flour on top.
Step 9. Cover with 2 additional pieces of plastic wrap.
Step 10. Begin to roll out the pie dough to about 12 inches in diameter (enough to fit in a 9 inch pie plate).
Step 11. Gently remove the top layer of plastic wrap.
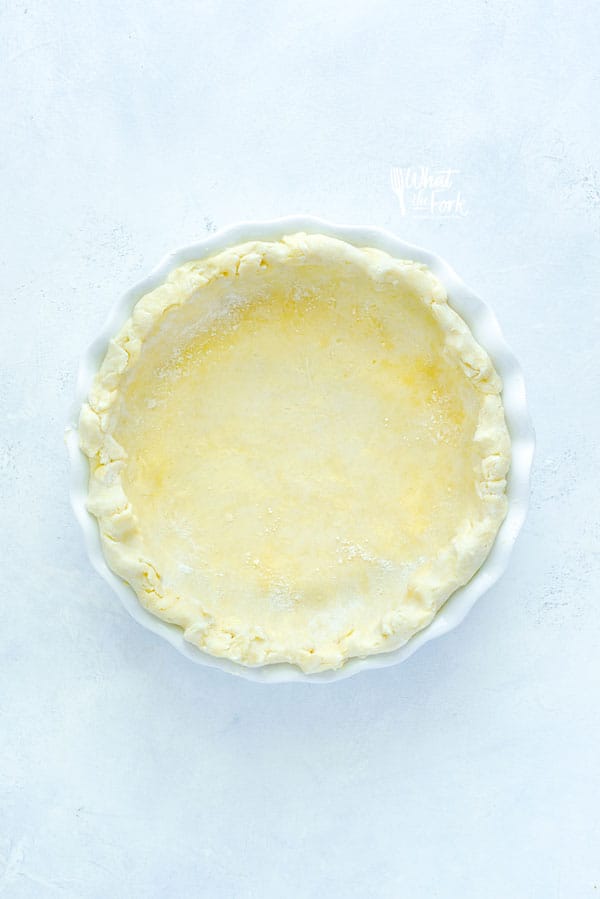
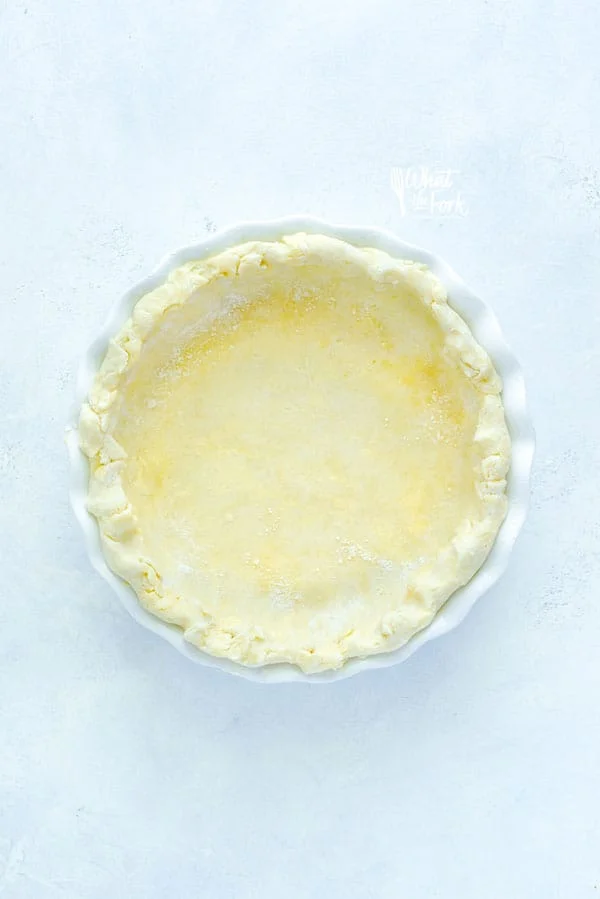
Step 12. Finally, use the bottom layer of plastic wrap to carefully flip some of the dough over the rolling pin. Very carefully, lift and pull the dough into the pie plate and press to fit. Crimp, fill, and begin baking the crust as desired.

Pro Tips for simple gluten-free pie crust:
1. Use COLD ingredients! (not room temperature!) cold butter or shortening, ice cold water. In addition, you can even put your flours in the fridge for a bit if your house is on the warm side.
2. Don’t over work your dough. Try to handle it as little as possible to avoid melting the butter shortening, you want decent sized chunks of it in the dough when you roll it out. You can see in the pictures that there are some larger specs of fat.
3. Further, don’t use too much water! This is a really important tip. Too much water will make your dough tough and chewy – the opposite of what you want. In order to get a flaky gluten free pie crust you want to use as little water as possible to get the flours to come together. You may think your dough is too dry, but if you can pinch it together and it will hold, you have enough.
5. If it doesn’t work out perfectly for you the first time, don’t fret. Working with pie crust is tricky and the more you work with it, the better feel for it you’ll get and you’ll understand how to work with the dough more. If the dough breaks apart when you try to transfer it, you can always use your fingers to press it in. This dough is pretty easy to work with so you should be able to transfer it to the pie plate without it breaking, depending on your skill level.
More secrets to flaky pie crust recipe
1. Don’t skip on the chilling time!
2. Use a space big enough to roll out the dough large enough.
3. Roll the gluten free pie dough in between sheets of plastic wrap. Don’t use wax paper or parchment, they’re not as flexible and have a tendency to stick to the crust more.
4. Once you’ve rolled out your gluten free crust, remove the top layer of plastic wrap. Then use the bottom layer of plastic wrap to help drape the crust over your rolling pin (hold it low so it doesn’t stretch as much!). Move your pie dish close and then use the rolling pin to gently help transfer the crust into the dish. Once the crust is in place, remove the plastic wrap. This is exactly how I get my crust into the pie plate in one piece!
5. If you choose to blind bake this pie crust for your pie recipe, I recommend using these Pie Weights!
FAQs
Is pie crust naturally gluten free?
No, unfortunately it is not. You have to use a gluten free all purpose blend, or as you’ll see below, follow mine specifically!
How good does gluten free pie crust really taste?
Honestly, if you follow this recipe to a T, you’ll see that the crust is super flaky and buttery. It has a delicious taste and texture to it and you might even fool your family members and friends who eat gluten when they try this pie crust!
How do I know when this homemade gluten pie crust recipe is finished baking?
Generally, you want the crust to be lightly golden brown. You don’t want it to be an overly dark brown and over-bake it. However, don’t underbake it either. Just keeping checking frequently and practice!
Why is it so important for ingredients to be cold?
Simply put, you don’t want the ingredients to begin to melt. This would make for a messy and much more difficult process. Also, everything will then feel greasy and you won’t get the desired consistency of the pie crust you’re ultimately striving for. In other words, it won’t be that nice and flaky texture.
What is the best gluten free flour blend for pie crust?
While there are plenty of flour blends out there, including all purpose gluten free flour (ie. Bob’s Red Mill 1 to 1 gluten free). However, I highly recommend you follow my specific blend for this recipe. (see the recipe card below). It has the perfect ratio of white rice flour, brown rice flour, and tapioca flour/starch. I’ve experimented quite a bit and this blend surely won’t disappoint!
How do you recommend measuring your gluten-free flour mix?
I highly recommend you follow and sign up for this free guide on how to properly measure your flour blends. It’s extremely important to measure your flour so that it is consistent. By following my guide, it will increase the quality of the recipes that you are baking!
Can the dough be made ahead of time?
You can certainly make this simple, flaky pie crust ahead of time! It can be refrigerated for up to 3 days while wrapped in plastic wrap stored inside of a gallon bag or air tight container.
Can the gluten free pie dough be frozen?
Essentially you have two options. You can make the pie dough and wrap in plastic wrap. Place in a gallon sized freezer bag and it should last 3-4 months in the freezer.
The second option is you can also freeze this pie crust after you made it. Since it makes two pie crusts, you can save the second one (or both!) in the freezer wrapped in plastic wrap stored inside of a freezer-safe gallon bag or air tight container. Talk about super convenient for later on!
Can this easy gluten free pie crust recipe be made dairy-free and vegan?
Yes and yes! Surprisingly, all you have to do is substitute shortening for the butter. Or, you can try Miyoko’s European Style Cultured Vegan Butter. All in all, either option would work out well and let me know in the comments how it worked out for you!
What are some other ways to use this versatile gluten free pie dough?
This homemade recipe makes 2 crusts (for two single crust gluten free pies or one double crust gluten free pie) and would be a great base for my Coconut Cream Pie, Fudge Pecan Pie, Bacon and Swiss Quiche or my Ham and Cheese Quiche. Additionally, you could even use it to make my pie fries!
This crust is great for savory pies because this gluten free pie crust recipe only calls for 1 tablespoon of sugar, which can easily be omitted for a savory pie.
Easy, flaky Gluten Free Pie Crust
Although it took me an embarrassingly long time to get my this pie crust recipe right, I’m so happy with the result and this just might be the best gluten free pie crust recipe ever. It’s a dream to work with (as long as you don’t roll it out too thin!) and it’s also perfect for any type of sweet or savory pie you want to make. Enjoy!
<< Pin this recipe to your Gluten Free Baking board >>
Be sure to follow me on instagram and hashtag #whattheforkfoodblog or tag @whattheforkfoodblog – I love seeing what you make!
If you love this easy gluten free pie crust recipe, be sure to follow me on social media so you never miss a post!
| facebook | twitter | pinterest | instagram | youtube |


Gluten Free Pie Crust Recipe
Ingredients
- 1 cup white rice flour
- 1 cup brown rice flour
- 2/3 cup tapioca flour/starch
- 1 1/2 teaspoons xanthan gum
- 1 teaspoon fine sea salt
- 1 cup butter or shortening cubed and very cold
- 6-12 Tablespoons ice water
- 1 Tablespoon granulated sugar optional (omit for savory pies)
Instructions
- In a large bowl, whisk together the white rice flour, brown rice flour, tapioca flour, xanthan gum, and salt.
- Use a pastry cutter to cut in the butter or shortening until the pieces are a little smaller than the size of peas. Add in 6 tablespoons of the water and mix with a spoon. If the dough is too dry, mix more water 1 tablespoon at a time until the dough starts to form a ball and all the flour is incorporated. You can use your hands to help bring the dough together. You should not need more than 10-12 tablespoons total.
- Split the dough in half and gently form each half of the dough into the shape of a disk. Wrap each dough disk in plastic wrap and chill for at least 30 minutes or up to 3 days. *Chill for a minimum of 1 hour if it's a warm or humid day.
- When the dough is ready to roll out, line your work space with 2 pieces of plastic wrap arranged in a square. You need a big enough surface area to roll the dough out into at least a 12 inch diameter. Sprinkle the plastic wrap with the gf flour so the dough won't stick.
- Place one disk of the dough in the center of your prepared space. Top with a little sprinkle of flour and two additional pieces of plastic wrap. Roll the dough out into a 12 inch diameter to fit a 9 inch pie plate. Gently remove the top layer of plastic wrap and use the bottom layer of plastic wrap to carefully flip some of the dough over the rolling pin. Very carefully, lift and pull the dough into the pie plate and press to fit. Crimp, fill, and bake as desired.
- If you're making a double crust pie, add the filling to the bottom crust. Then roll the top crust just as you rolled the bottom and transfer to the pie. Crimp the crust and bake accordingly to your recipe directions.
Video
Notes
- Prep time does not include chilling time. You can keep the dough in the refrigerator up to 3 days or you can freeze it up to 3 months.
- If you enjoyed this recipe, please leave a comment and a star rating!
- Click here to pin this recipe for later.
Recommended Products


Nutrition Information
Disclaimers
As an Amazon Associate and member of other affiliate programs, I earn from qualifying purchases.
Nutrition Facts are estimated and aren’t always accurate. Please consult a doctor or nutritionist if you have special dietary needs.
This post contains affiliate links for products and ingredients that I use and love. Thank you for supporting What The Fork Food Blog ♥
Did you make this recipe? Leave a star rating and let me know in the comments! You can also leave a photo/comment on this pin for others to see.
Fantastic recipe!! I’ve been making pie crusts from scratch for over 50 years (since I was 17) until I became gluten free about 12 years ago. I’ve tried many GF recipes and either they come out hard as a rock or taste terrible! I followed this recipe using half butter and half shortening. It’s unbelievably flaky and light. I did have little trouble finding the various flours, but eventually found them at Whole Foods. One suggestion if you could have blog name on printed copy it would help to find it again. Kudos for coming up with this recipe!!
I’m glad you were able to make and enjoy this recipe Coleen! And thank you for the suggestion!
Thank you Coleen!
I got a small wooden roller attached to a handle and put the dough in the pie plate and roll it out right in the pie plate. Works like a dream! If I need to roll out a piece for the top I roll it out on my biggest plate, use a spatula to loosen it and slide it right off the plate onto the top of the pie. Then pinch together the 2 pieces of pastry dough.
Sounds like a great tool!
I am definitely trying this pastry. Daughter is Ceoliac and she wants me to try the flour blend as she is intolerant to potato starch and cornflour.
Can I use this flour blend as a straight swap for store bought gluten free flour when making cakes etc
Hi Ginny! This is the flour blend you’ll want to use for cakes, cupcakes, muffins, quick breads, cookies, etc. – https://www.whattheforkfoodblog.com/2016/01/14/nightshade-free-gluten-free-flour-mix/
There’s no potato starch in it and it’s my preferred blend for baking most recipes.
Very good recipe. Thanks. I used Crisco butter flavored shoetening and was amazing
Thank you, Gabriela! Great idea using butter flavored shortening!
Does this recipe work in a food processor?
You could but I prefer mixing my pie crust dough by hand so I don’t over-work it.
This is perhaps the best pie crust I have ever made. I am not gluten sensitive but will make this one again because it is good (ok, I used butter… it is a pie after all). Easy 5 stars.
Thank you so much! I appreciate your feedback and I’m so glad you enjoyed it!
I don’t have the individual flours listed… Can I use 2 2/3C of all purpose GF flour? I have bob red mills 1-1 and cup4cup flours. 🙂
Hi Rebecca – I haven’t used either of those flours for this pie crust so I can’t tell you for sure. Since you have Bob’s Red Mill 1:1, I would use that and the directions on their website for their pie crust using their pie crust mix. Comments on that recipe have said that you can use the 1:1 in place of their pie crust mix and add a bit more water. I’ll have to try my recipe sometime with the 1:1 flour 🙂
I cannot see what the temp. Of oven and time to bake.
Hi Rose,
The recipe is just for the crust. That way people can follow cooking times for the particular pie recipe they’re making. If you want to blind bake it, you can follow these instructions: https://www.whattheforkfoodblog.com/2019/01/27/how-to-blind-bake-pie-crust/
Hope that helps!