This is an easy No Churn Coffee Ice Cream recipe because no ice cream machine it’s needed and is made with just 5 ingredients!

This post contains affiliate links for products and ingredients I use and love. You can read my full disclosure here. Thank you for supporting What The Fork Food Blog so I can continue to provide you with free gluten free recipes ♥
No Churn Coffee Ice Cream Recipe
Coffee Ice Cream is one of those classic ice cream flavors that everyone loves but doesn’t always think to make. Luckily for you, this No Churn Coffee Ice Cream recipe is SUPER easy to whip up (literally)!
No churn ice cream is sometimes called sweetened condensed milk ice cream or condensed milk ice cream because it’s a homemade ice cream with sweetened condensed milk and whipping cream. Basically, you fold the sweetened condensed milk into whipped cream. In this case, we’re adding coffee flavor!

Did you make this recipe? Leave a star rating and let me know in the comments! You can also leave a photo/comment on this pin for others to see.
What You Need To Know About This Coffee Flavored Ice Cream:
Coffee Ice Cream makes the perfect base for mix-ins. Think mini chocolate chips, crushed gluten free Oreos, swirls of chocolate ganache or caramel sauce, chocolate-covered espresso beans, or even toffee bits.
As an Amazon Associate I earn from qualifying purchases.
Does coffee ice cream have caffeine?
Yes. This Coffee Ice Cream is made with Espresso Powder, which contains caffeine. Espresso Powder is more concentrated than instant coffee and also contains a slightly higher amount of caffeine.

Ingredients for Homemade Coffee Ice Cream
- Espresso Powder – also used in my Gluten Free Brooklyn Blackout Cake recipe. Decaf Espresso Powder is available on Amazon.
- Hot Water
- Heavy Whipping Cream
- Coffee Extract – I use this in my Cold Brew Quick Bread recipe (found in my cookbook – The Gluten-Free Quick Breads Cookbook)
- Sweetened Condensed Milk

Equipment Needed to Make No Churn Ice Cream
- Essential Kitchen Tools – measuring cups, spoons, spatula
- Large Bowl
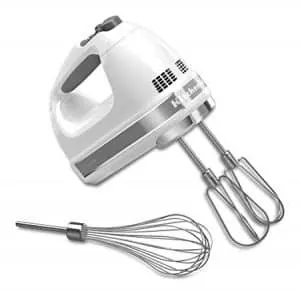
- Hand Mixer or Stand Mixer
- Spatula
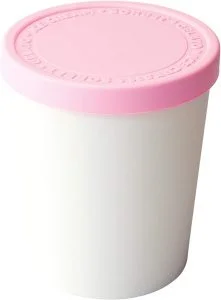
- Loaf Pan or Ice Cream Container
How to Make Coffee Ice Cream
Step 1. In a small bowl, whisk together the instant espresso powder and hot water until the powder has dissolved.
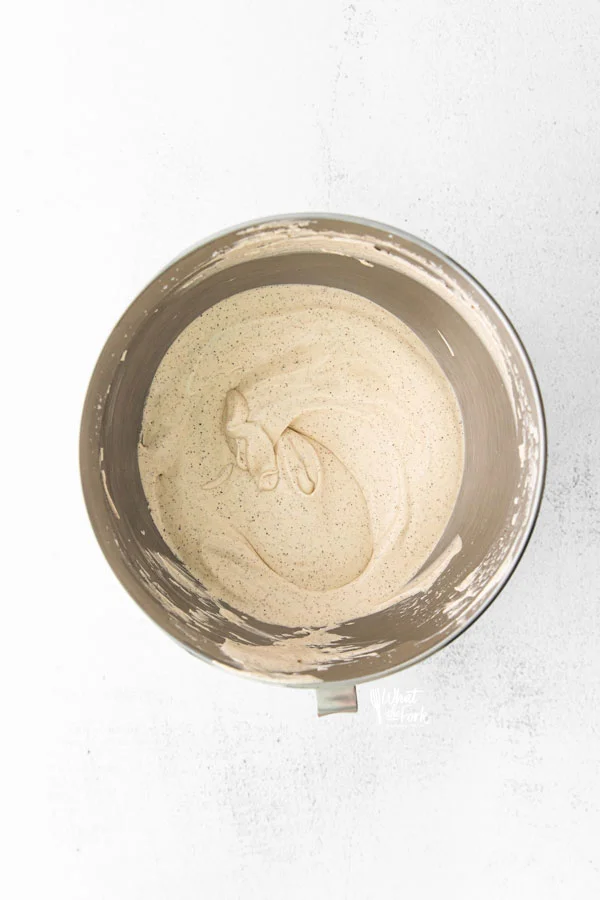
Step 2. Add the mixture to the bowl of a stand mixer fitted with the whisk attachment. Add the heavy whipping cream and mix on medium speed until the mixture forms stiff peaks– about 3-5 minutes.
Step 3. Next, add the coffee extract and mix to combine.
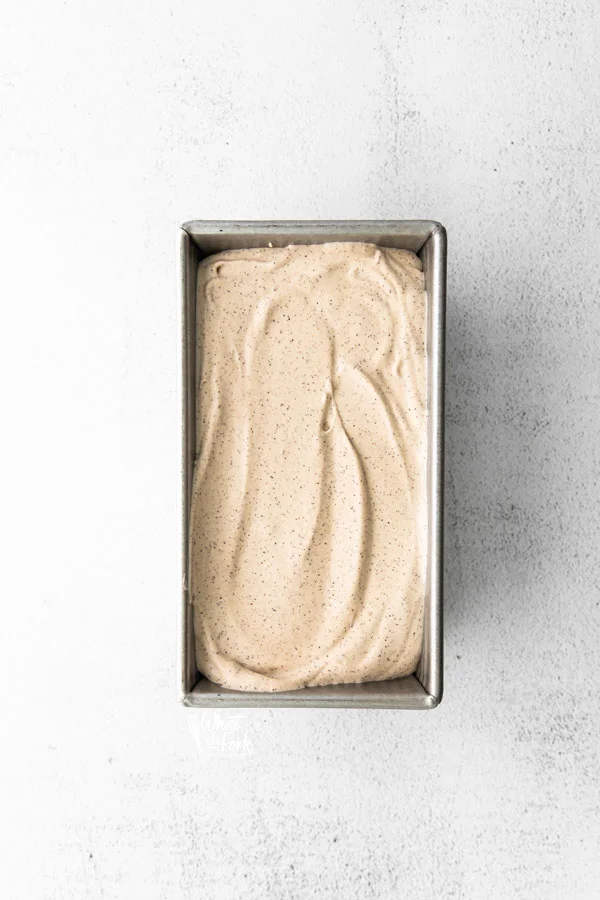
Step 4. Add the sweetened condensed milk and fold it gently into the whipped cream– you don’t want to deflate the whipped cream. Transfer the mixture to a 9×5 loaf pan or ice cream container and wrap it in plastic wrap.
Step 5. Freeze overnight, or at least 12 hours. Scoop and enjoy.
Tips for Making No Churn Ice Cream
- Chill the bowl and beaters before whipping the cream.
- Do not use low-fat sweetened condensed milk. You need the fat content to help prevent ice crystals from forming in the ice cream.
- 2 Tablespoons of vodka mixed into the ice cream will help keep homemade ice cream softer and more scoopable. But skip this if serving to kids.
- When storing, cover the surface of the ice cream with plastic wrap or wax paper to prevent ice crystals from forming on top.
- If tightly sealed, ice cream will last months in the freezer.
Other No Churn Ice Cream Recipes To Try
- No Churn Vanilla Ice Cream
- Peach Ice Cream
- No Churn Chocolate Ice Cream
- Andes Mint Chip Ice Cream
- No Churn Strawberry Ice Cream
- Vegan Avocado Ice Cream
- No Churn S’mores Ice Cream

Be sure to follow me on Instagram and hashtag #whattheforkfoodblog or tag @whattheforkfoodblog – I love seeing what you make!
If you love this no churn Coffee Ice Cream recipe, be sure to follow me on social media so you never miss a post:
| Facebook | Twitter | Pinterest | Instagram | Youtube | Newsletter |

No Churn Coffee Ice Cream Recipe
Ingredients
- 2 tablespoons instant espresso powder
- 2 tablespoons hot water about 110F
- 2 cups heavy whipping cream
- 1 teaspoon coffee extract see notes
- 1 14 ounce can sweetened condensed milk
Instructions
- In a small bowl, whisk together the instant espresso powder and hot water until the powder has dissolved.
- Add the mixture to the bowl of a stand mixer fitted with the whisk attachment. Add the heavy whipping cream and mix on medium speed until the mixture forms stiff peaks-- about 3-5 minutes.
- Next, add the coffee extract and mix to combine.
- Add the sweetened condensed milk and fold it gently into the whipped cream-- you don’t want to deflate the whipped cream.
- Transfer the mixture to a 9x5 loaf pan or ice cream container and wrap it in plastic wrap. Freeze overnight, or at least 12 hours. Scoop and enjoy.
- Store tightly wrapped in the freezer for up to three weeks.
Notes
- Read the blog post for tips on making no-churn ice cream.
- Coffee extract can be found in most specialty food stores, but
if you can’t find it just substitute vanilla extract! It's also readily avialable online.
Recommended Products
Nutrition Information
Disclaimers
As an Amazon Associate and member of other affiliate programs, I earn from qualifying purchases.
Nutrition Facts are estimated and aren't always accurate. Please consult a doctor or nutritionist if you have special dietary needs.

Did you make this recipe? Leave a star rating and let me know in the comments! You can also leave a photo/comment on this pin for others to see.








Leave a comment